In this post I’ll show you how to install ESXi on Raspberry Pi 4.
From last year you have possibility to get VMware hypervisor on RPi microcomputer. If you have 8 GB or 4 GB version feel free to follow up this tutorial.
Requriements:
- Raspberry Pi 4 Model B (4 GB or 8 GB RAM)
- ESXi ISO image prepared for ARM architecture
- microSD card for UEFI firmware
- 1x USB stick for ESXi installaer
- 1x USB stick (or drvie) for ESXi installation
- microHDMI->HDMI cable to connect Raspberry Pi to monitor
- USB keyboard
- Power supply
Check Raspberry Pi EEPROM status
In case if you don’t have installed any OS on Raspberry Pi
Here, I have clean, out of the box RPi without any system installed.
- Download and install Raspberry Pi Imager tool: https://www.raspberrypi.org/downloads/
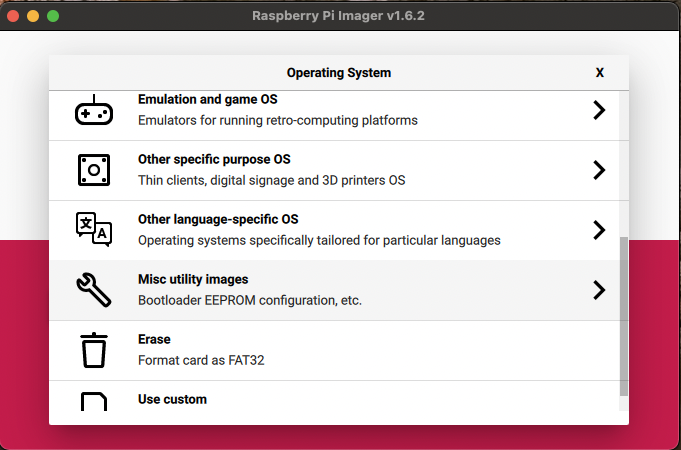
- Install Bootloader EEPROM on your SD card. Run Raspberry Pi Imager, find Misc utility images, next Bootloader, next SD Card Boot.
3. Change Storage, choose your SD card and hit WRITE.
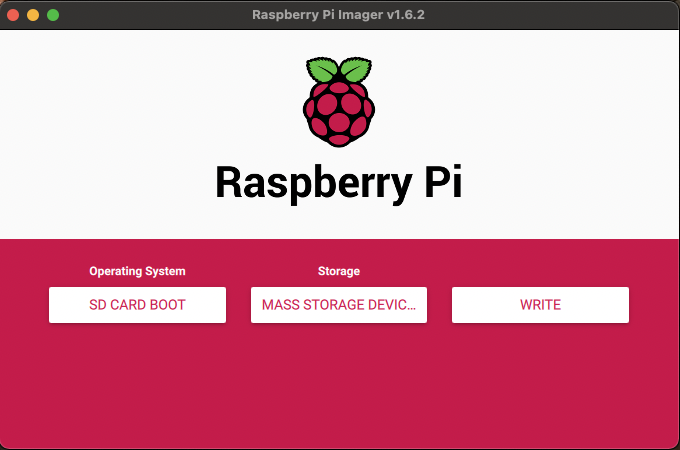
4. Wait unitil write was done and remove your card.
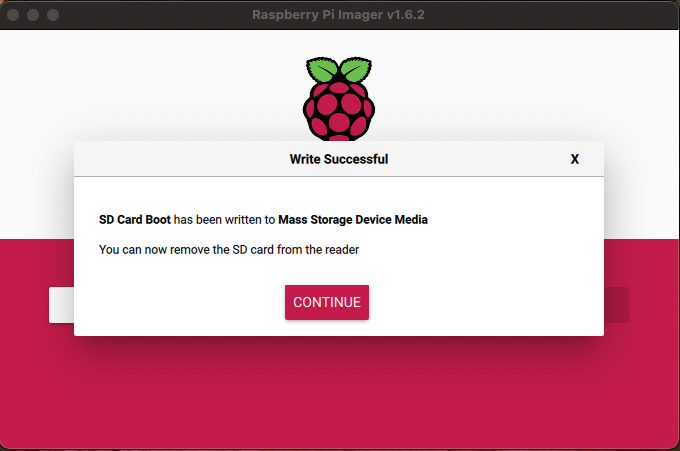
5. Plug SD card into RPi, connect to monitor and to the power supply. If you see green screen and green LED blinking on the device, you are good. If somehting is not good, error pattern will be displayed.

In case if you have installed OS on Raspberry Pi
Type first command. If in output you see CURRENT value is the same like LATEST you’re OK. And you can safety reboot your device or shutdown. In other case, you need to upgrade your RPi.
sudo rpi-eeprom-update -a
sudo reboot
Setup UEFI on SD Card
The SD card will be used for UEFI firmware.
- If you’re using Windows, you can format SD card from Windows Explorer and create FAT32 partition.
- If you want to use the same SD card which you use to check EEPROM version, you need to only delete files from card. Skip steps from below and go to UEFI configuration section.
- If you use different SD card (or you don’t check EEPROM) and you are using Mac OS, open terminal and type command: diskutill list. Find your external device, here is a /dev/disk4
mateusz@Mateuszs-Mac-mini ~ % diskutil list
/dev/disk4 (external, physical):
   #:                       TYPE NAME                    SIZE       IDENTIFIER
   0:     FDisk_partition_scheme                        *31.3 GB    disk4
   1:             Windows_FAT_32 NO NAME                 268.4 MB   disk4s1
                    (free space)                         31.0 GB    -
2. Format SD card with a FAT32 (MSDOS) partion. Define name of SD card, in this case it will be ‘UEFI’
mateusz@Mateuszs-Mac-mini ~ % diskutil partitionDisk /dev/disk4 1 MBRFormat "MS-DOS" UEFI R
Started partitioning on disk4
Unmounting disk
Creating the partition map
Waiting for partitions to activate
Formatting disk4s1 as MS-DOS (FAT) with name UEFI
512 bytes per physical sector
/dev/rdisk4s1: 61037408 sectors in 1907419 FAT32 clusters (16384 bytes/cluster)
bps=512 spc=32 res=32 nft=2 mid=0xf8 spt=32 hds=255 hid=2048 drv=0x80 bsec=61067264 bspf=14902 rdcl=2 infs=1 bkbs=6
Mounting disk
Finished partitioning on disk4
3. Unmount SD card.
mateusz@Mateuszs-Mac-mini ~ % diskutil eject /dev/disk4
Disk /dev/disk4 ejected
PRO TIP: If you’re not terminal-friendly, you can open Rapberry Pi Imager, click CHOOSE OS, find Erase, choose exteral device and and click WRITE. You got formated card! 😉
Copy files to SD card
At the beginning you need to download two newest necessary packages:
- firmware master – https://github.com/raspberrypi/firmware
- RPi4_UEFI_Firmware – https://github.com/pftf/RPi4/releases/
- Extract firmware-master.zip and delete all files starting with kernel*.img within
firmware-master/boot directory. Than, copy all files from firmware-master/boot directory to to the SD card.
2. Extract RPi4_UEFI_Firmware_v[version_number] and copy all files to the SD card.
Remove SD card.

2a. If you have Raspberry Pi 4 with 4 GB of RAM you need to edit config.txt file and append with line: gpu_mem=16

UEFI firmware configuration
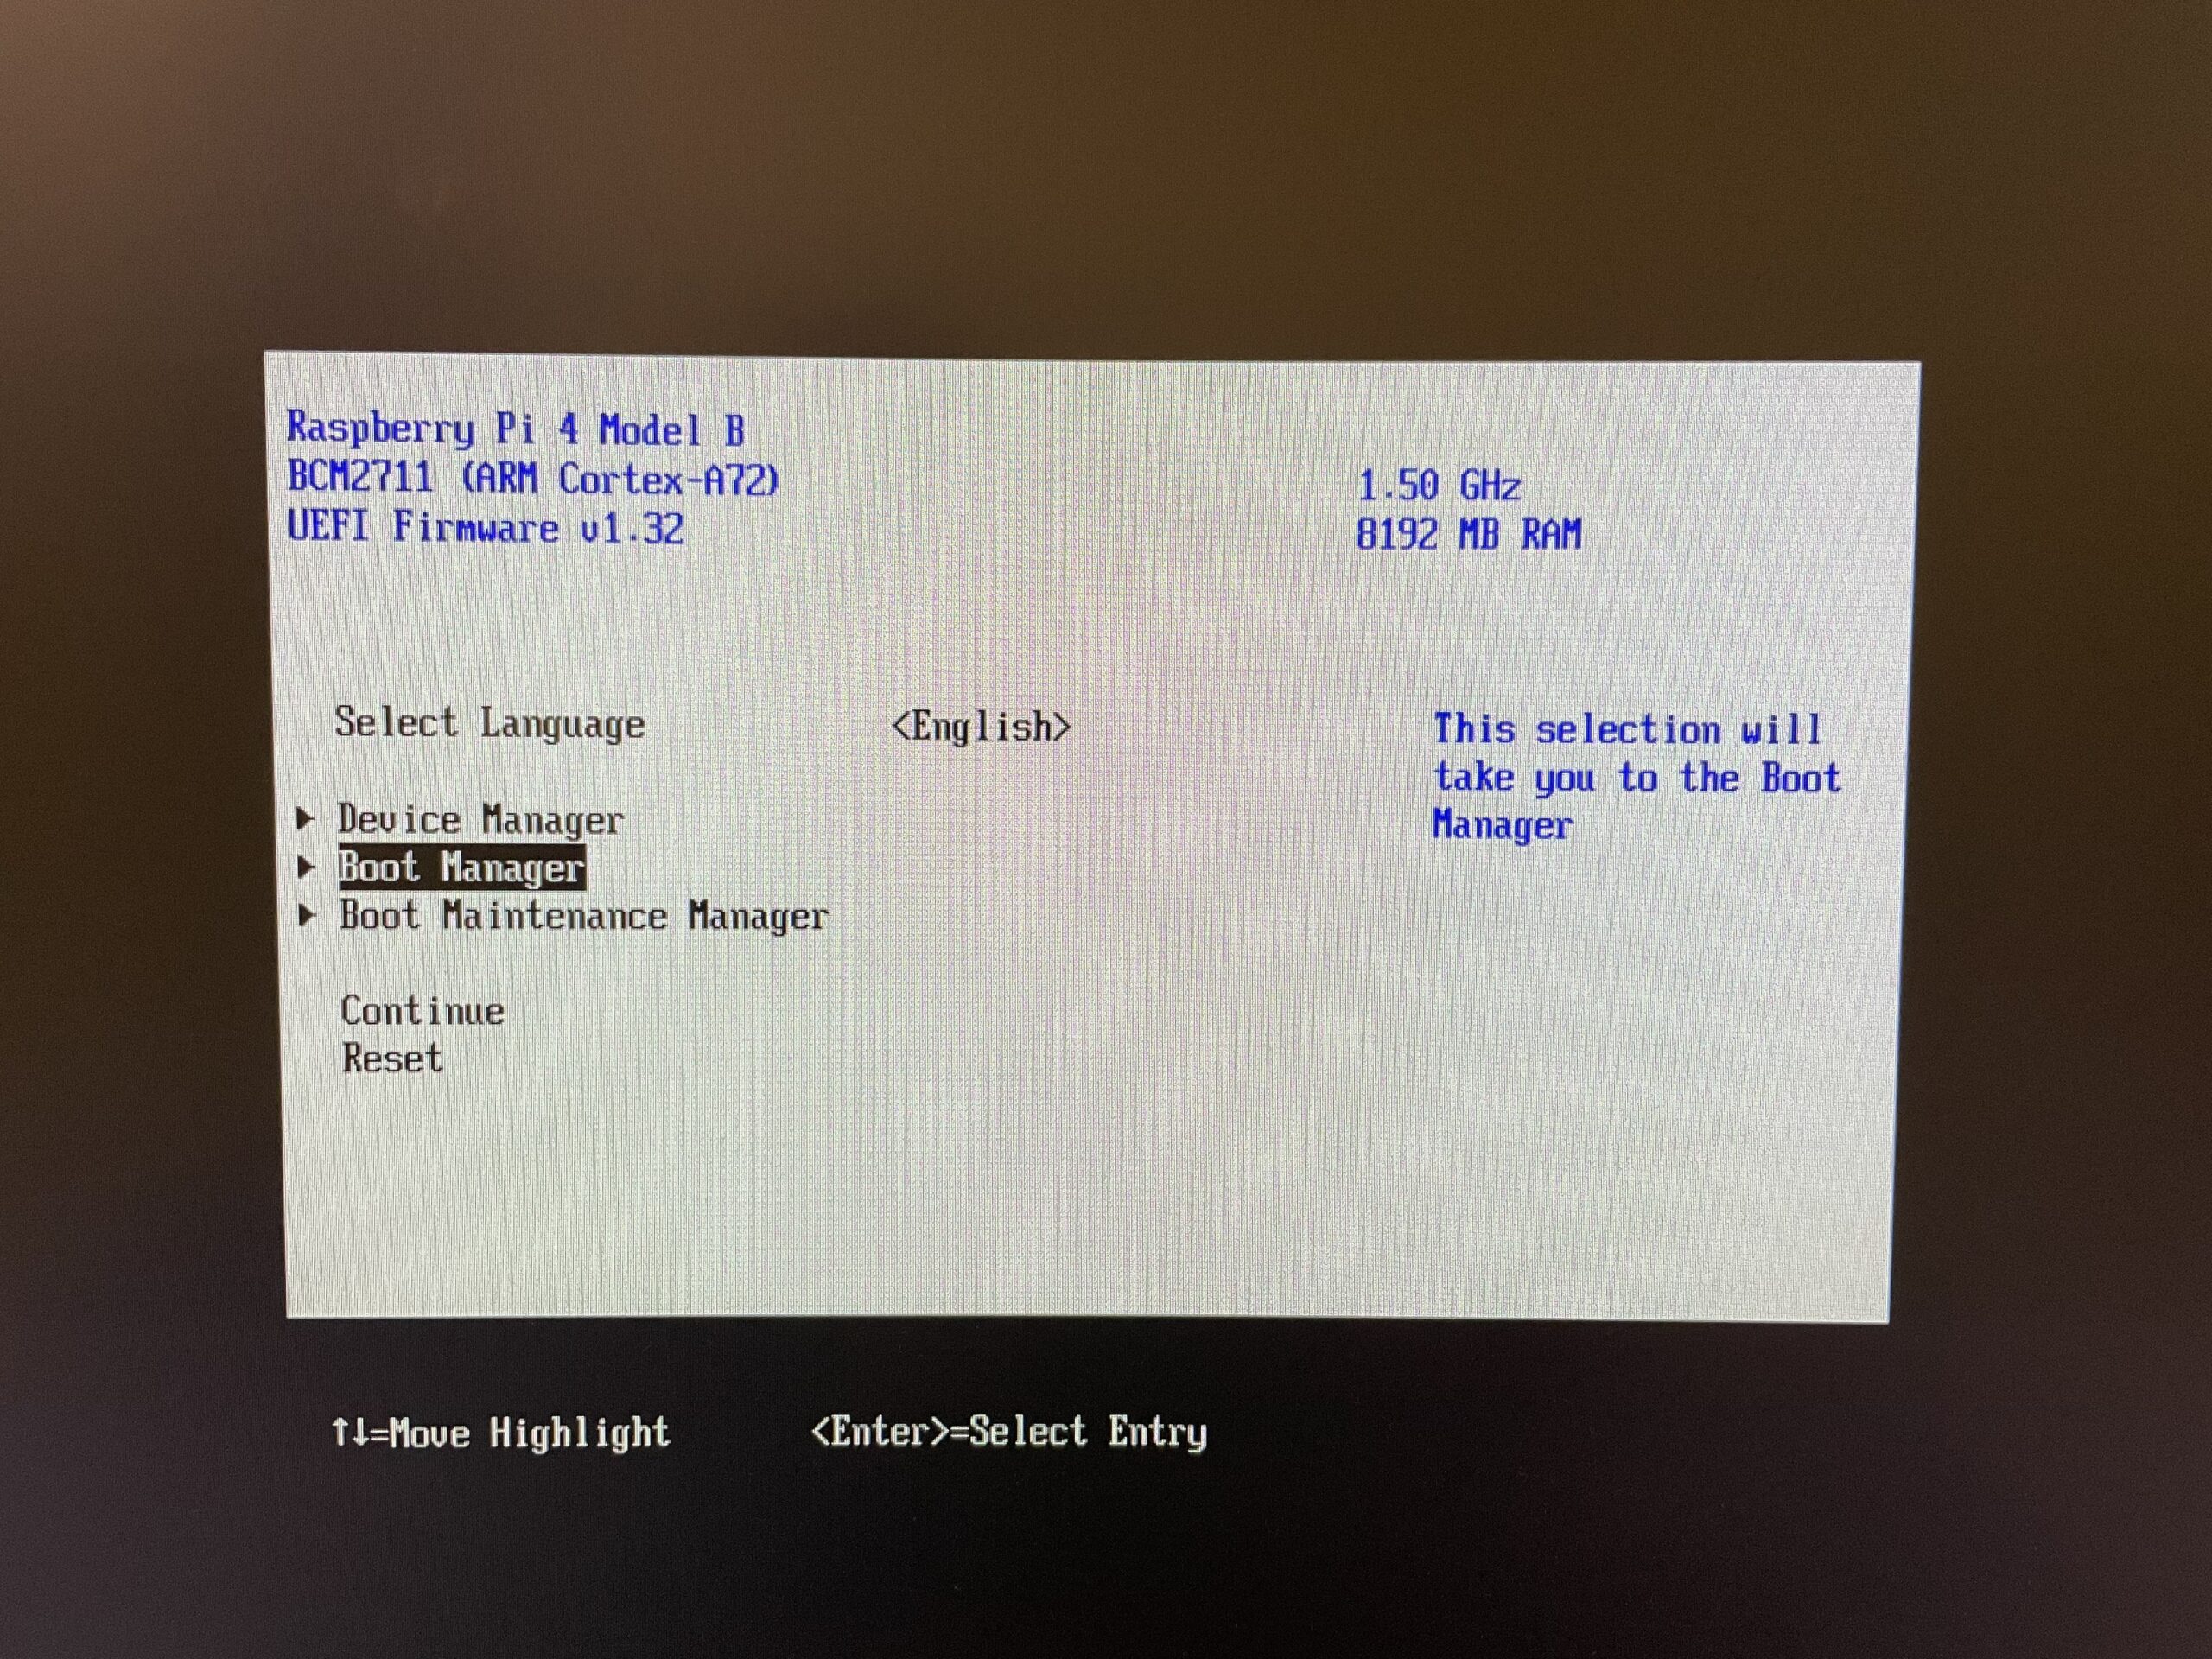
- Power on Rasberry Pi and while it’s booting, hit ESC button.
2. Select Device Manager
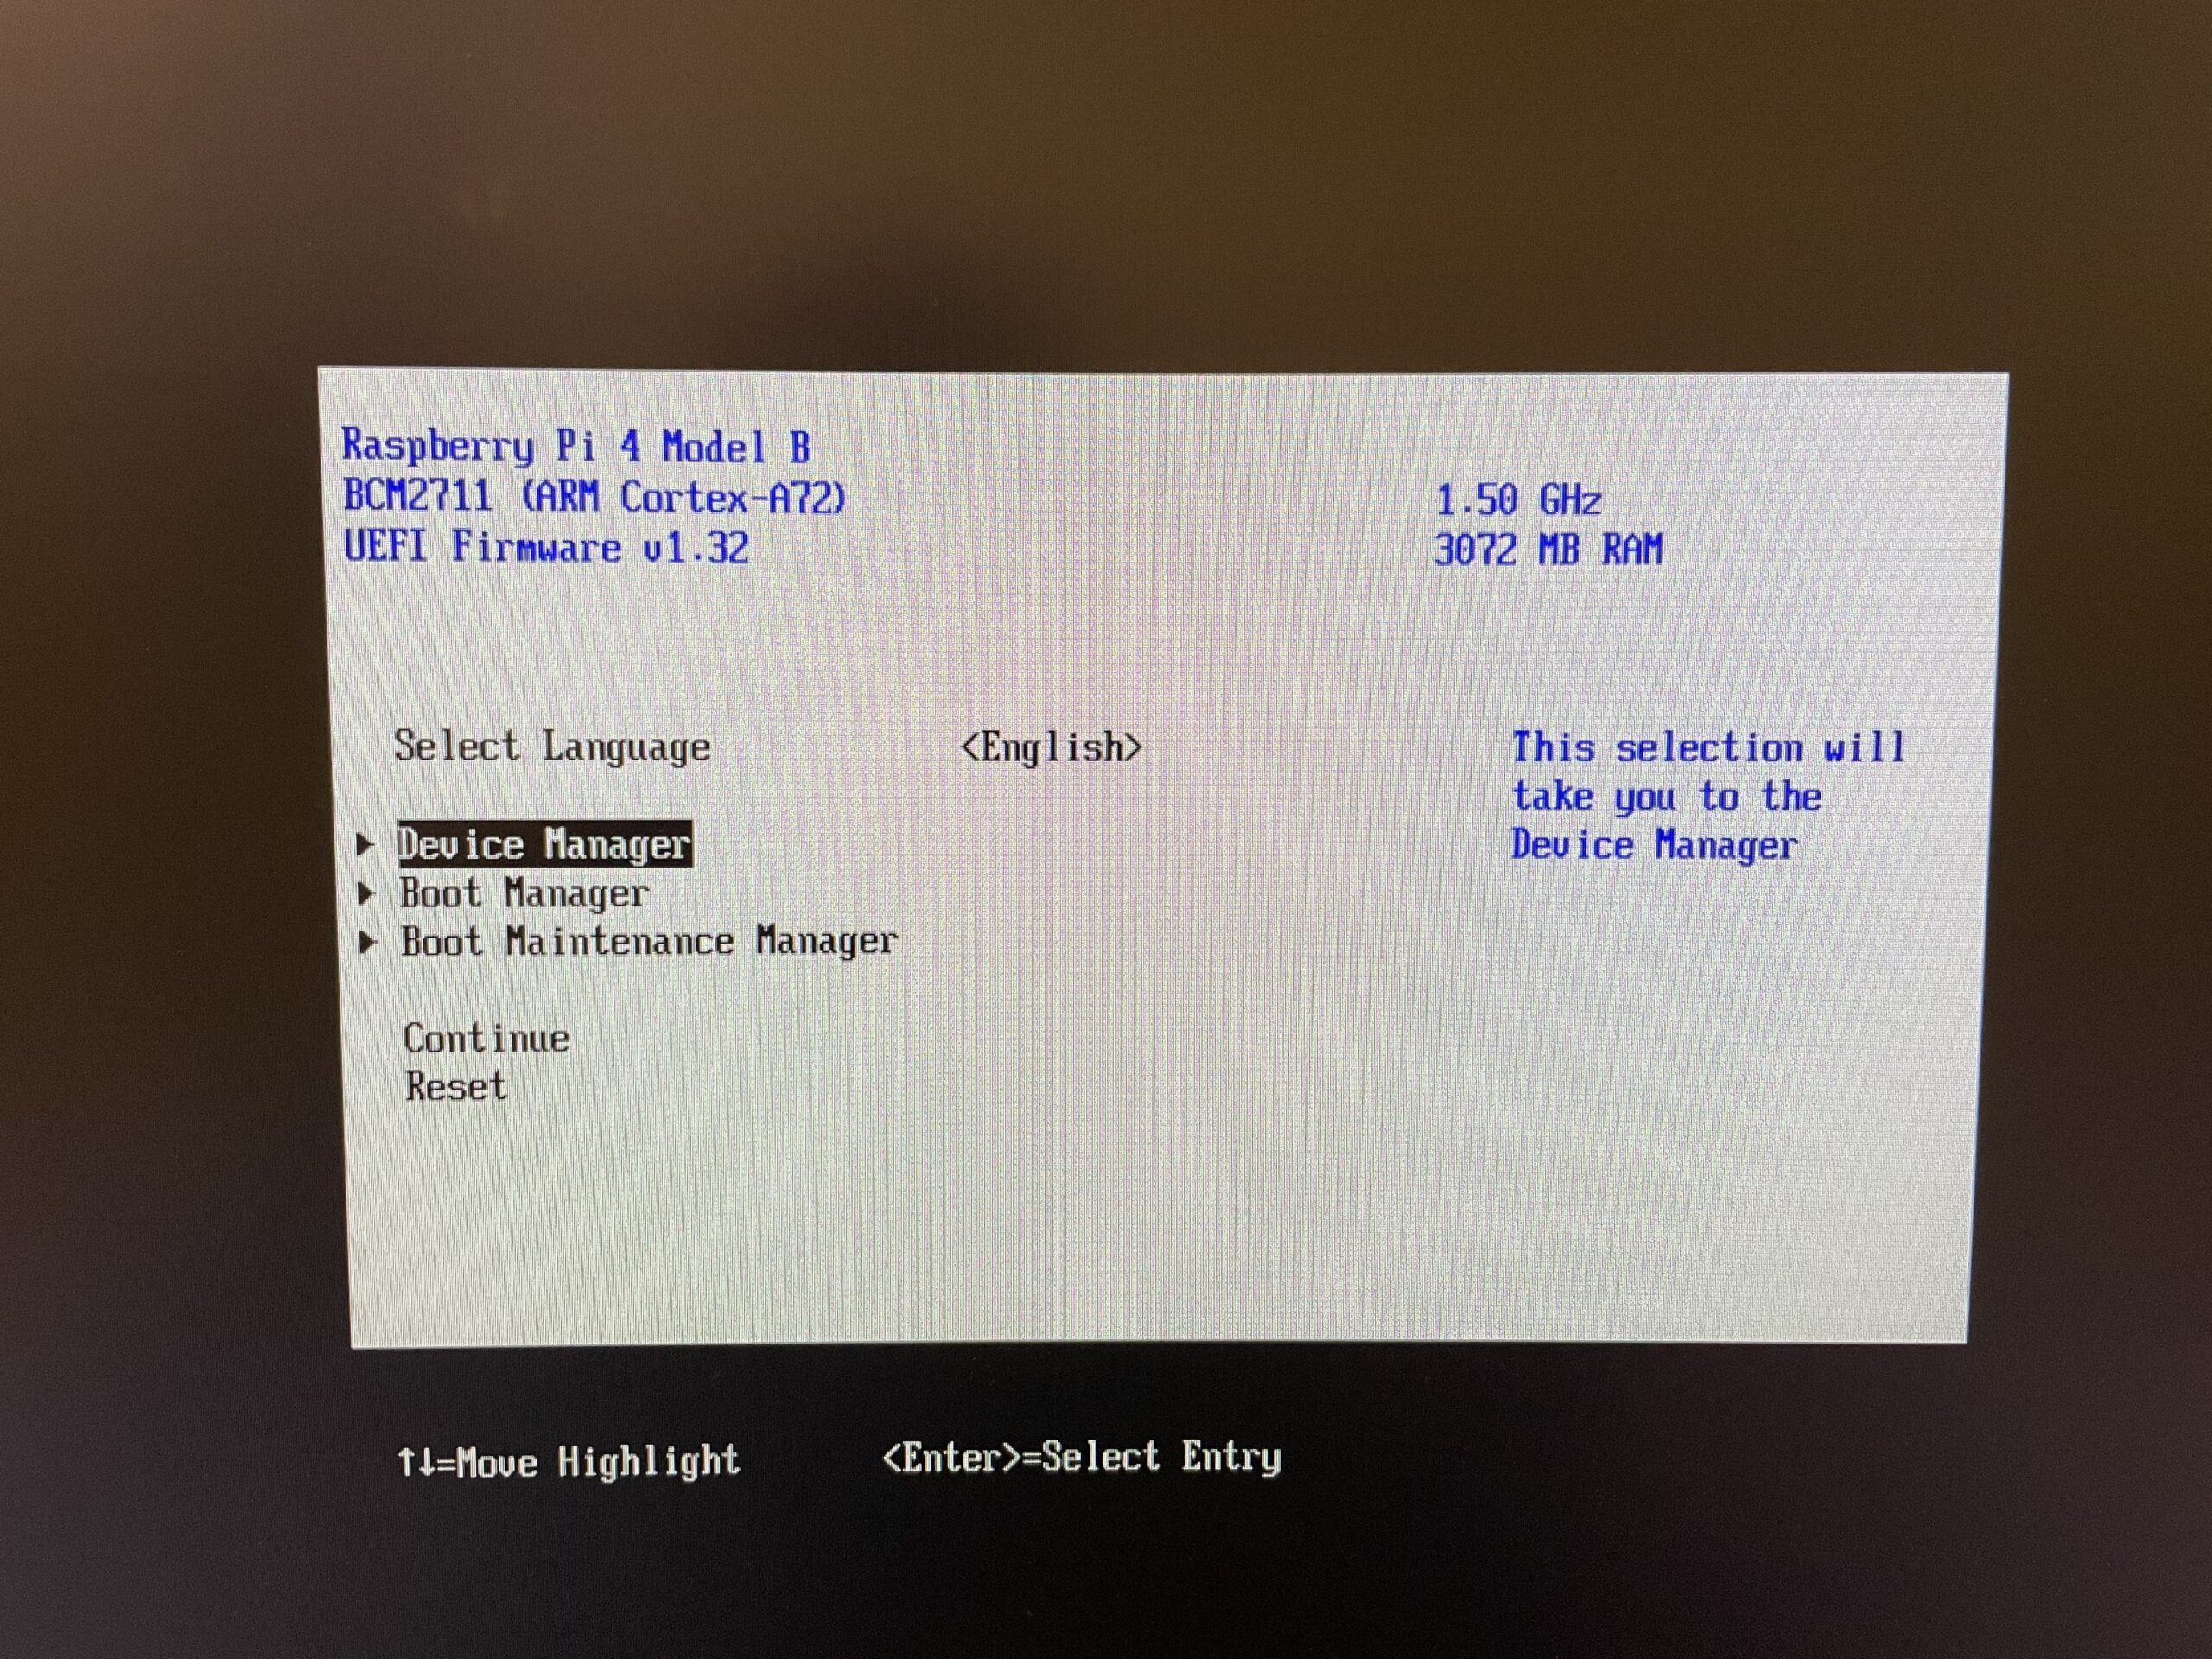
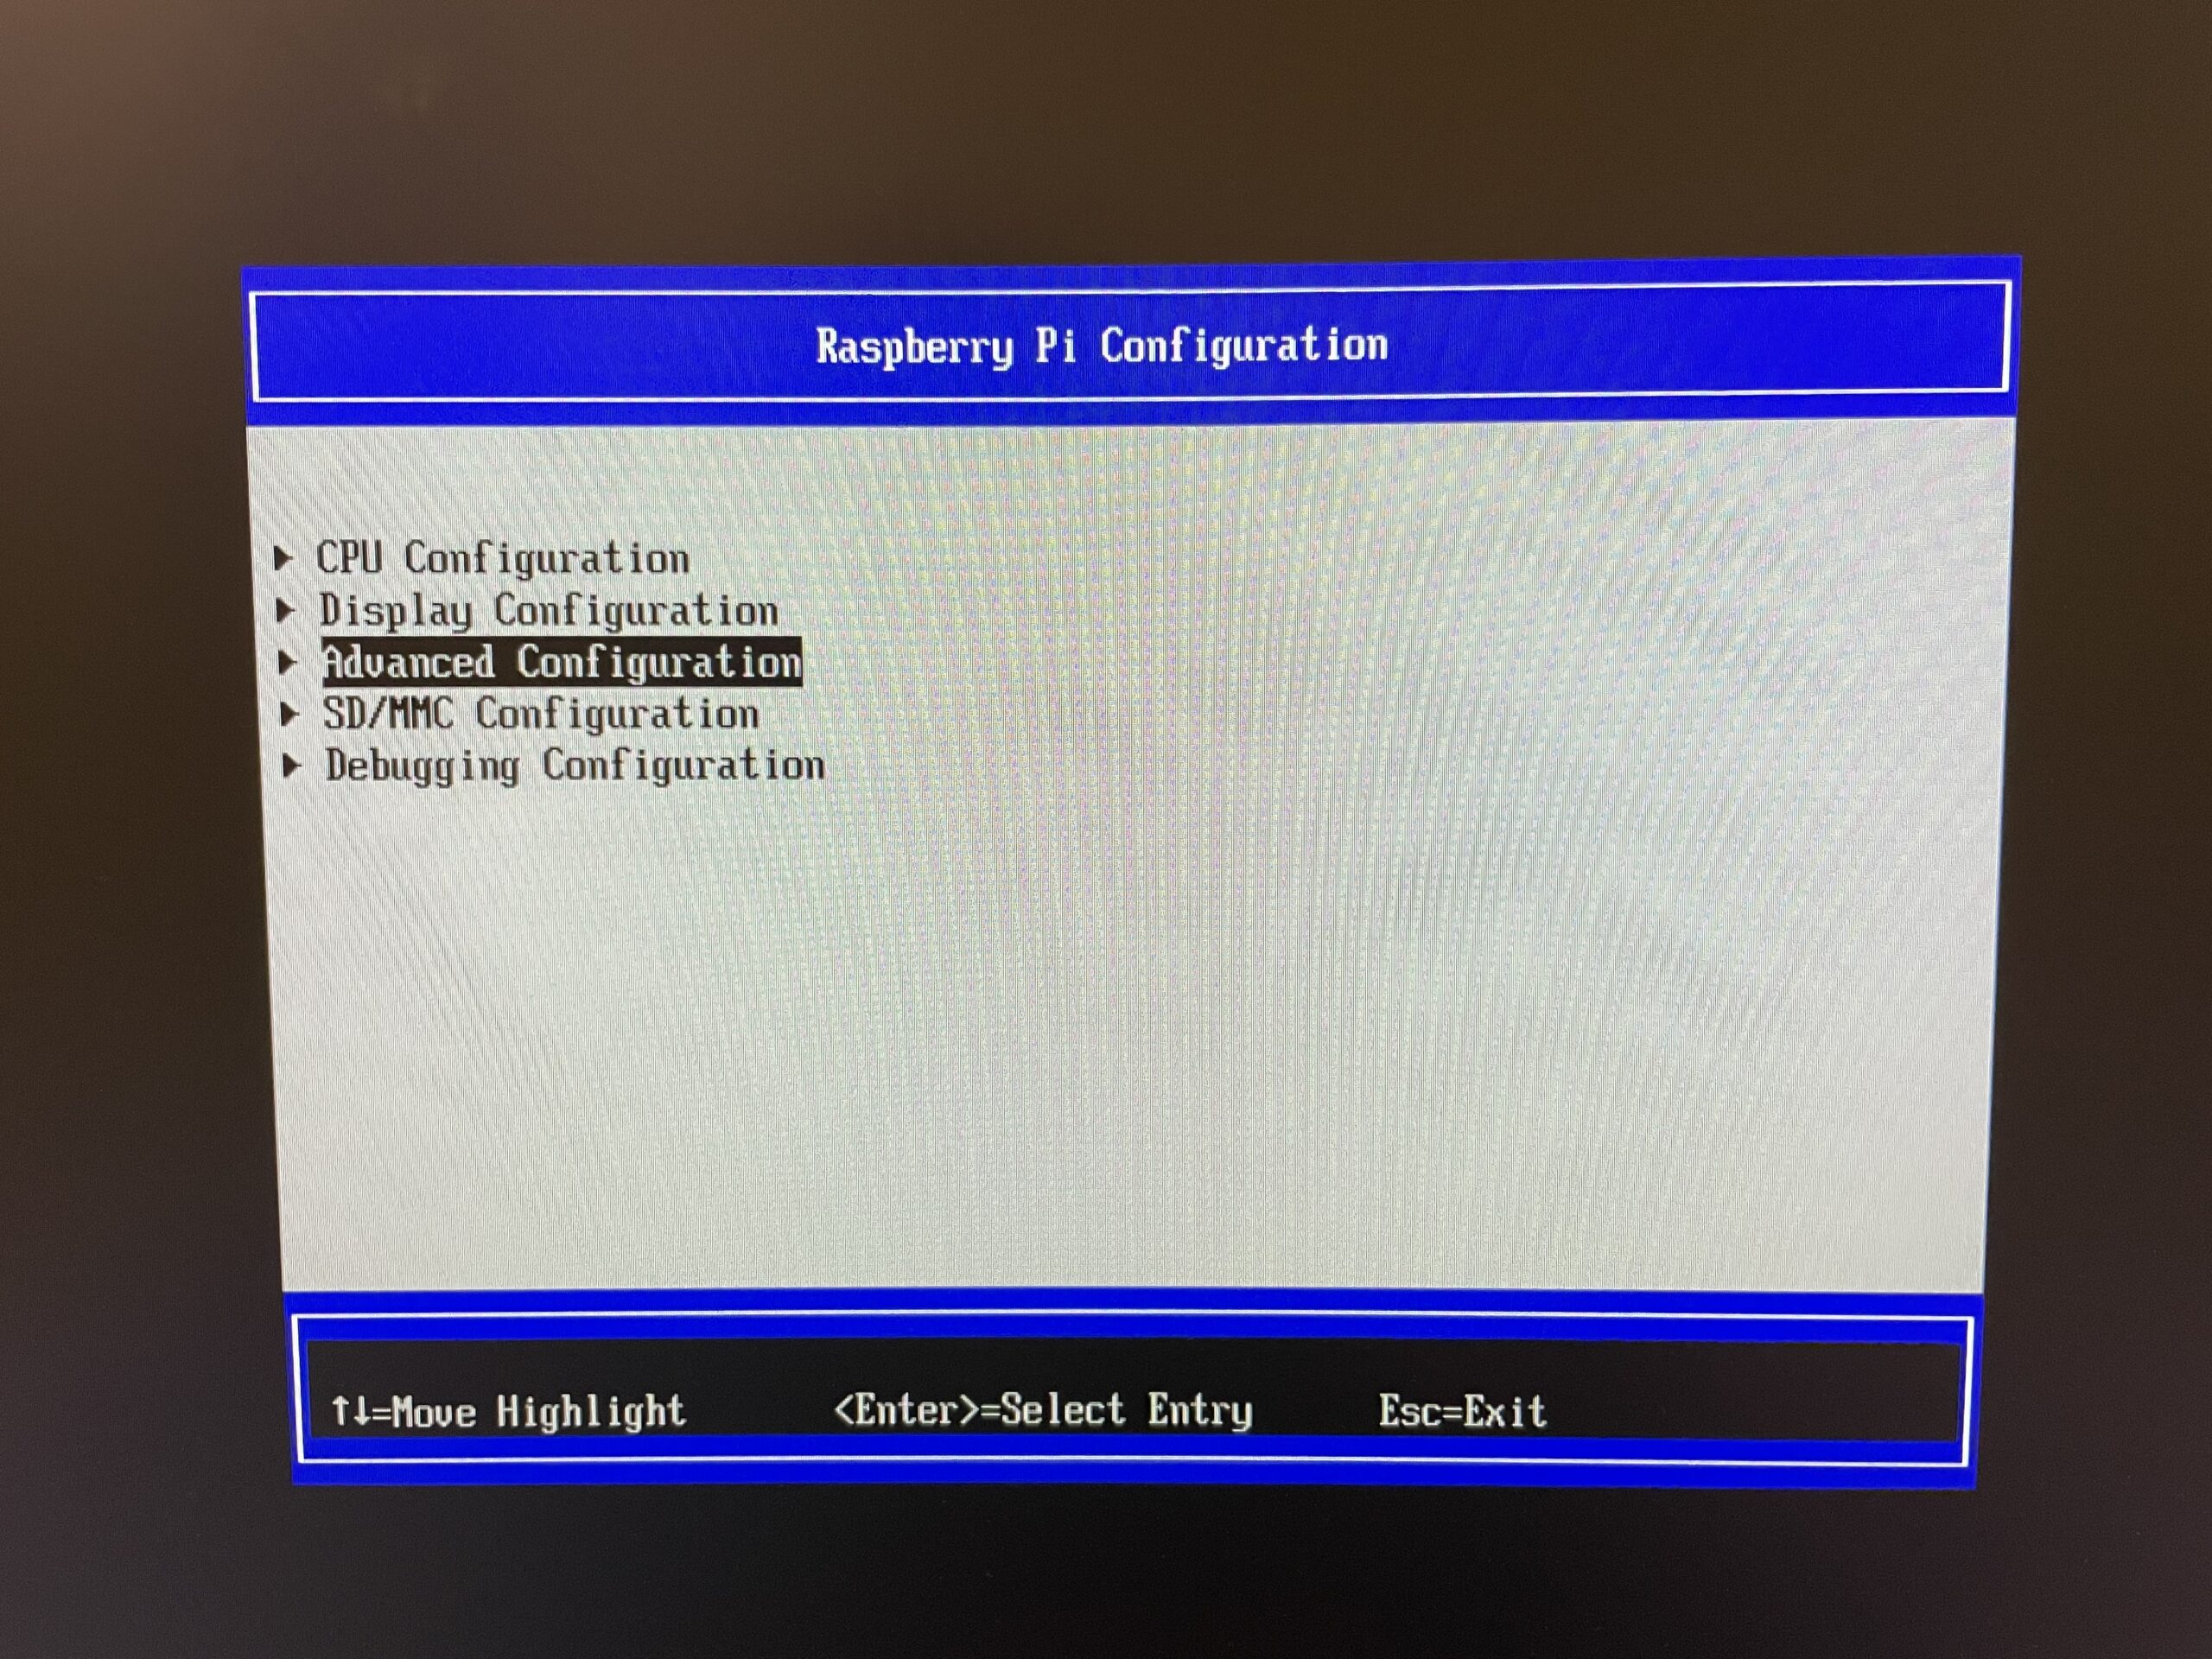
3. Select Raspberry Pi Configuration.

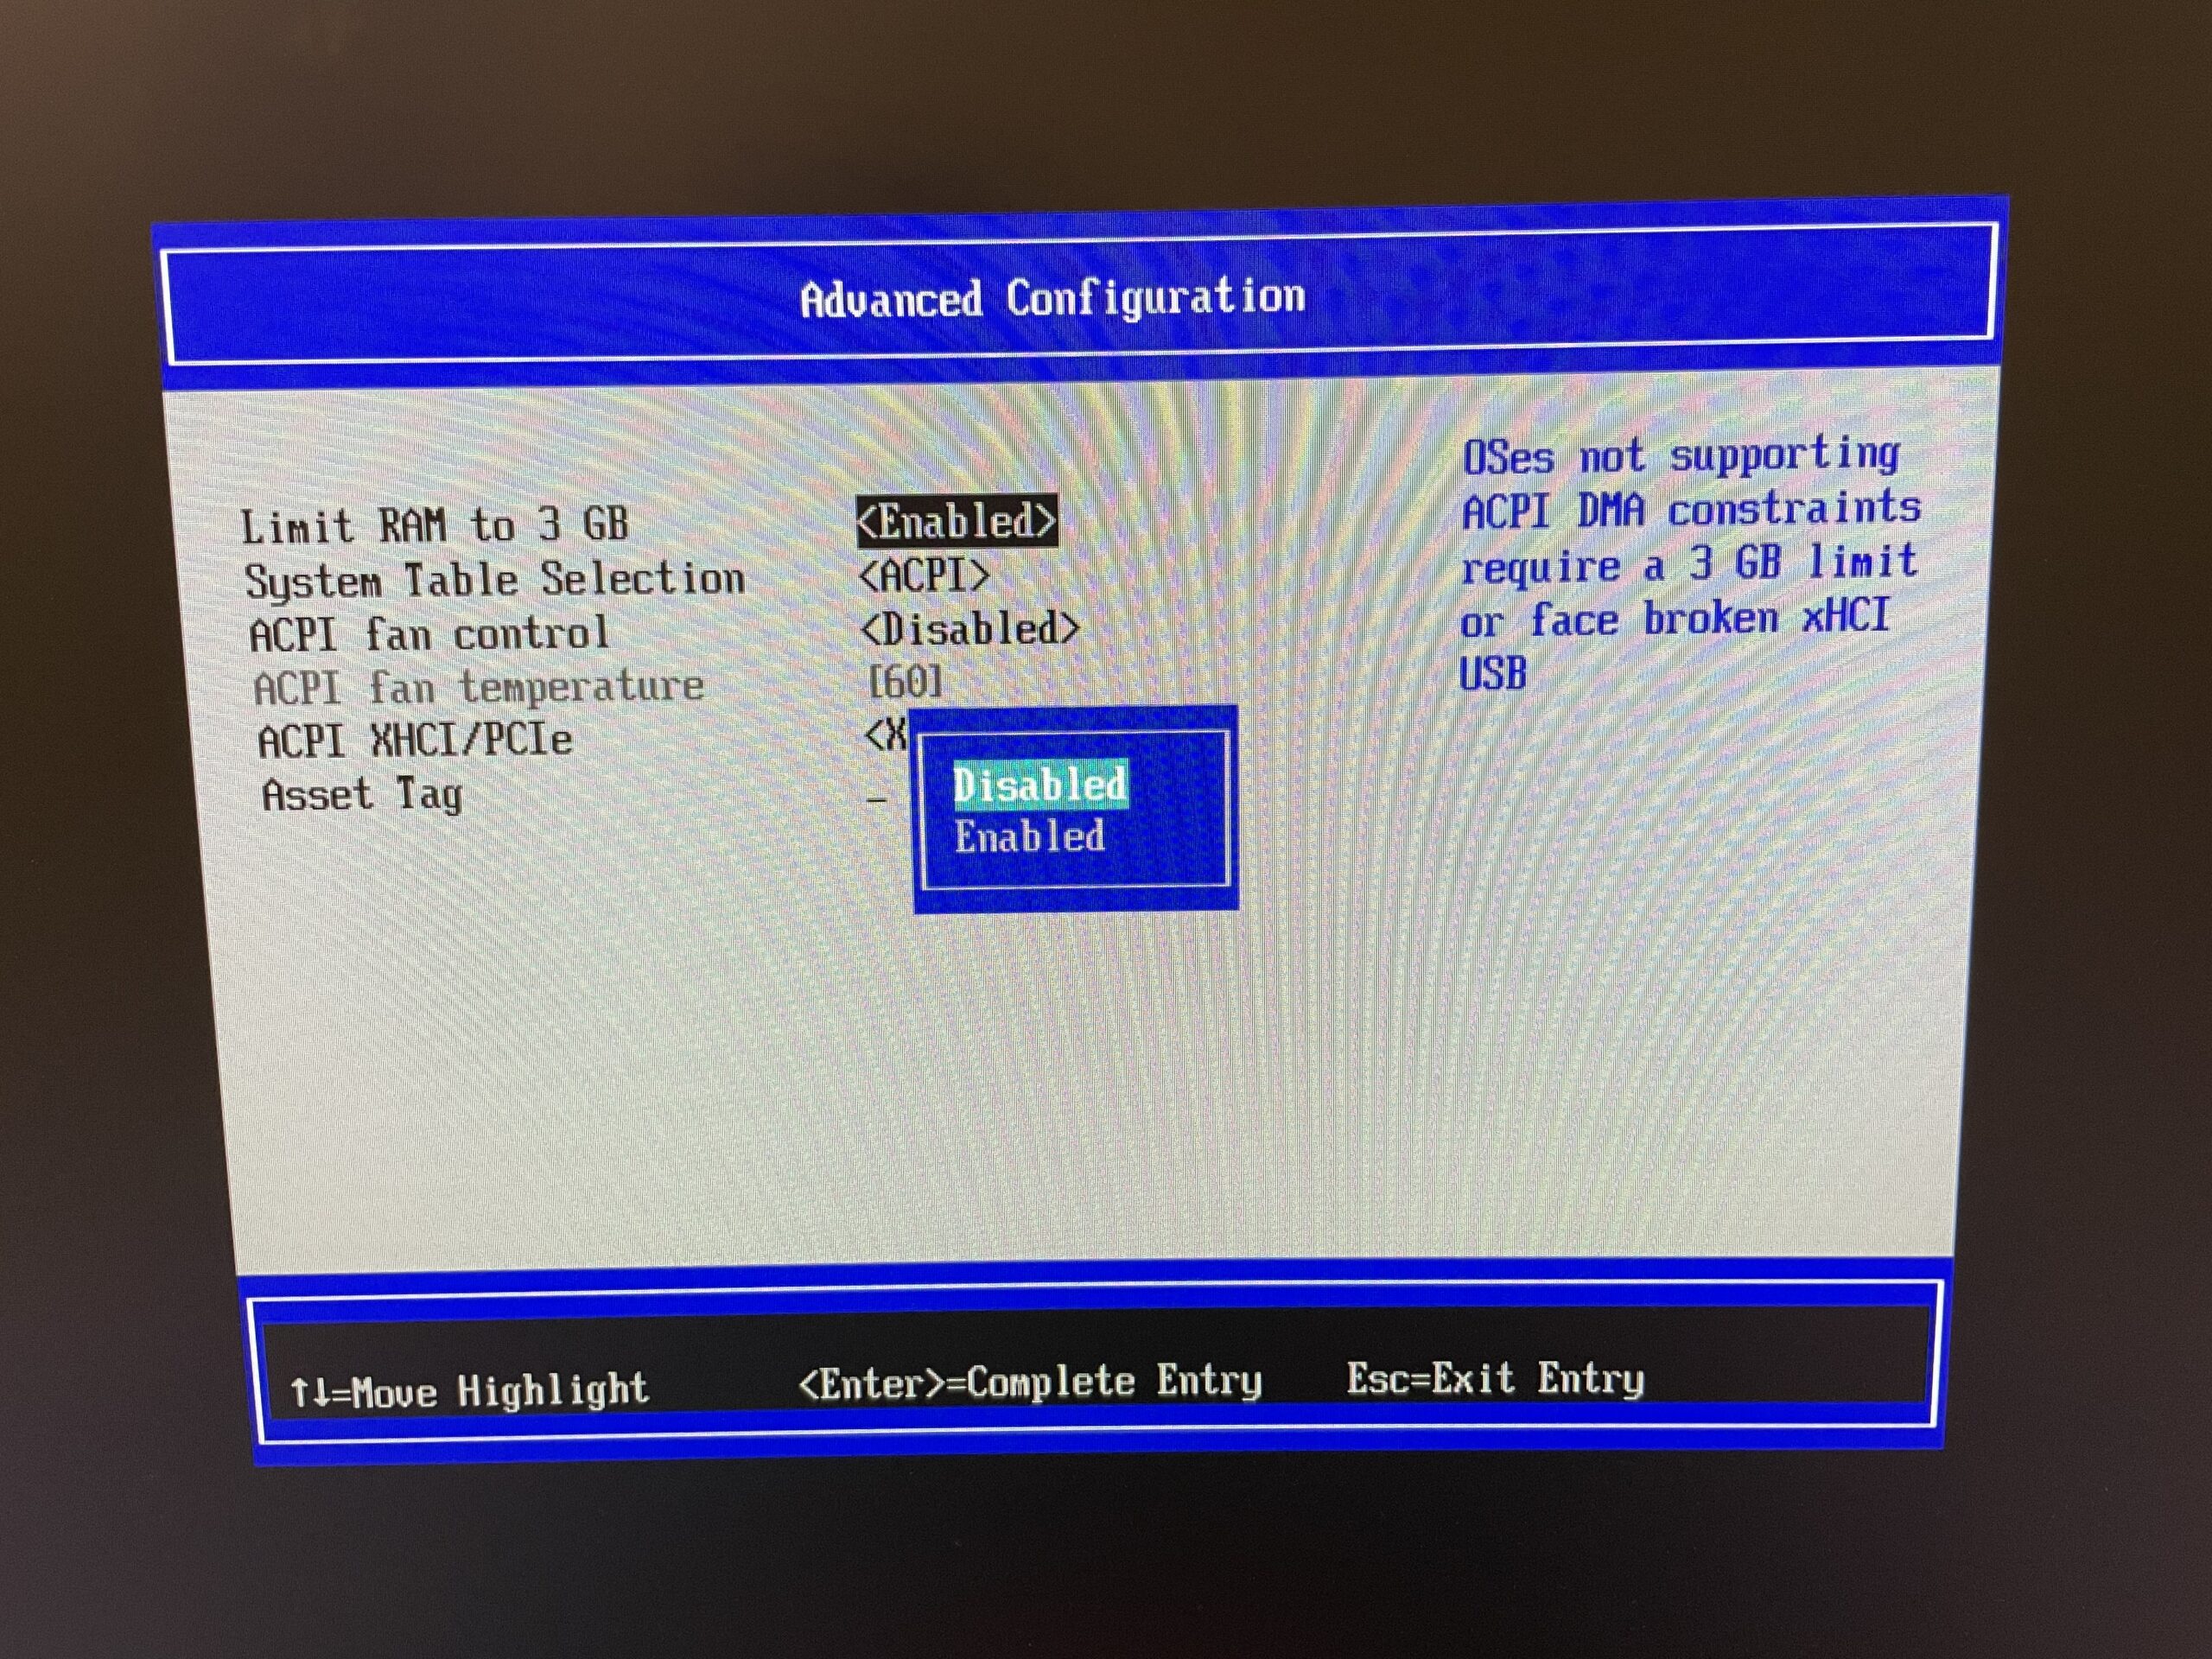
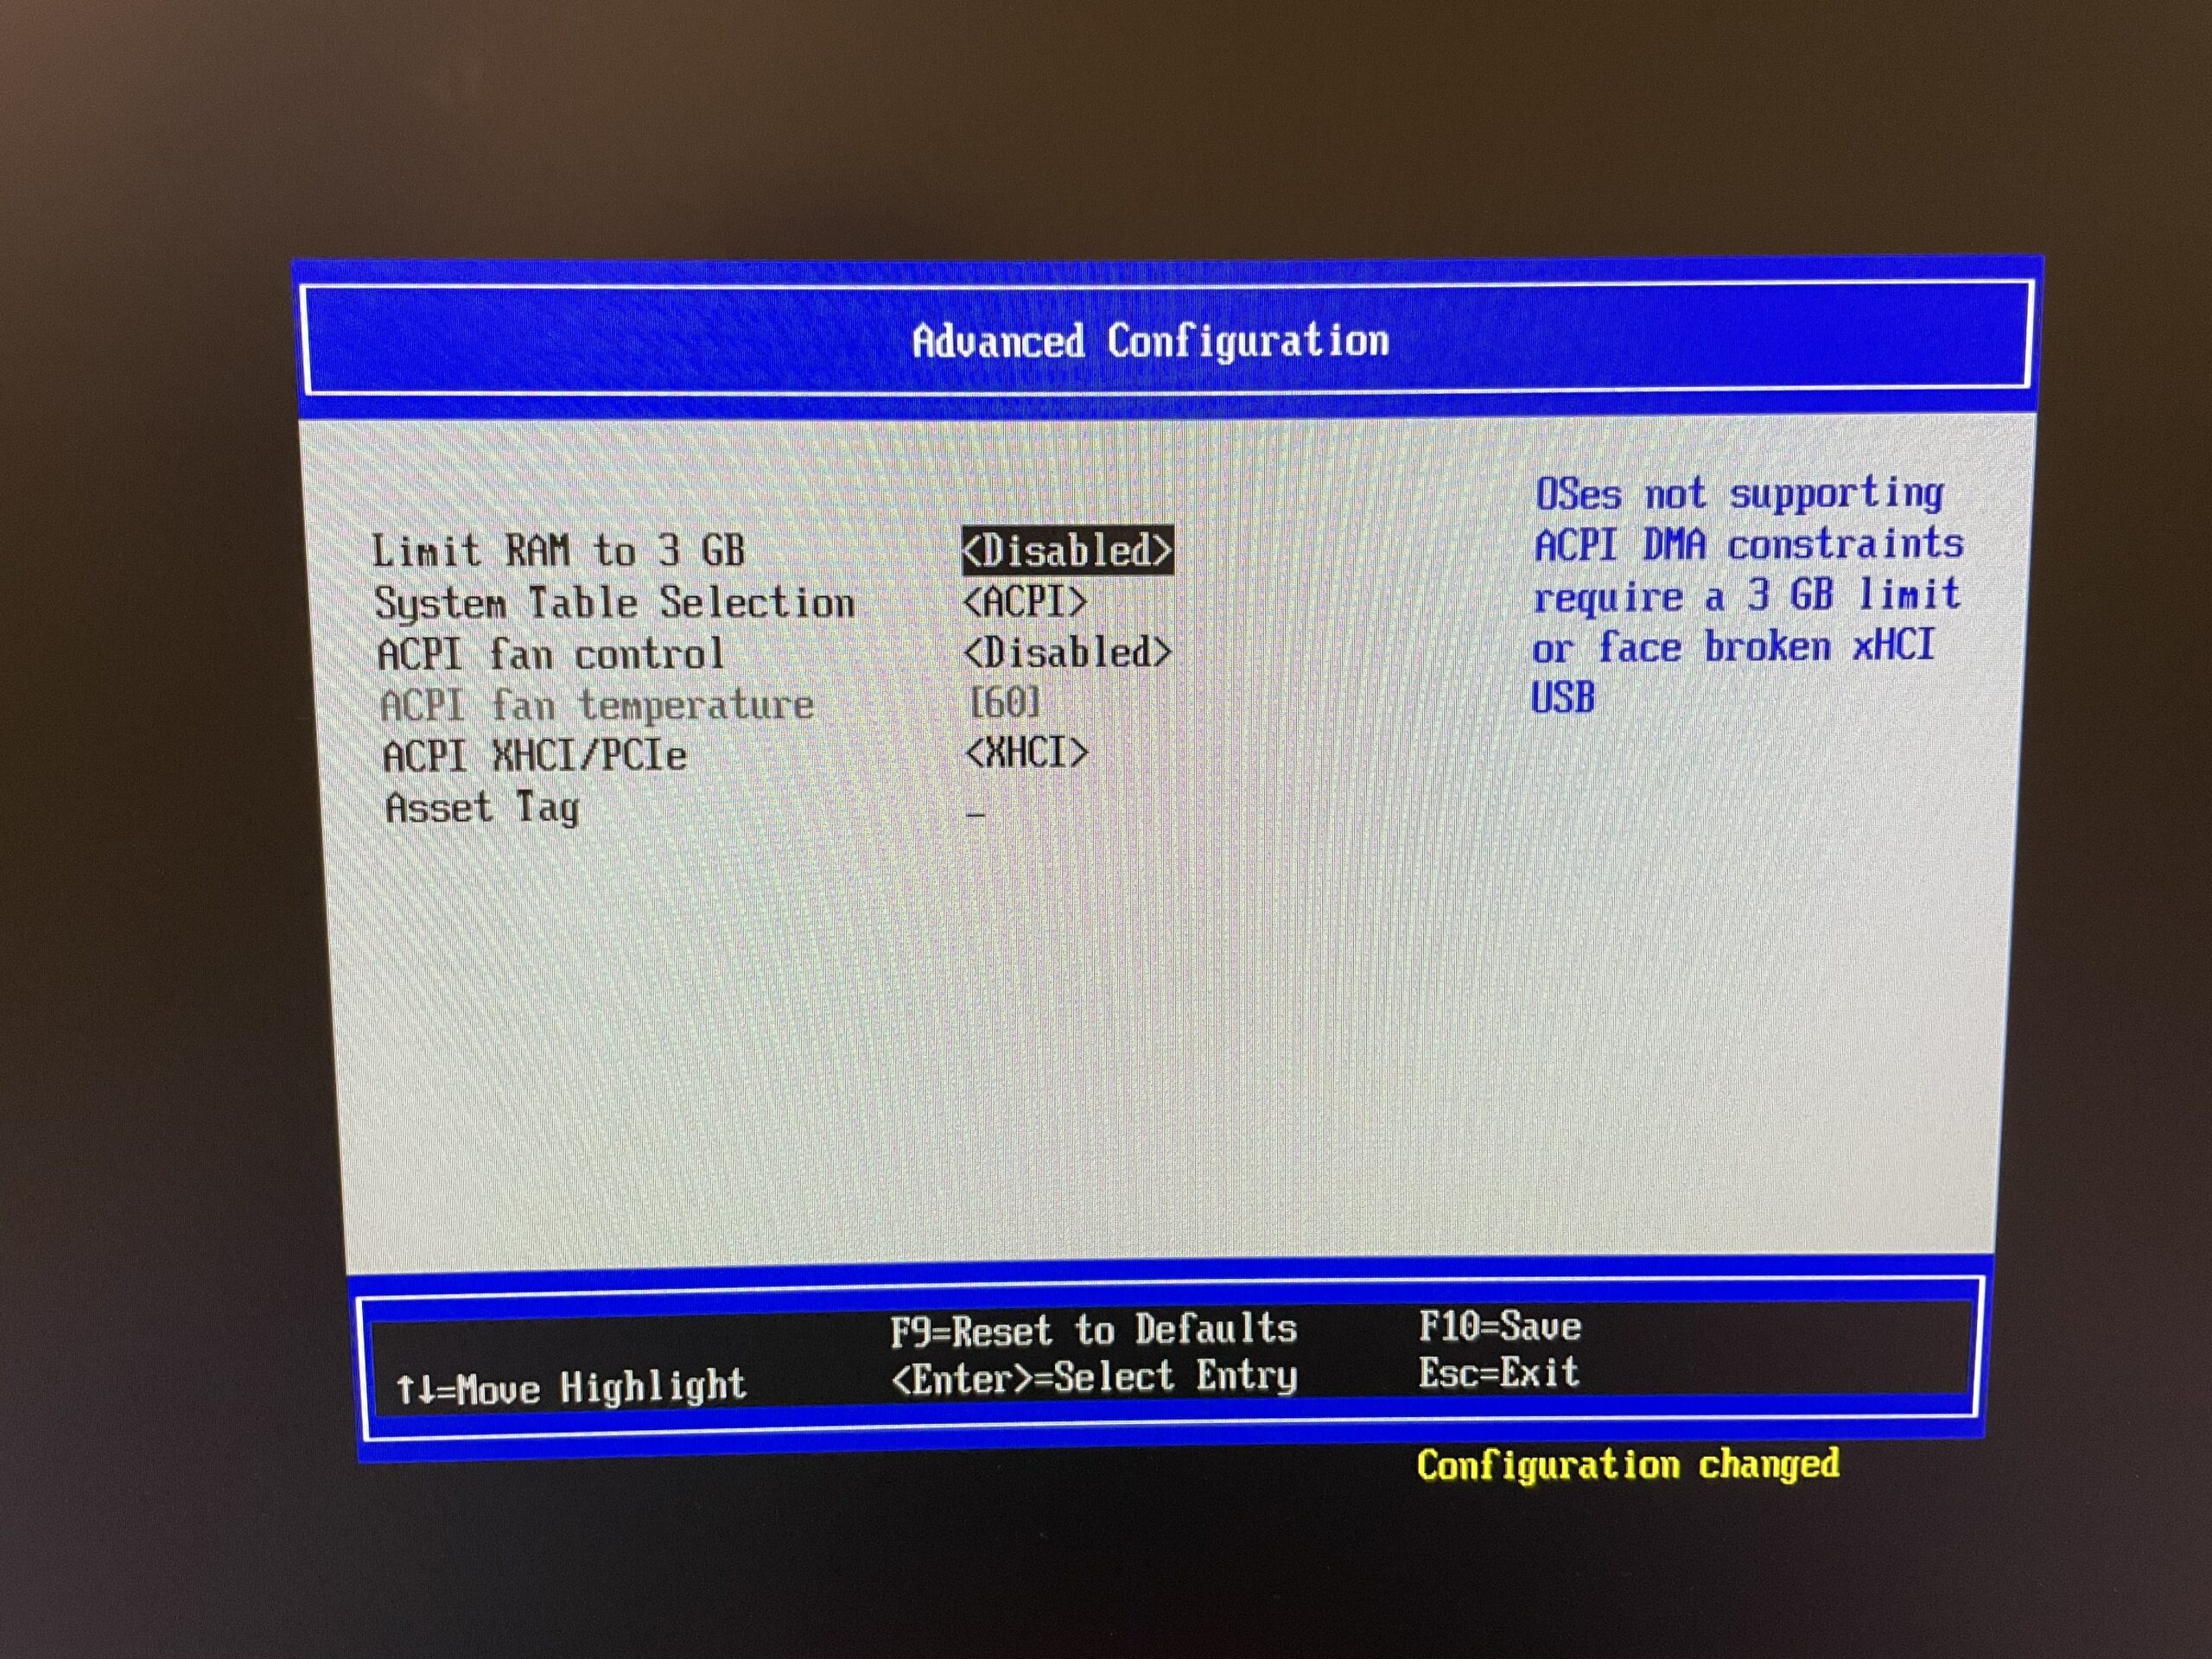
4. Select Advanced Configuration.
5. Change Limit RAM to 3 GB from Enabled status to Disabled. It’s very importat, because if we don’t change this parameter, we can’t boot ESXi.
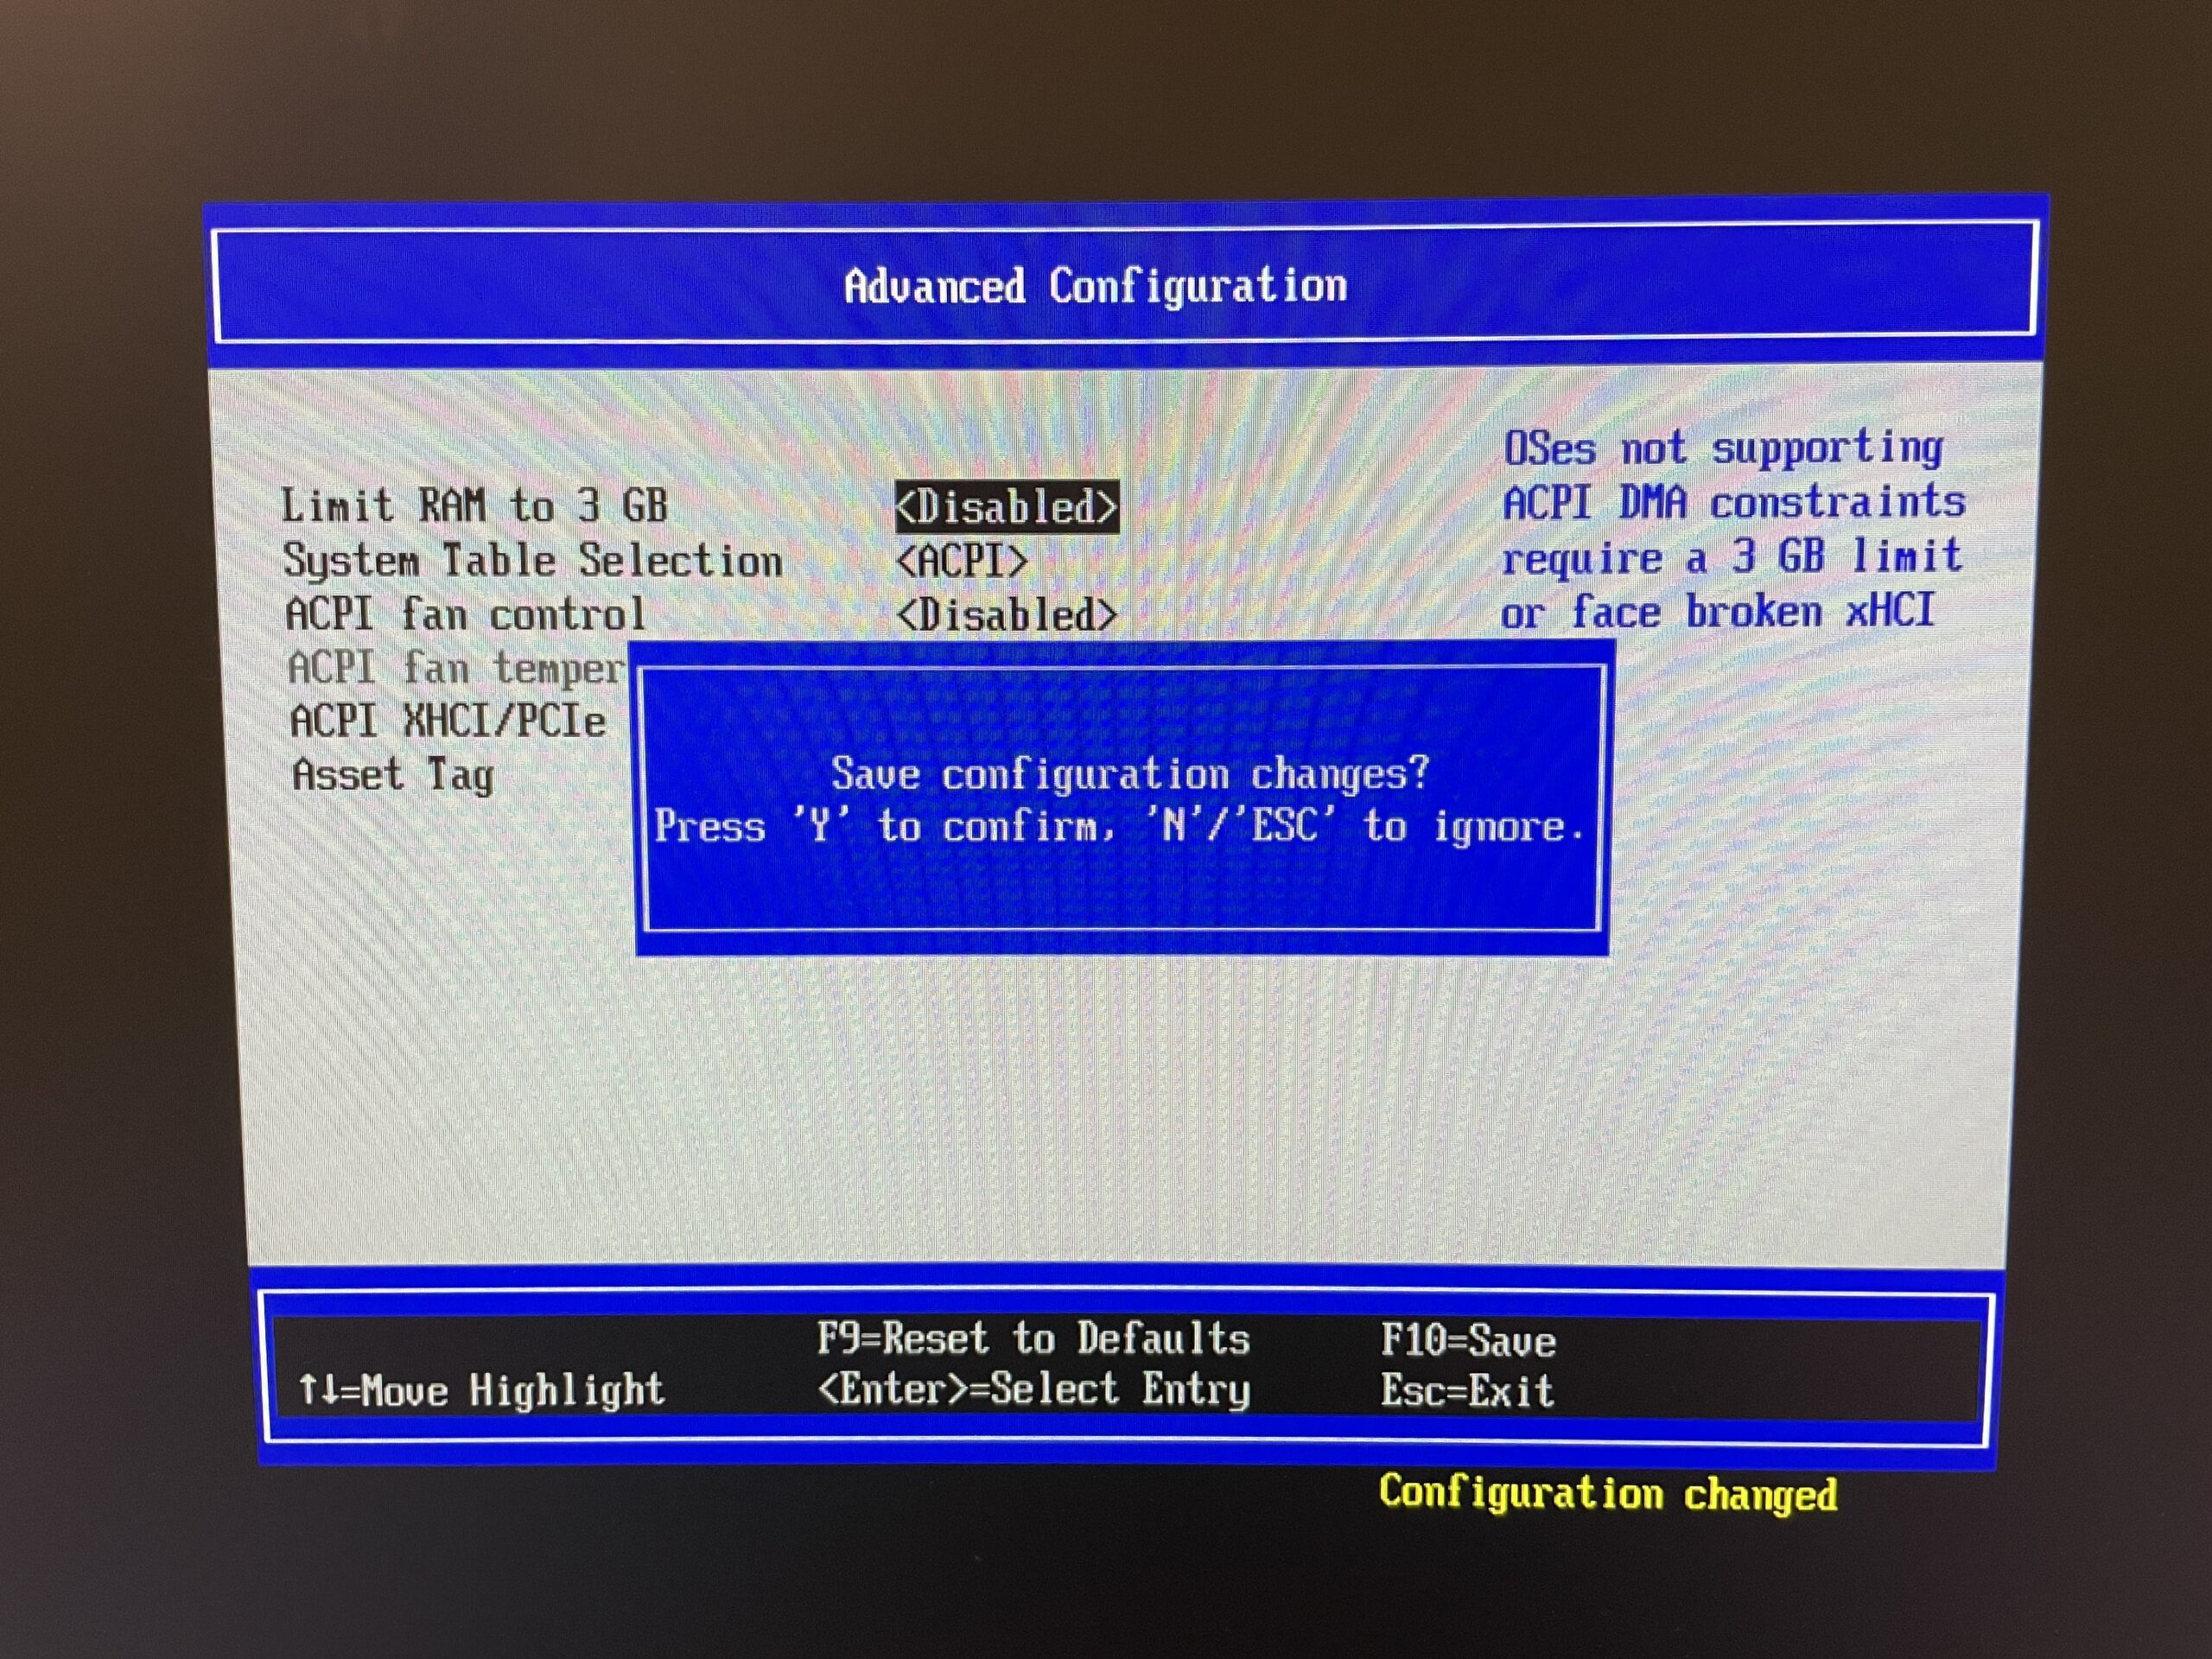
6. Press F10 to Save, next press ‘Y’ to confirm.
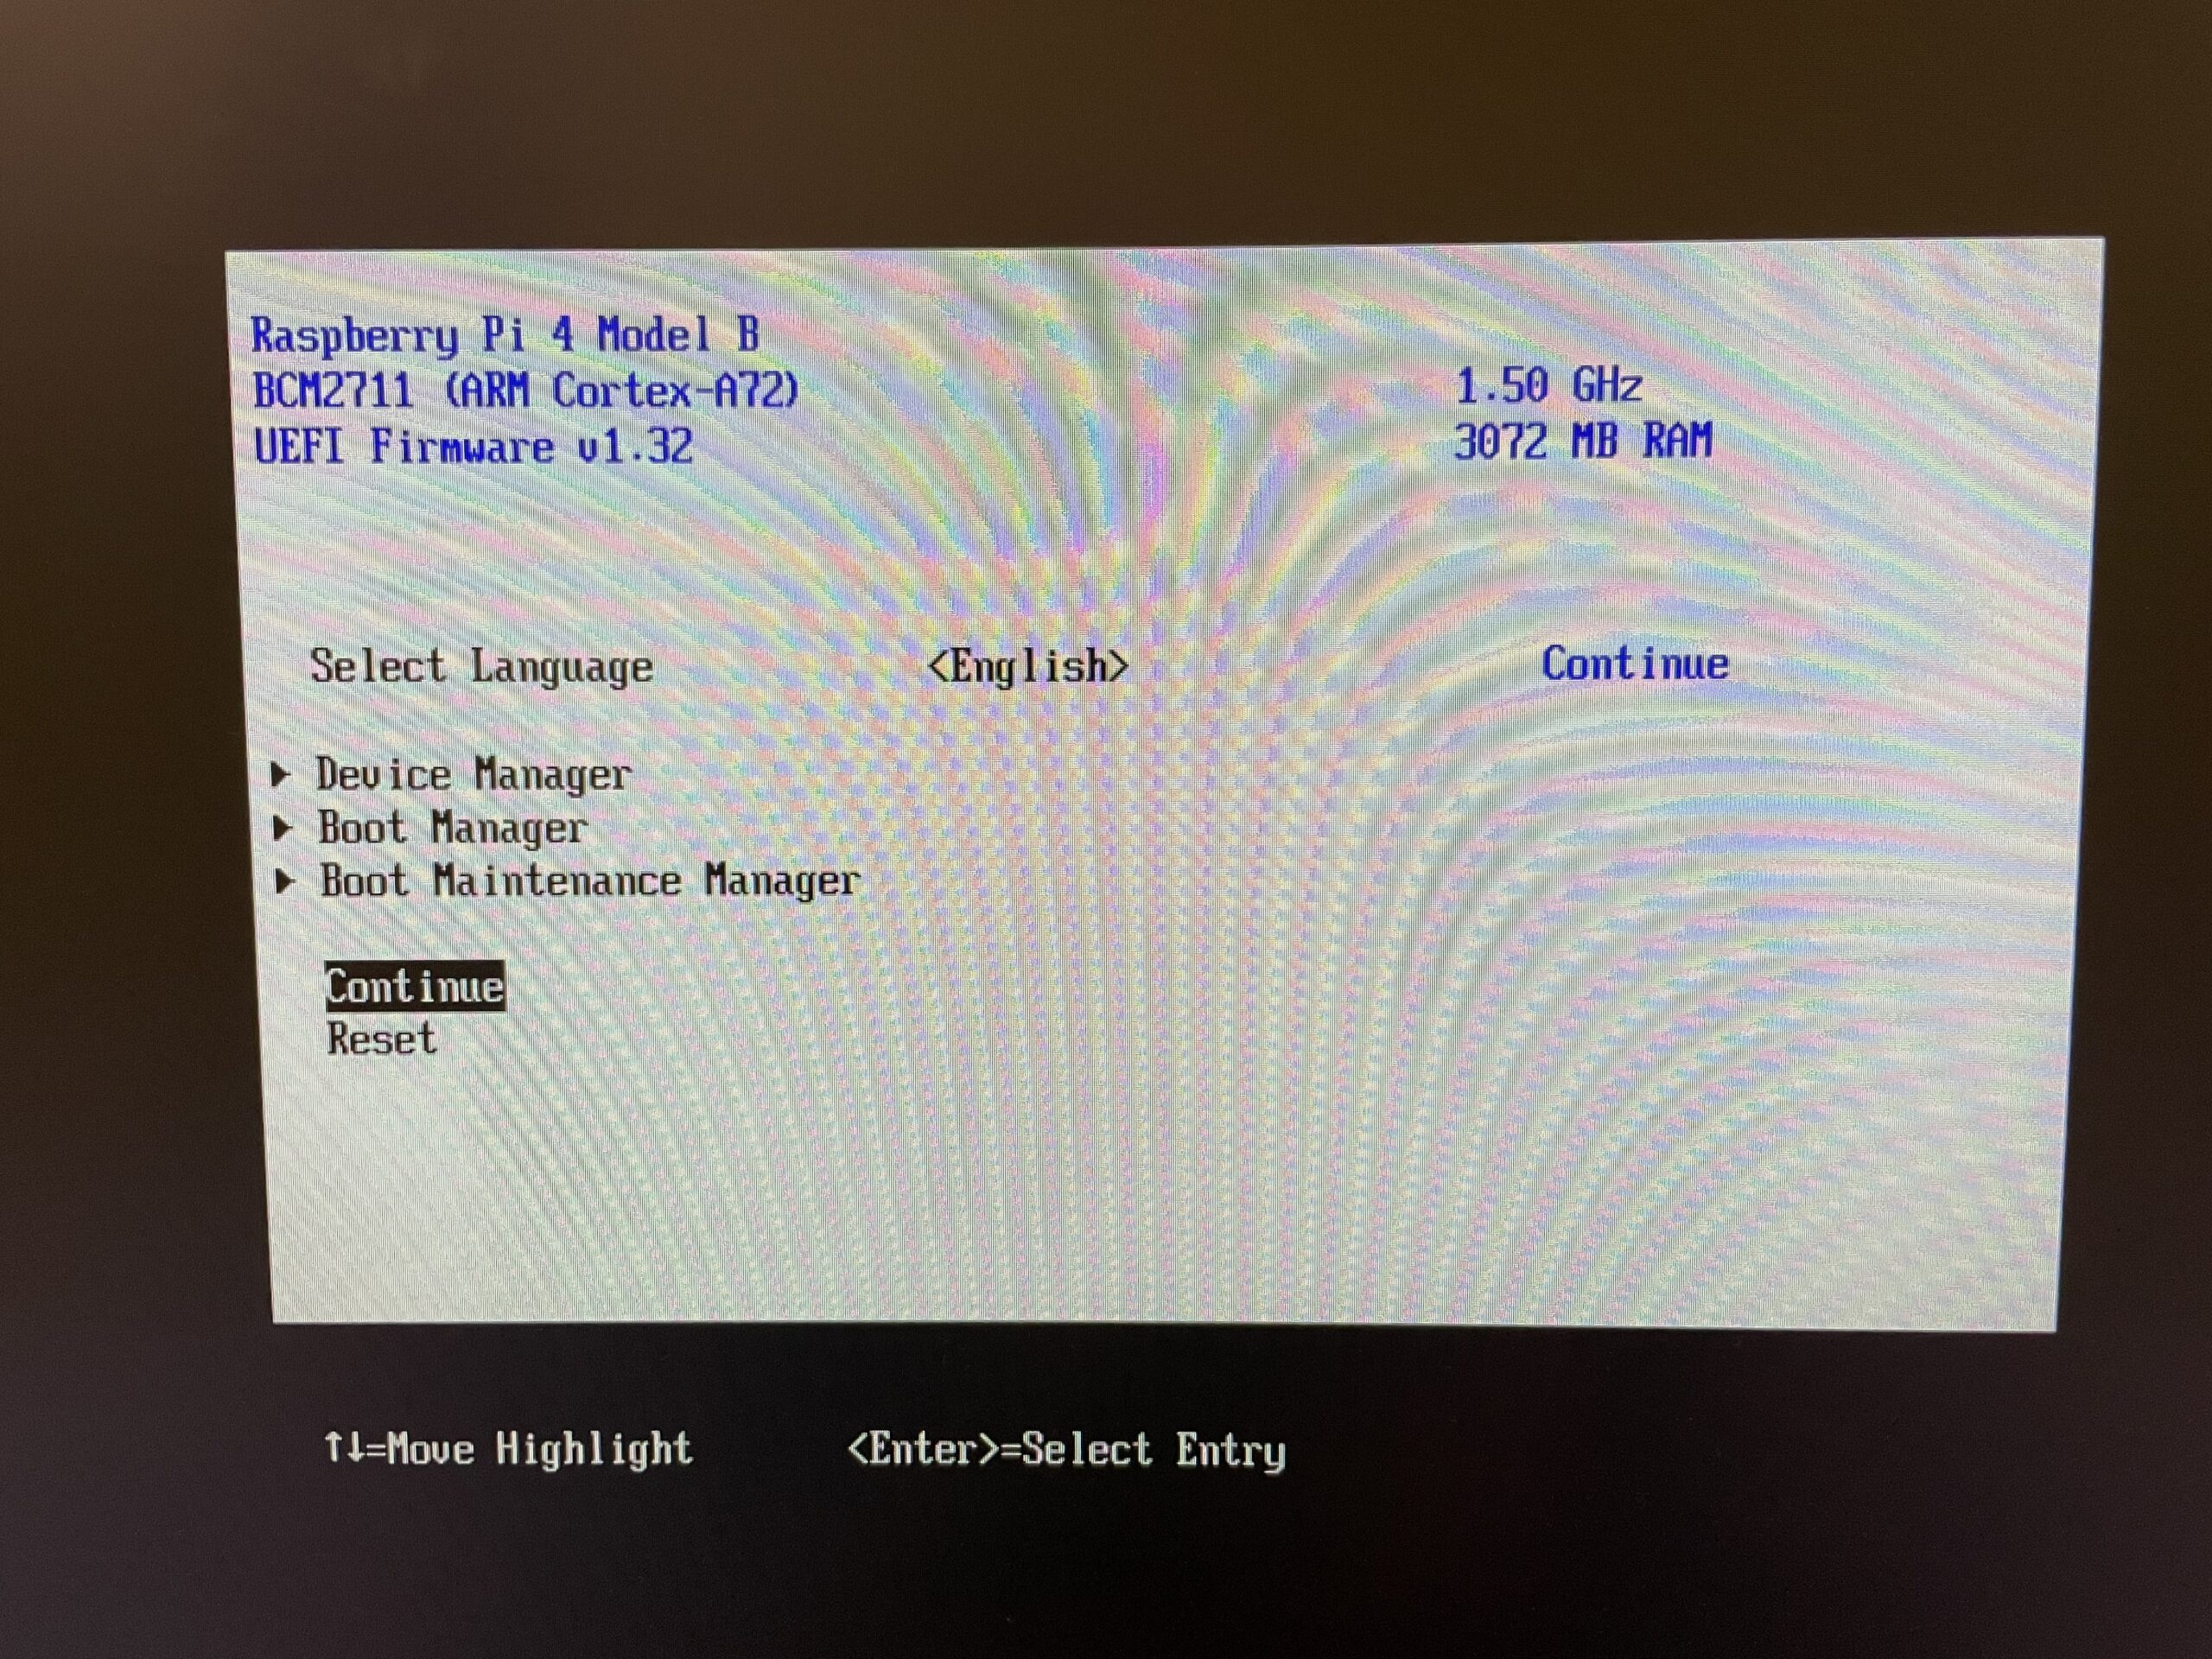
7. Press ESC few times to come back to main screen. And than, choose Continue and press enter.
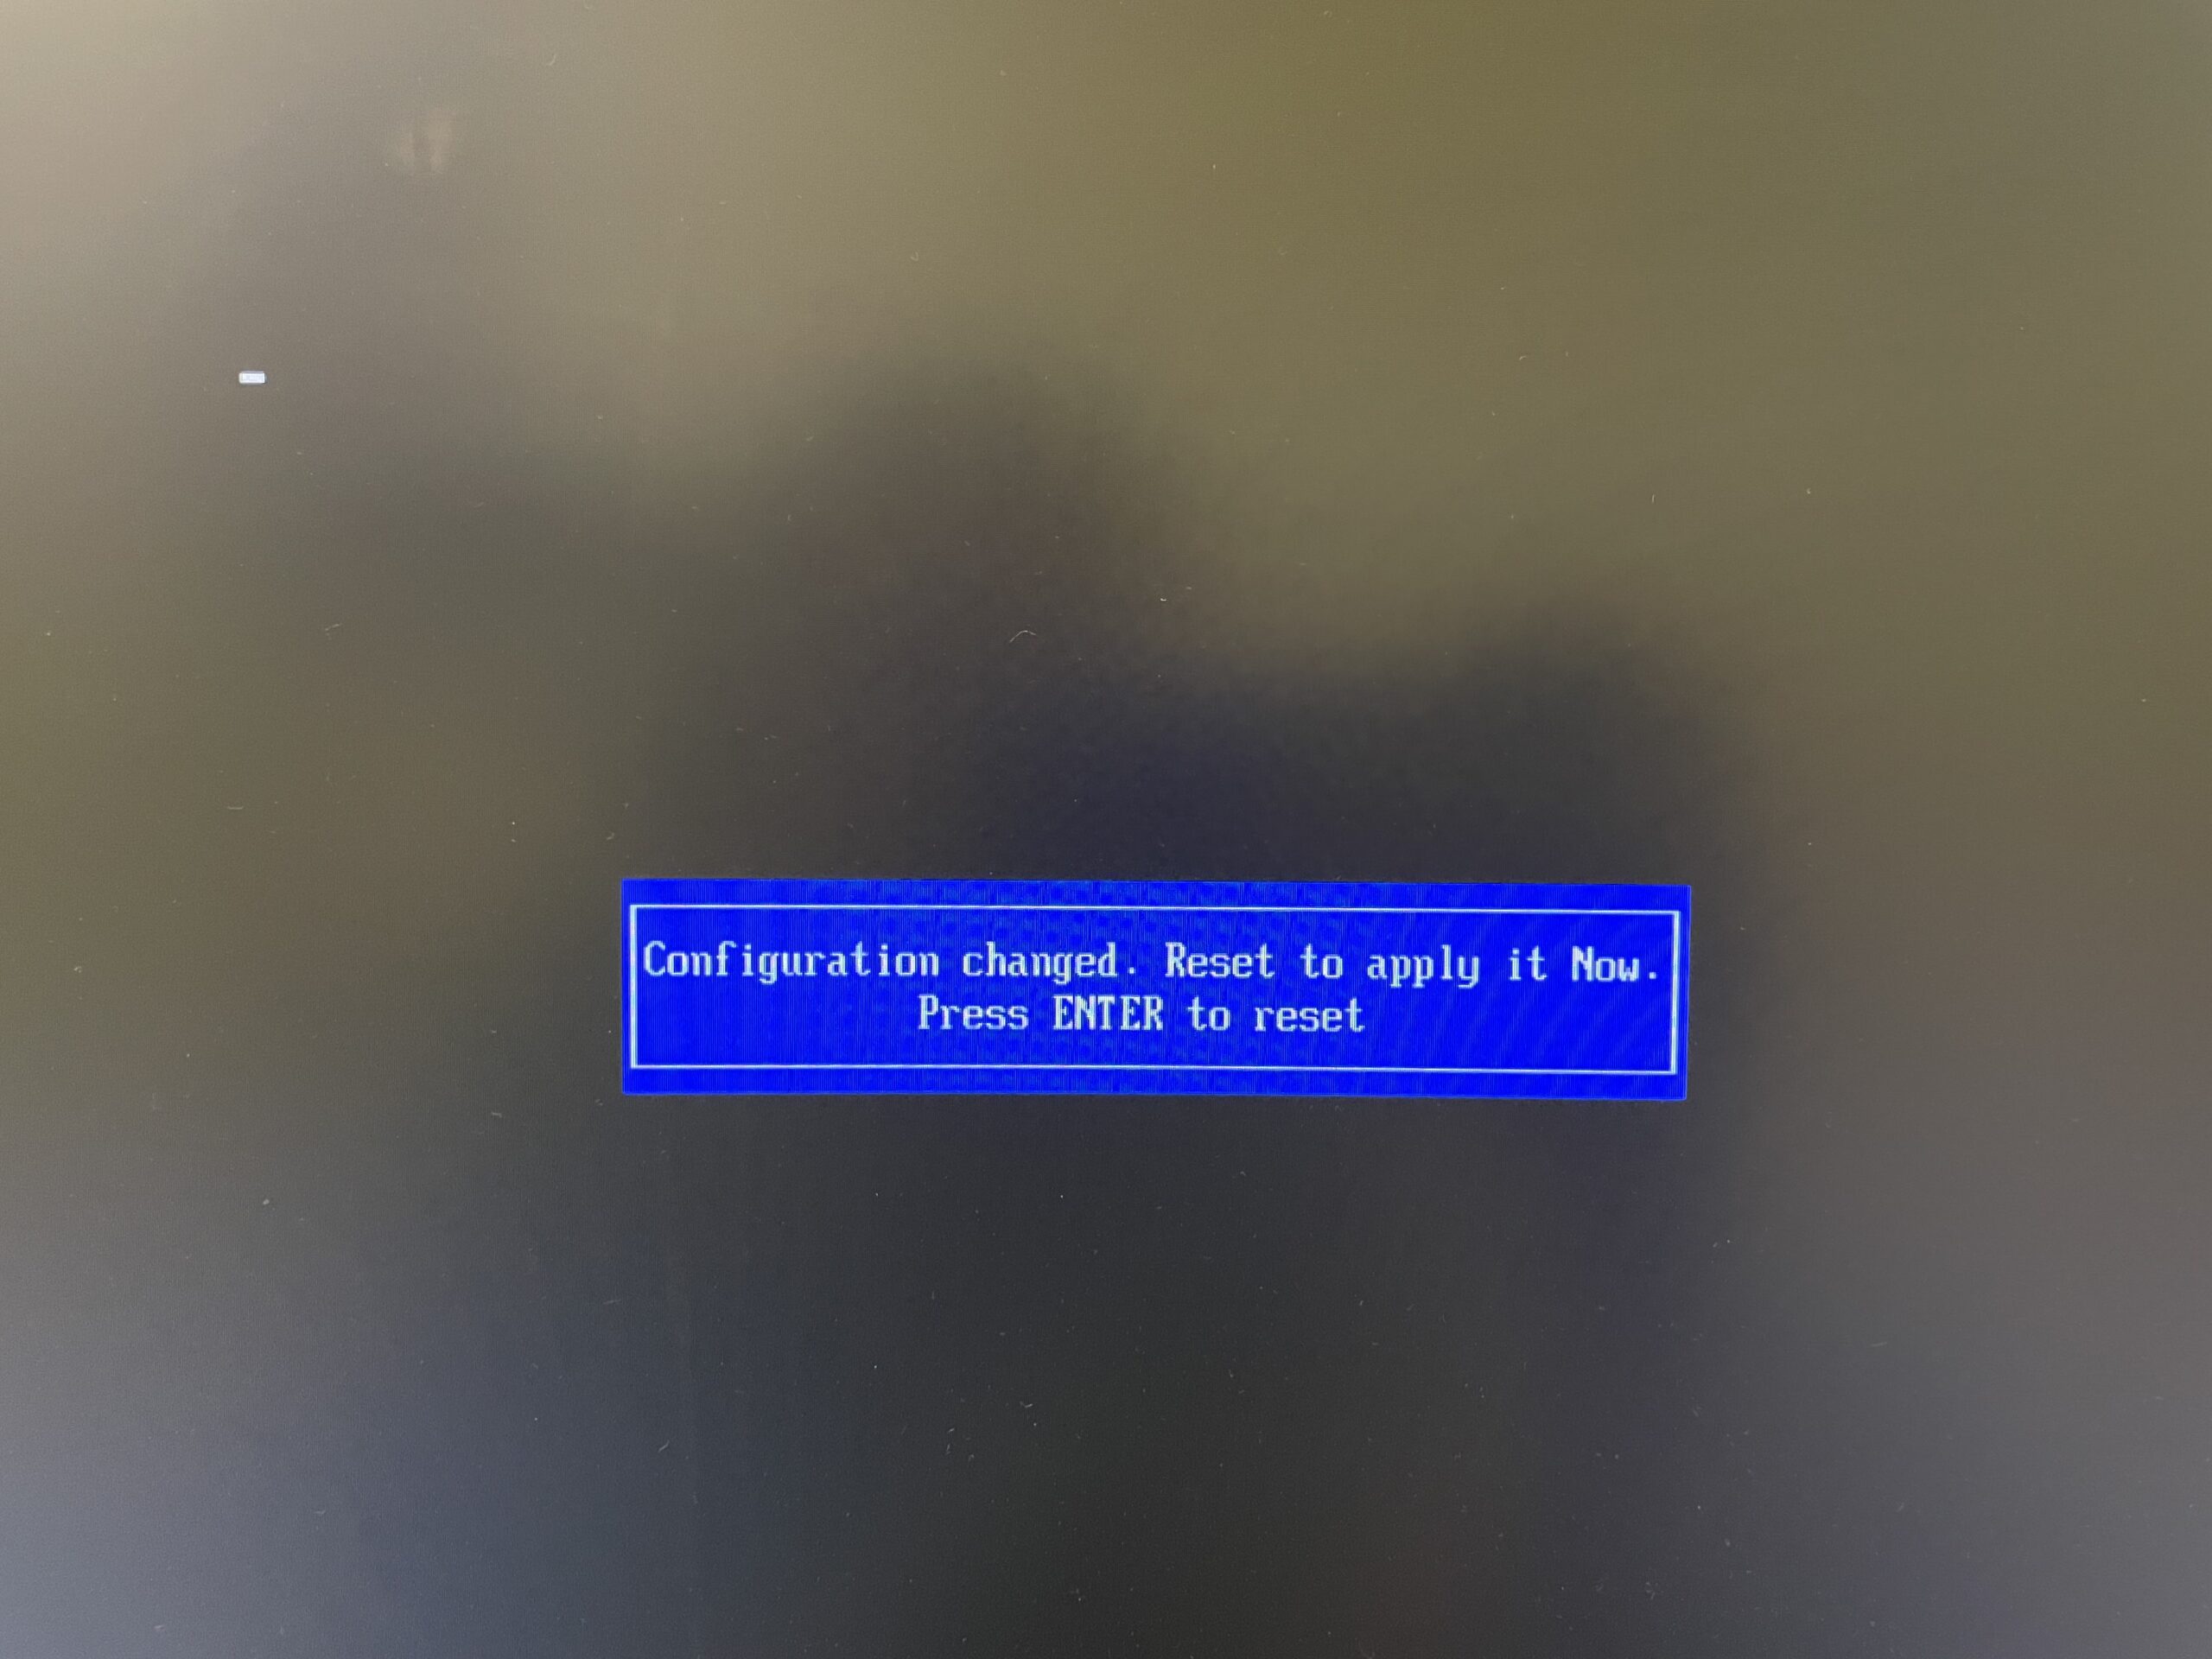
8. Press ENTER at the next screen. After that, RPi will reboot. At the booting screen choose ESC.
ESXi Arm installation
- Download ESXi Arm ISO from there: https://flings.vmware.com/esxi-arm-edition.
- Create bootable USB device with this ISO.
- Put bootable device into RPi.
Installation process
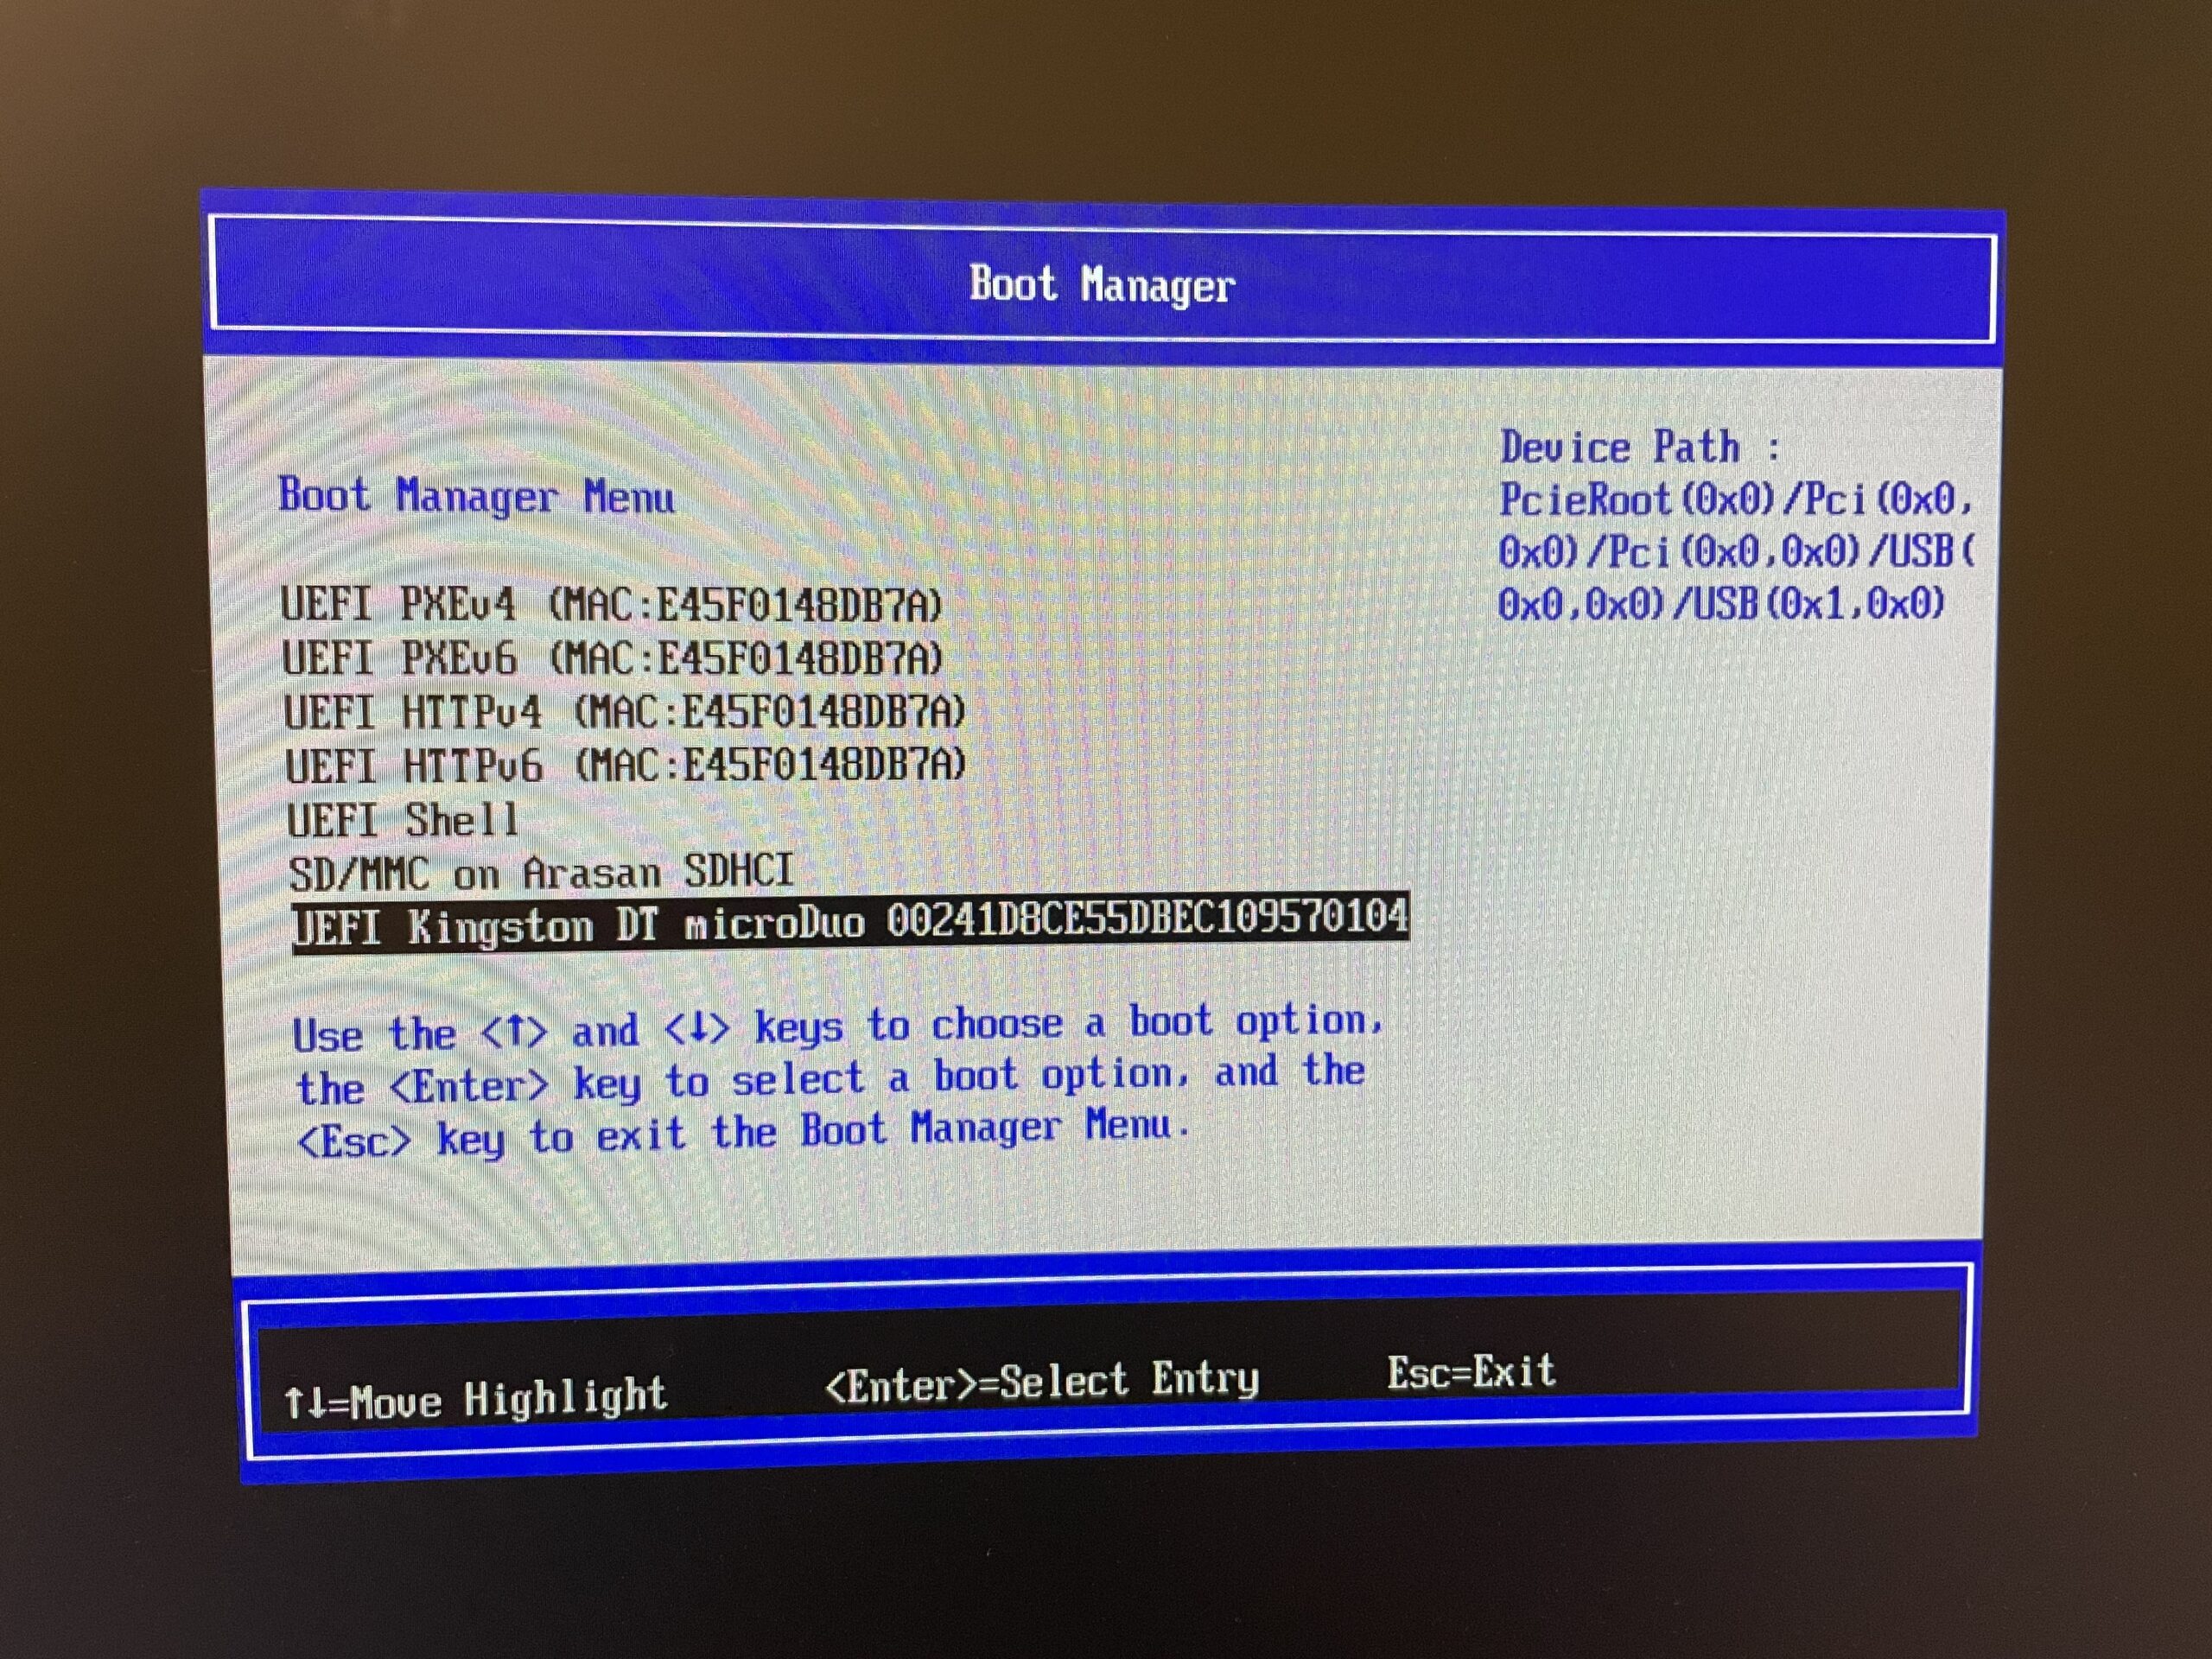
- Power on Rasberry Pi and while it’s booting, hit ESC button. From the main menu choose Boot Manager.
2. Choose bootable device and hit Enter.
3. Before ESXi start booting press Shift-O and add after runweasel cdromBoot autoPartitionOSDataSize=8192 and press Enter. The reason is to create 8 GB VMFS-L partition on the datastore. When this parameter was not added, the OSData volume will use all dedicated storage.
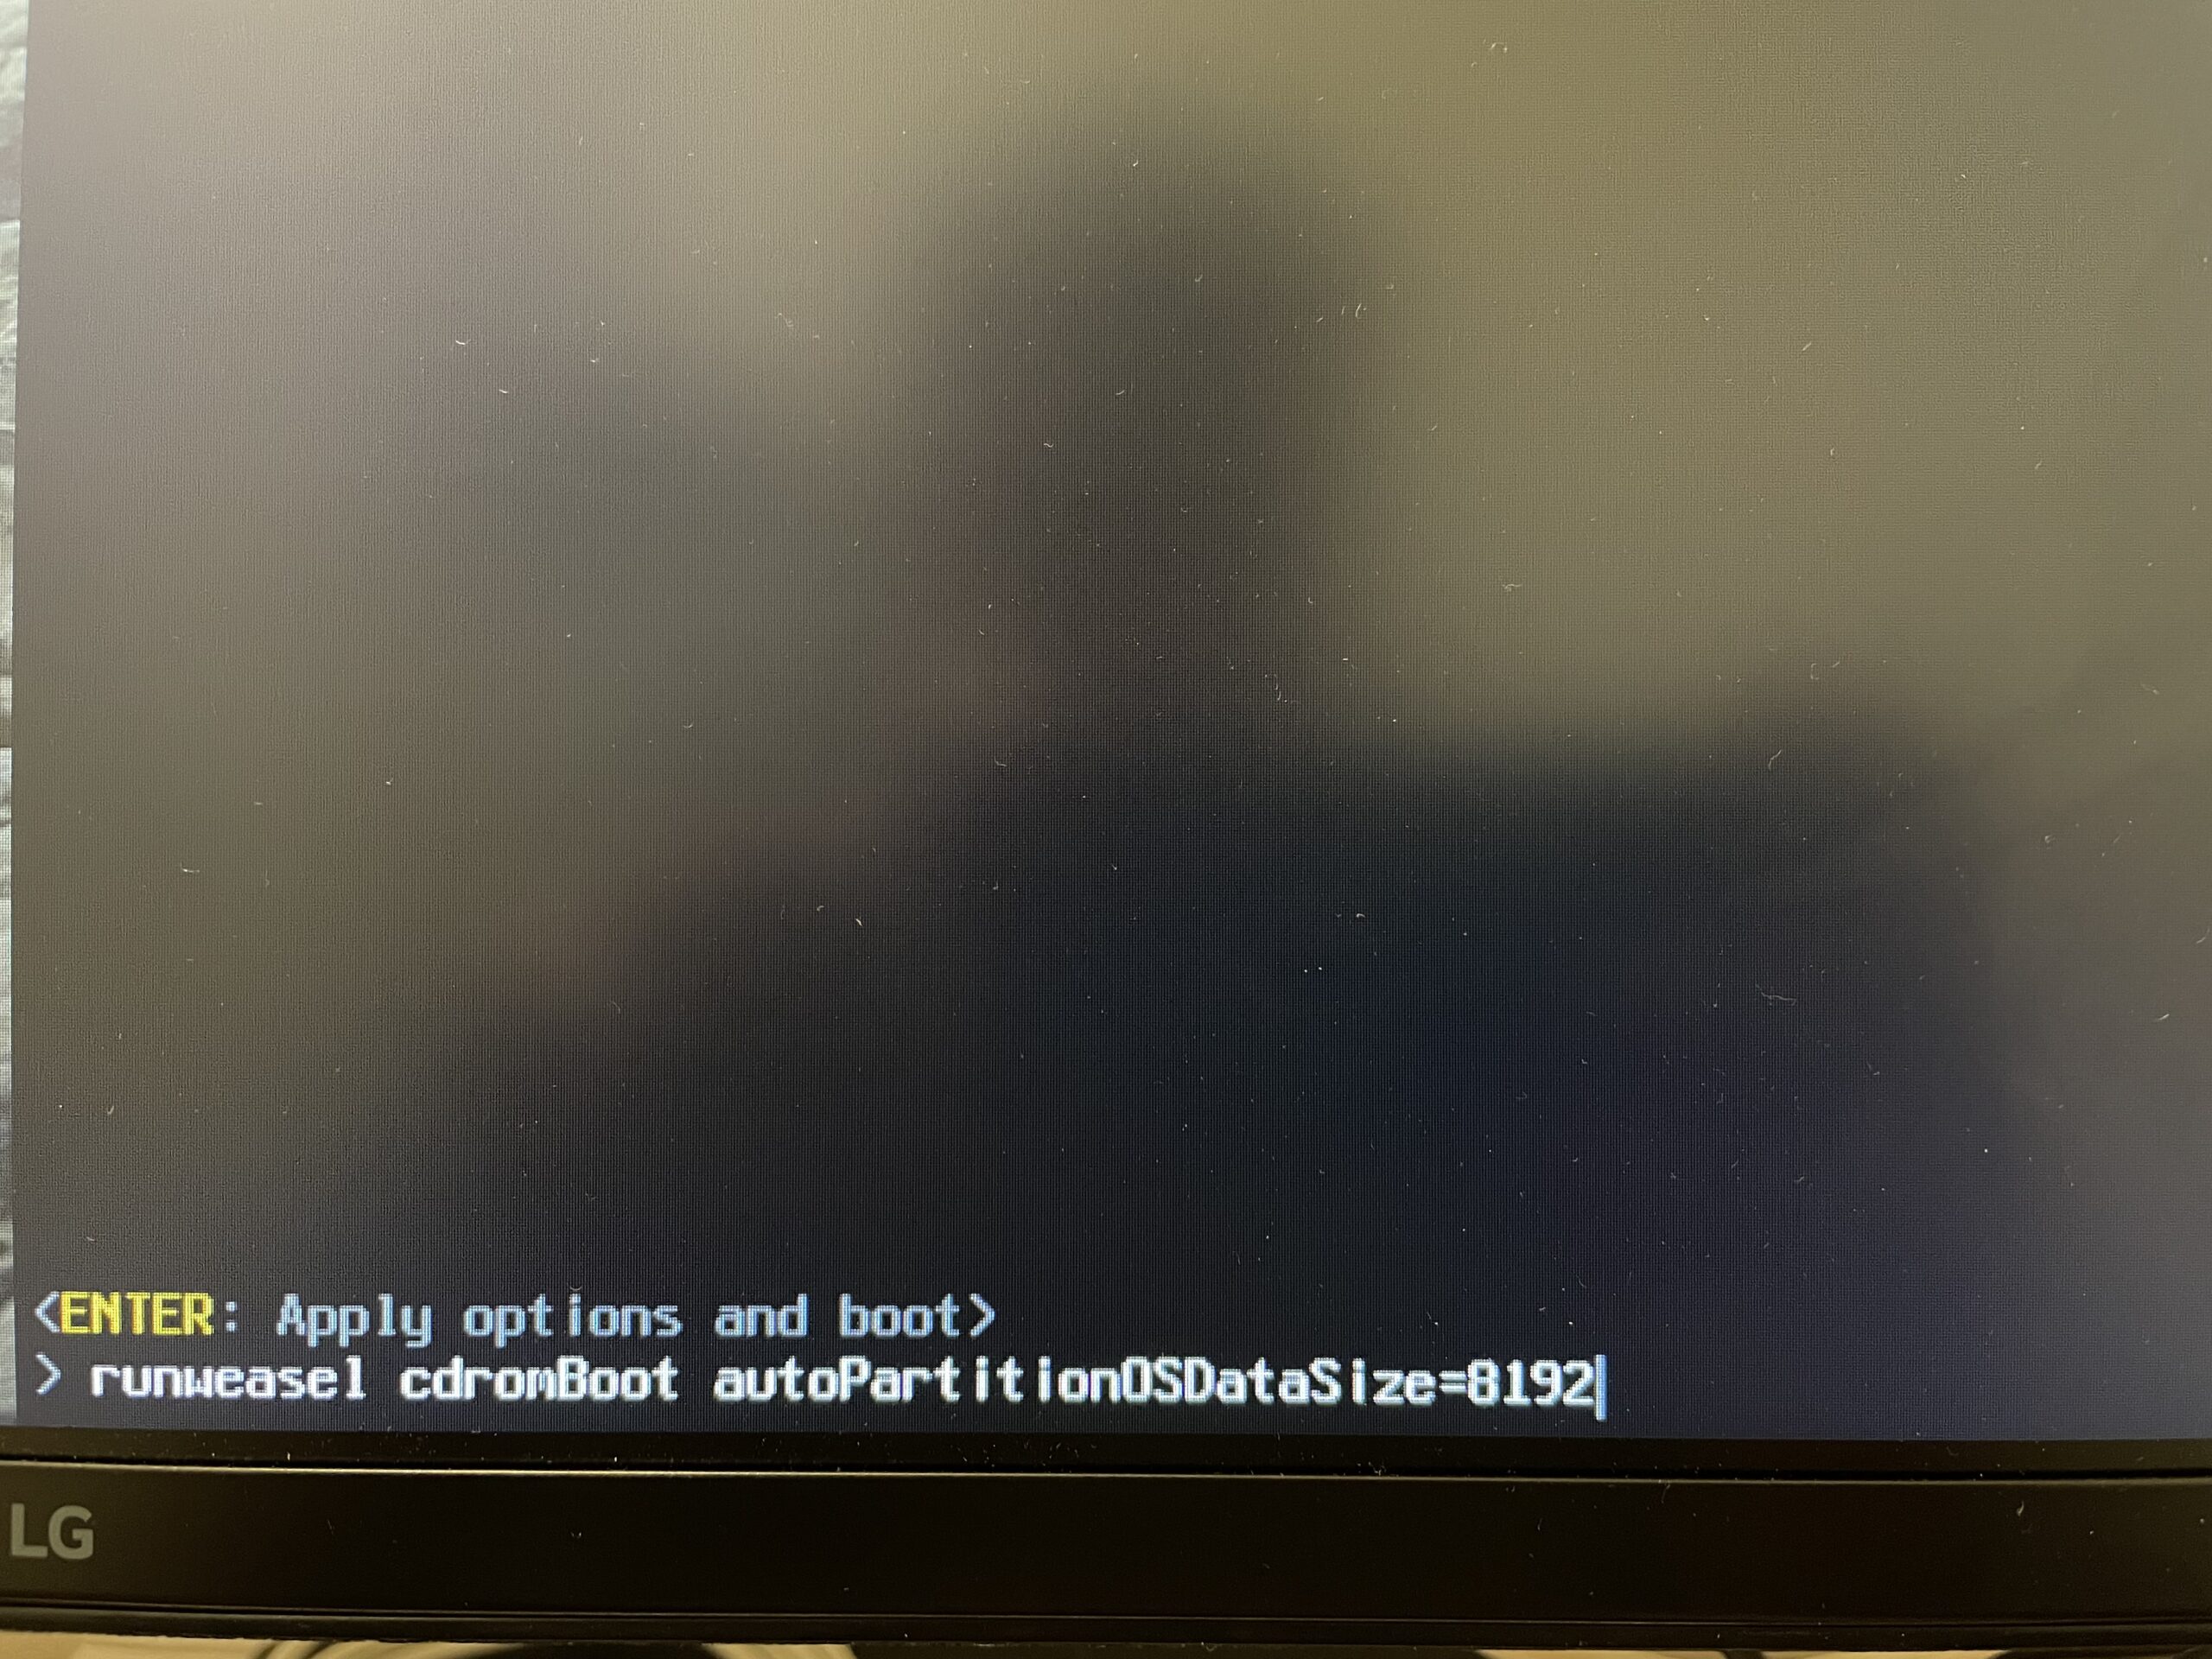
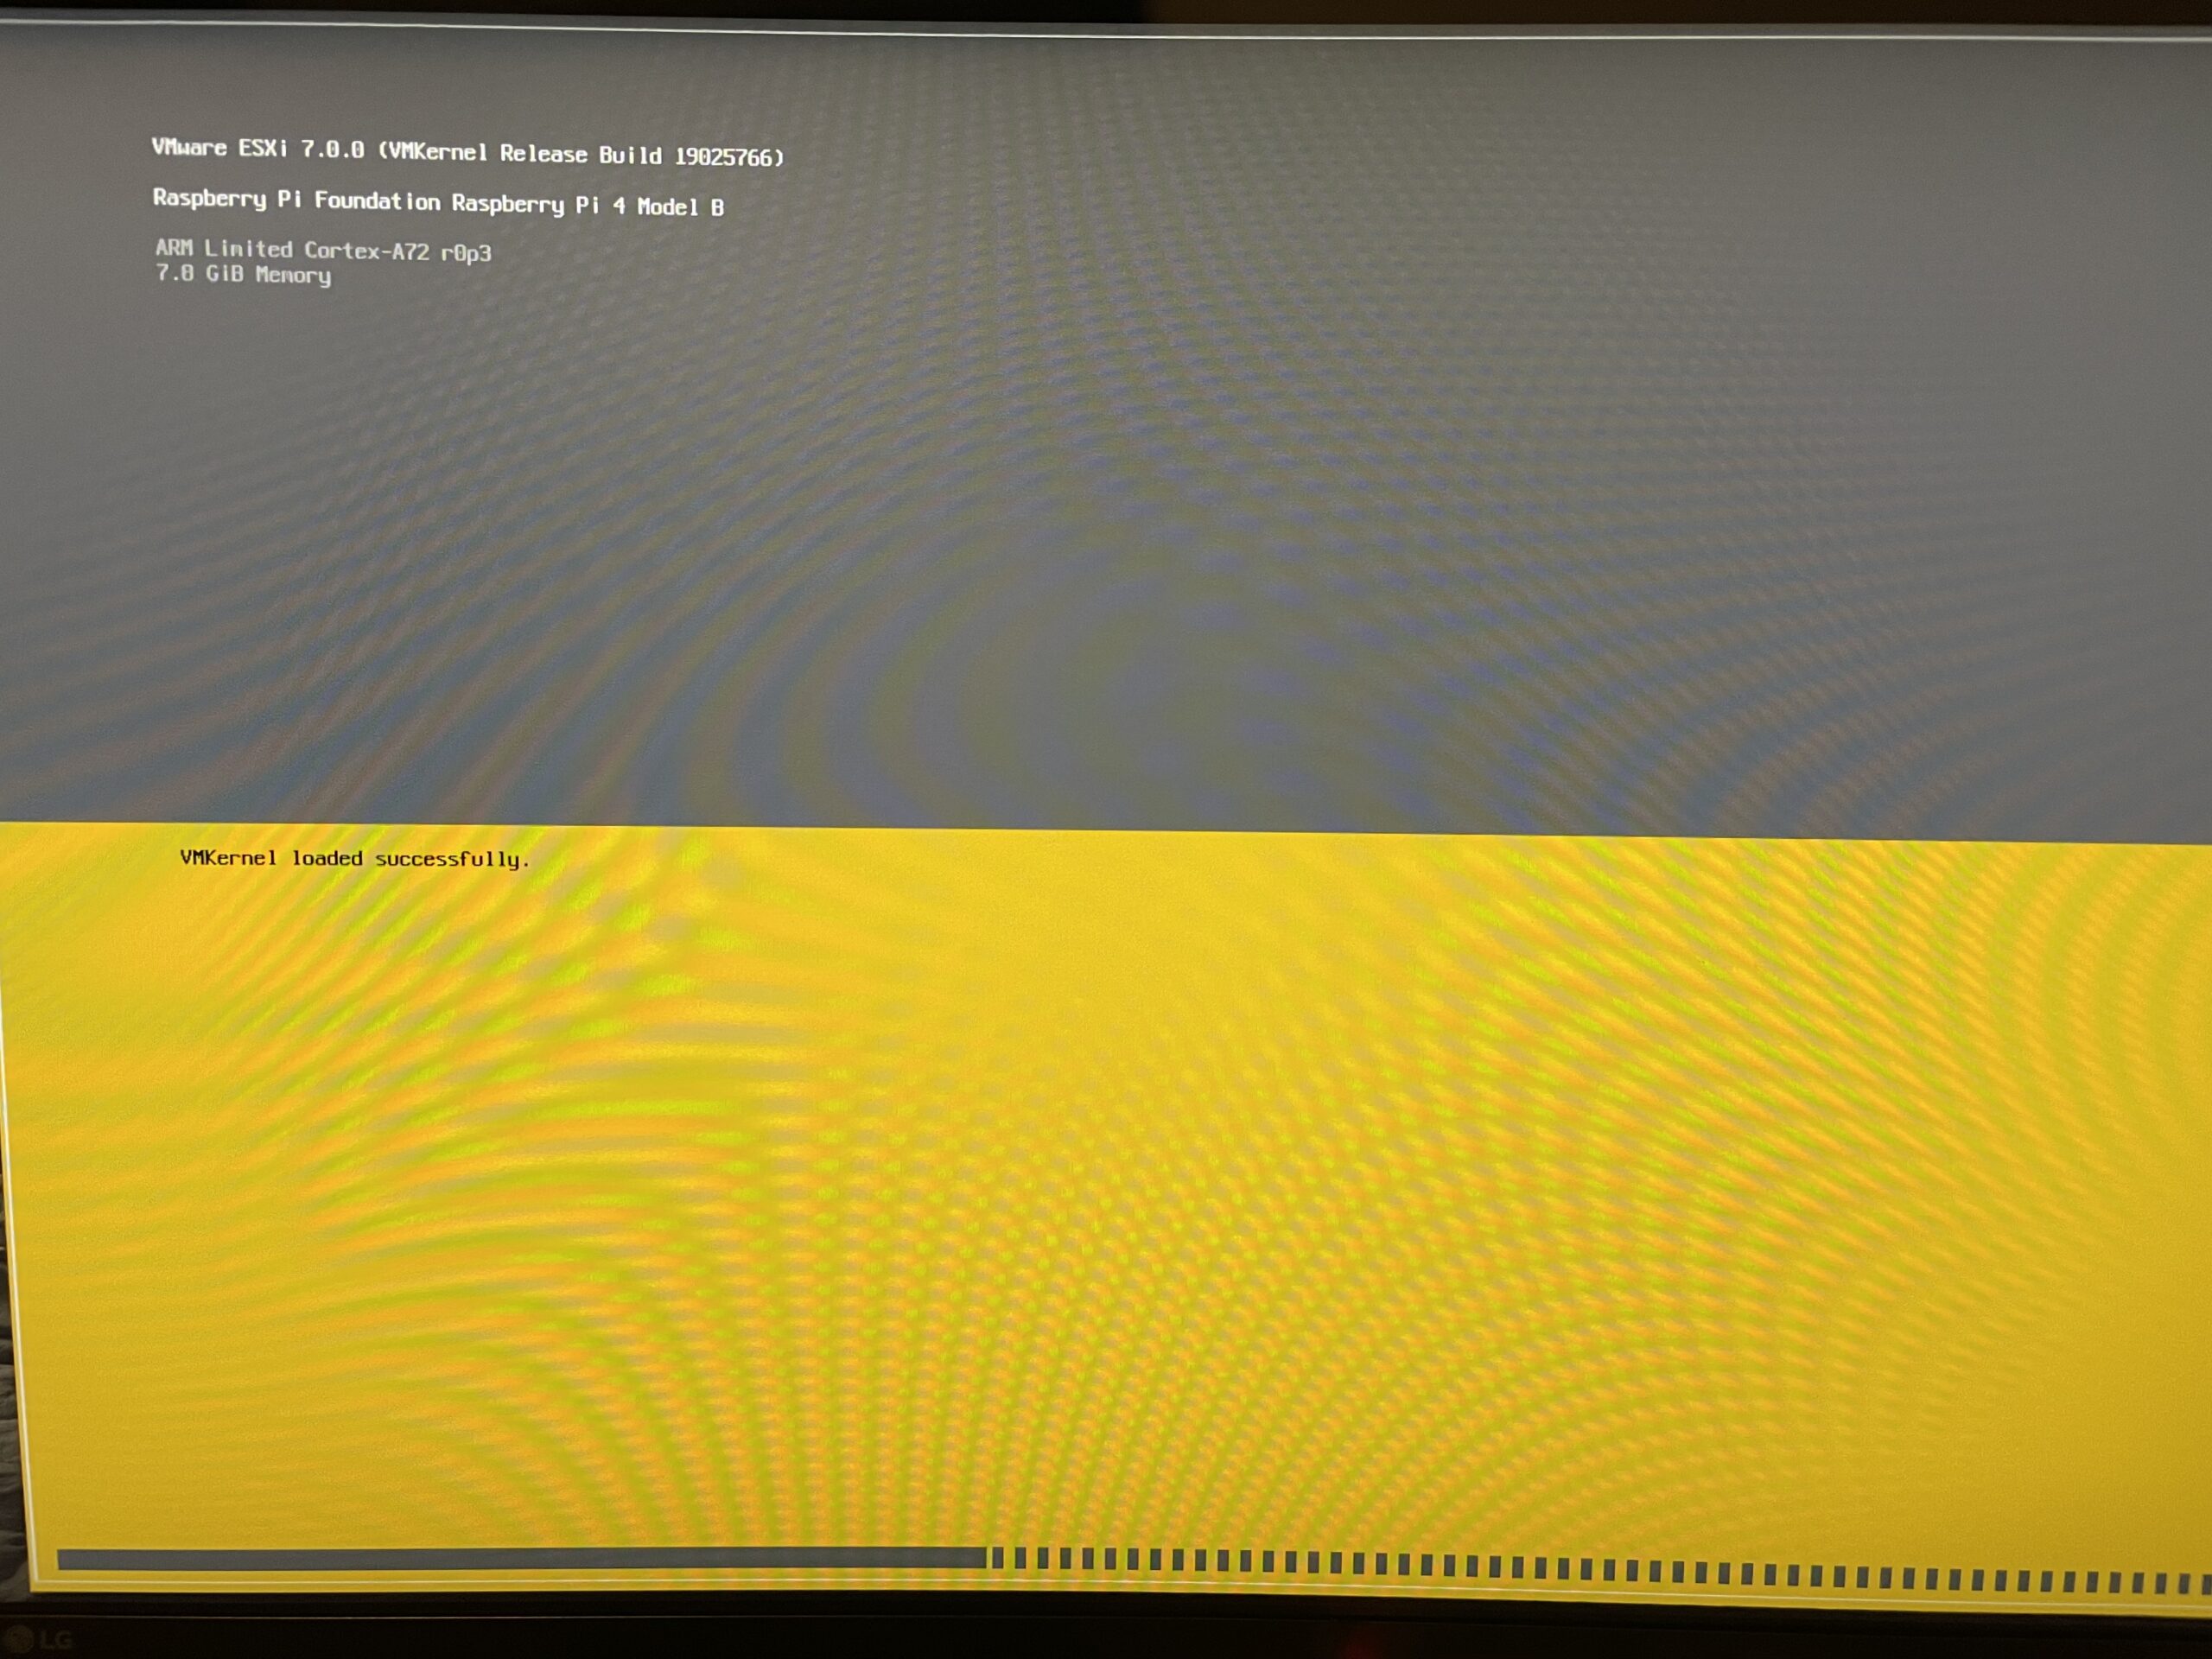
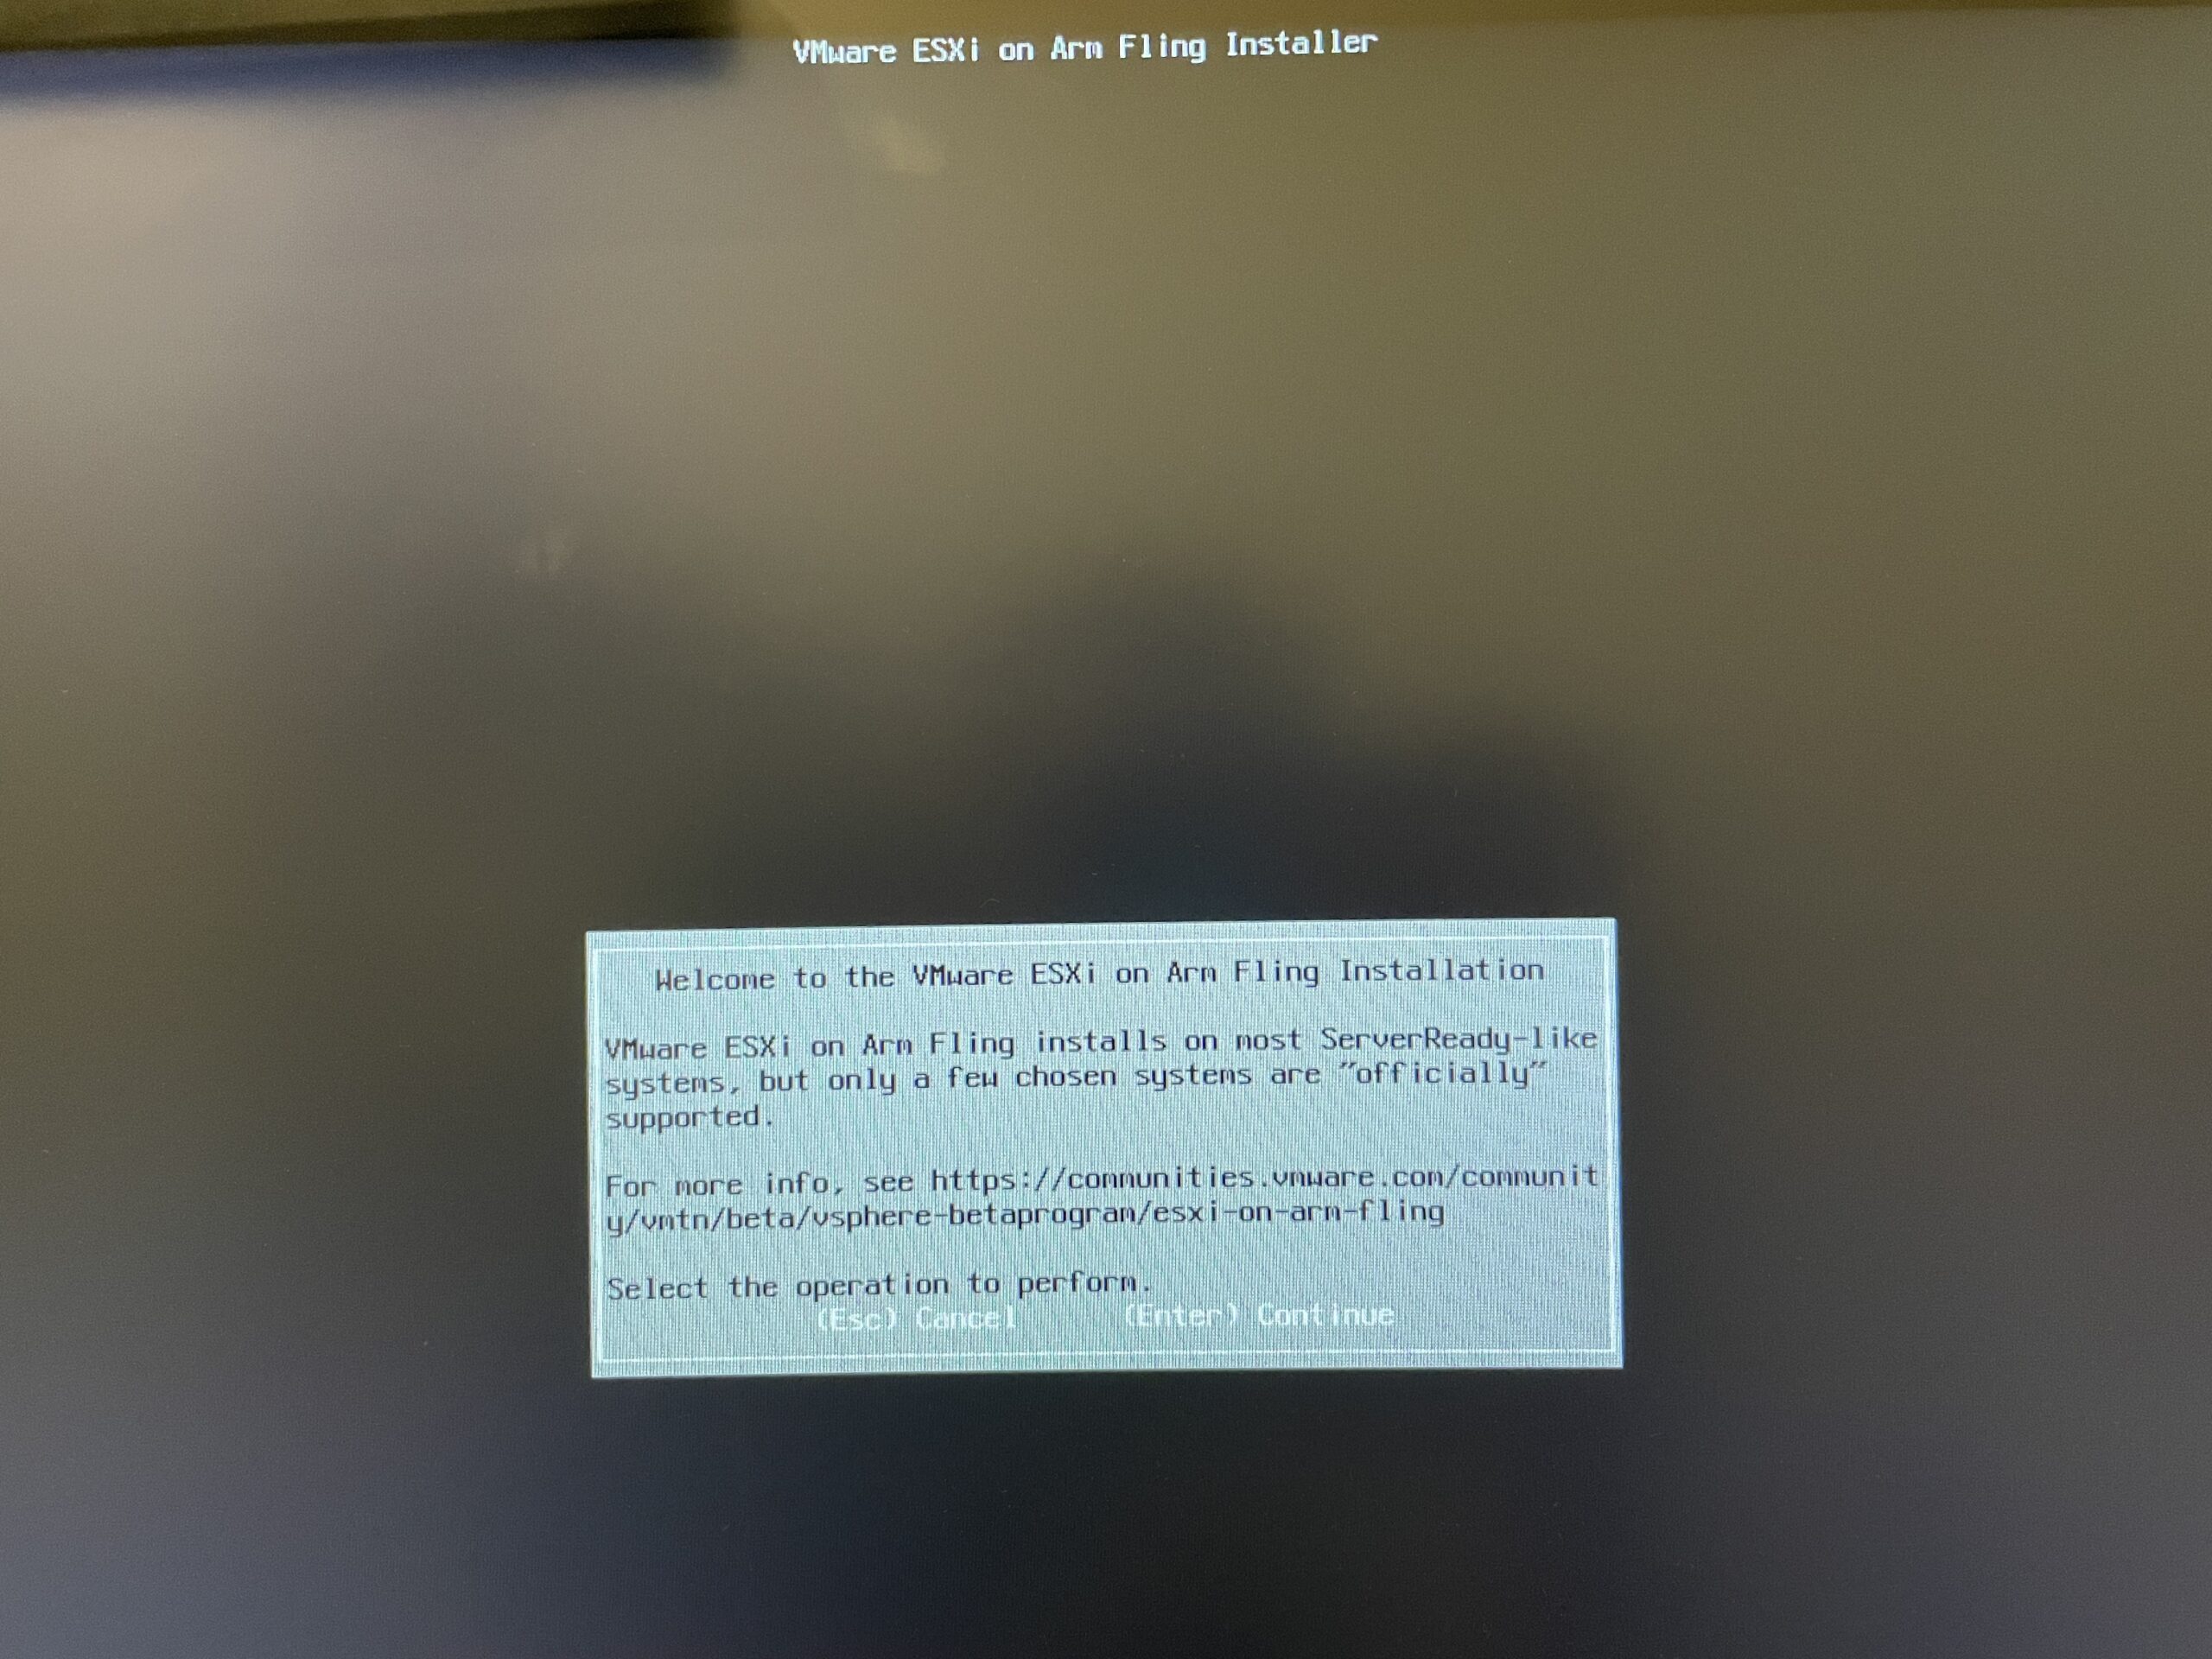
4. Press Enter to continue.
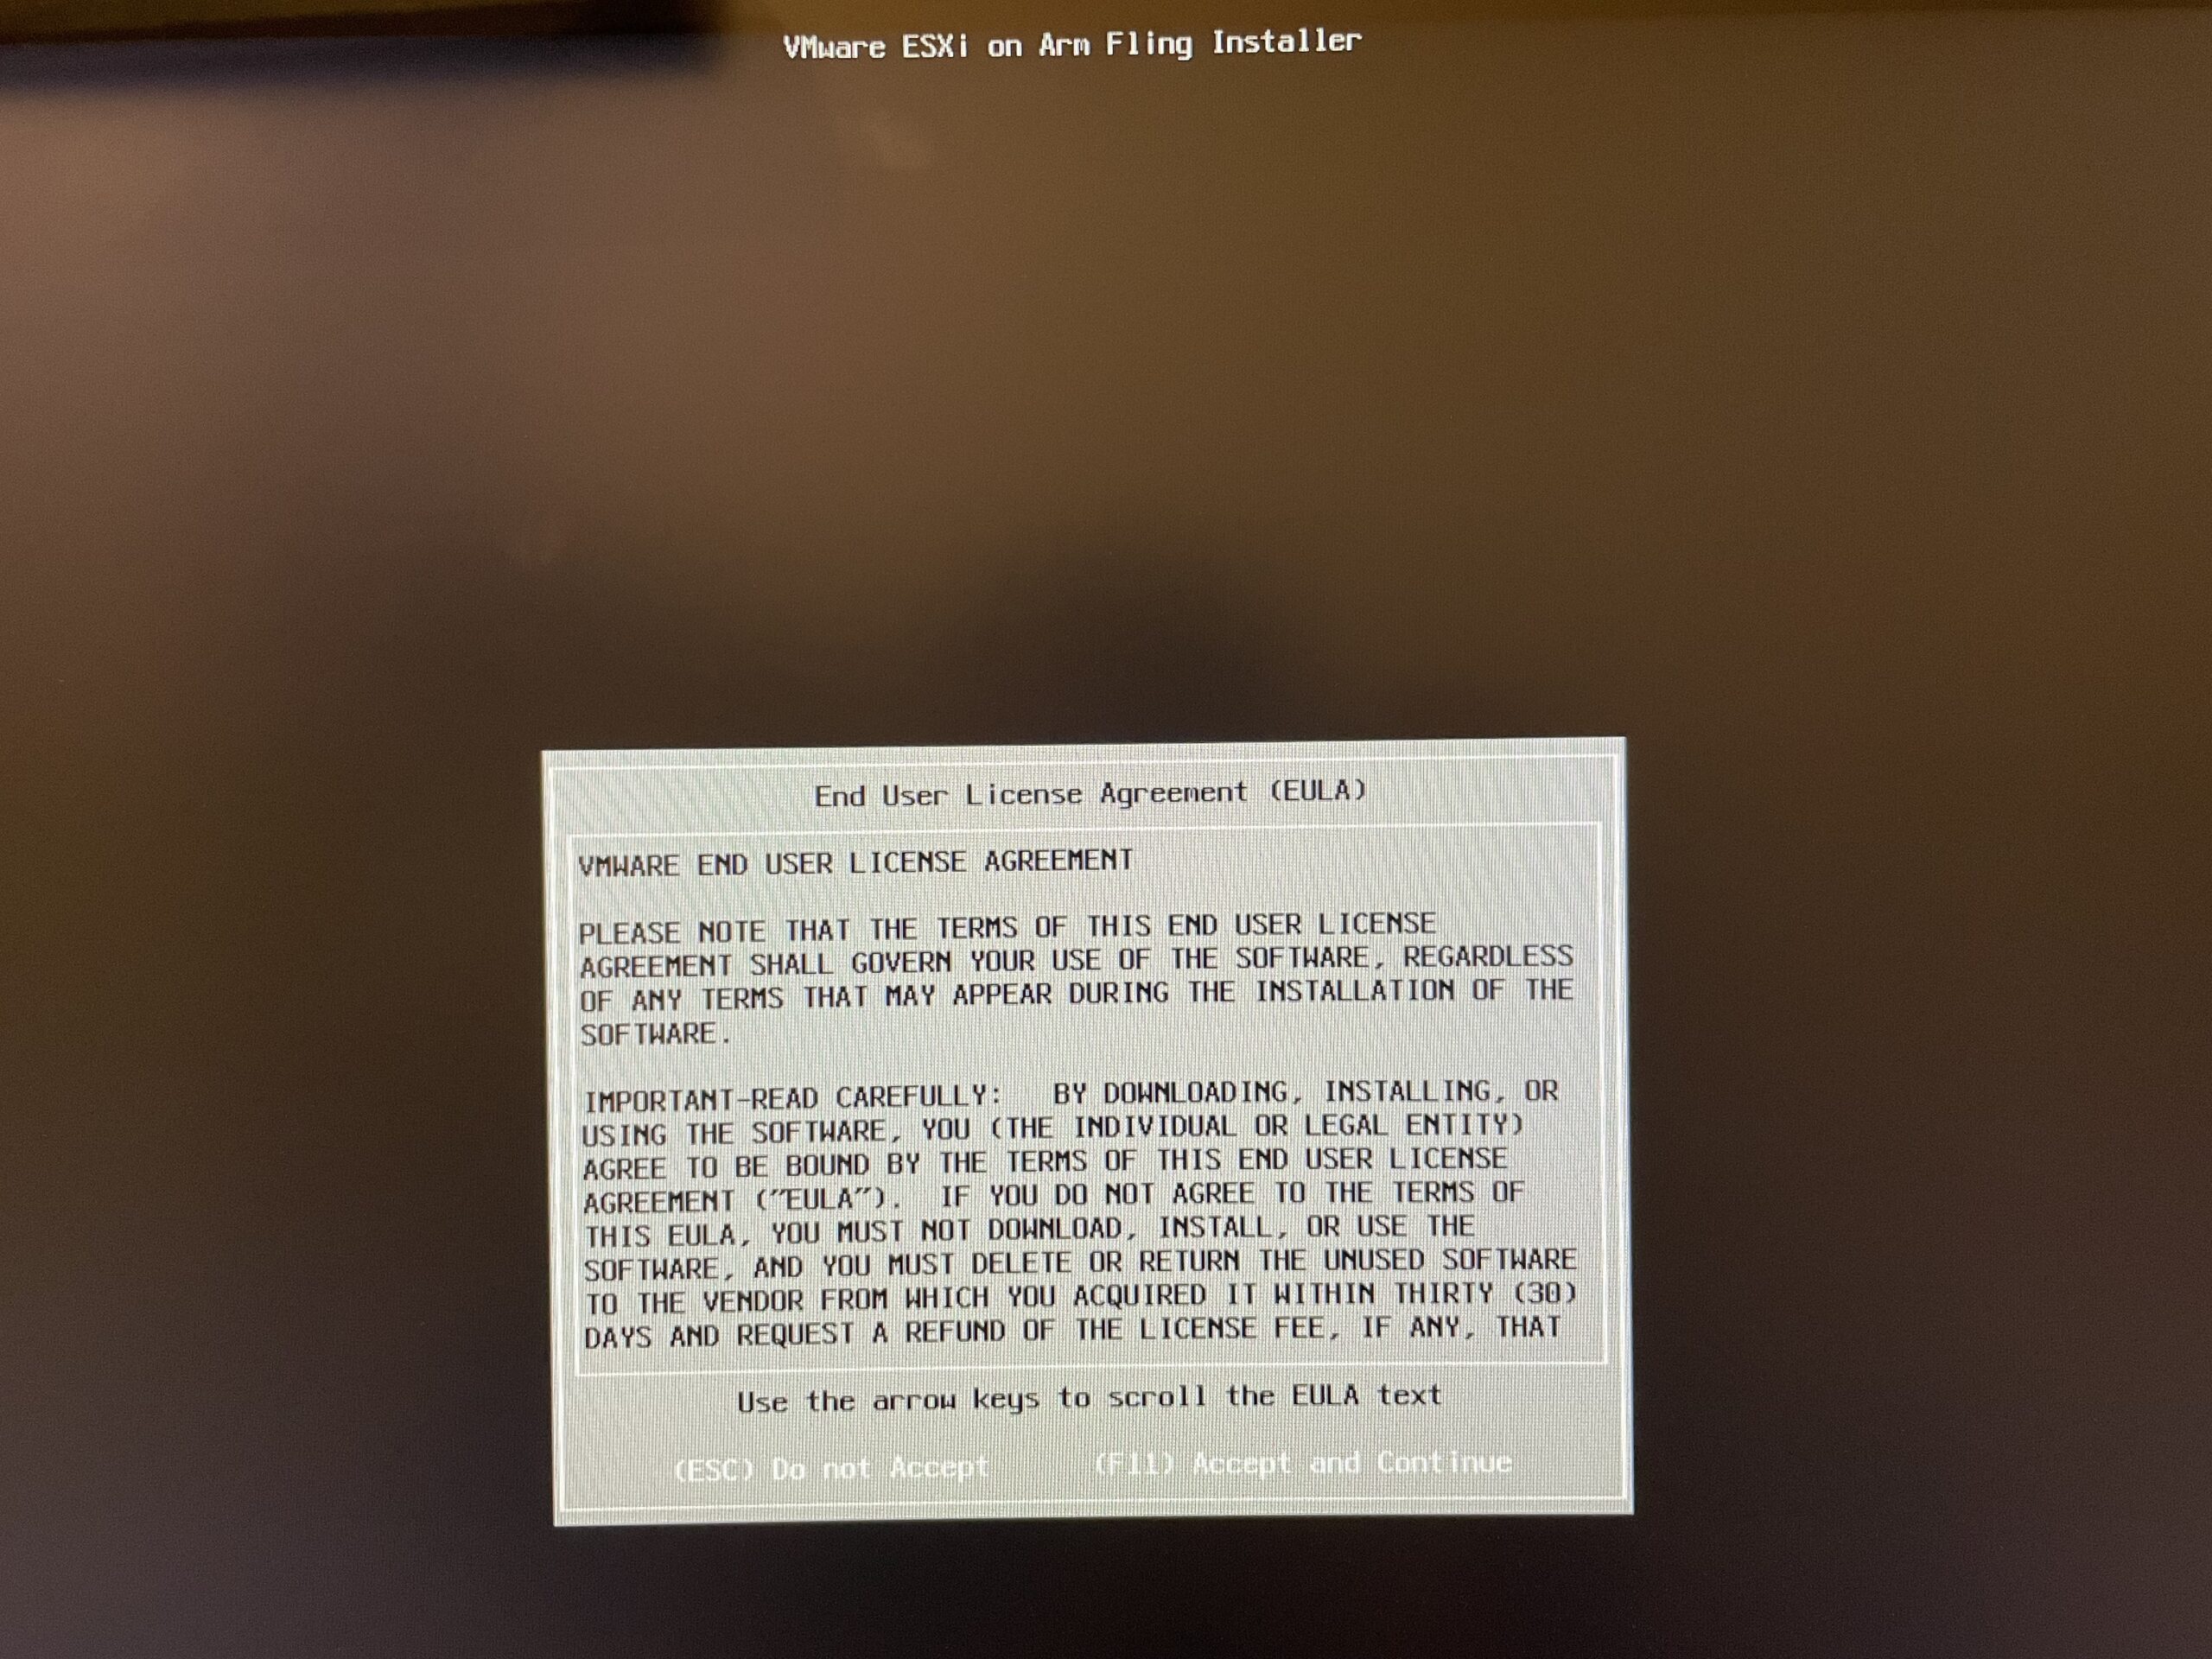
5. Press F11 to Accept EULA and continue.
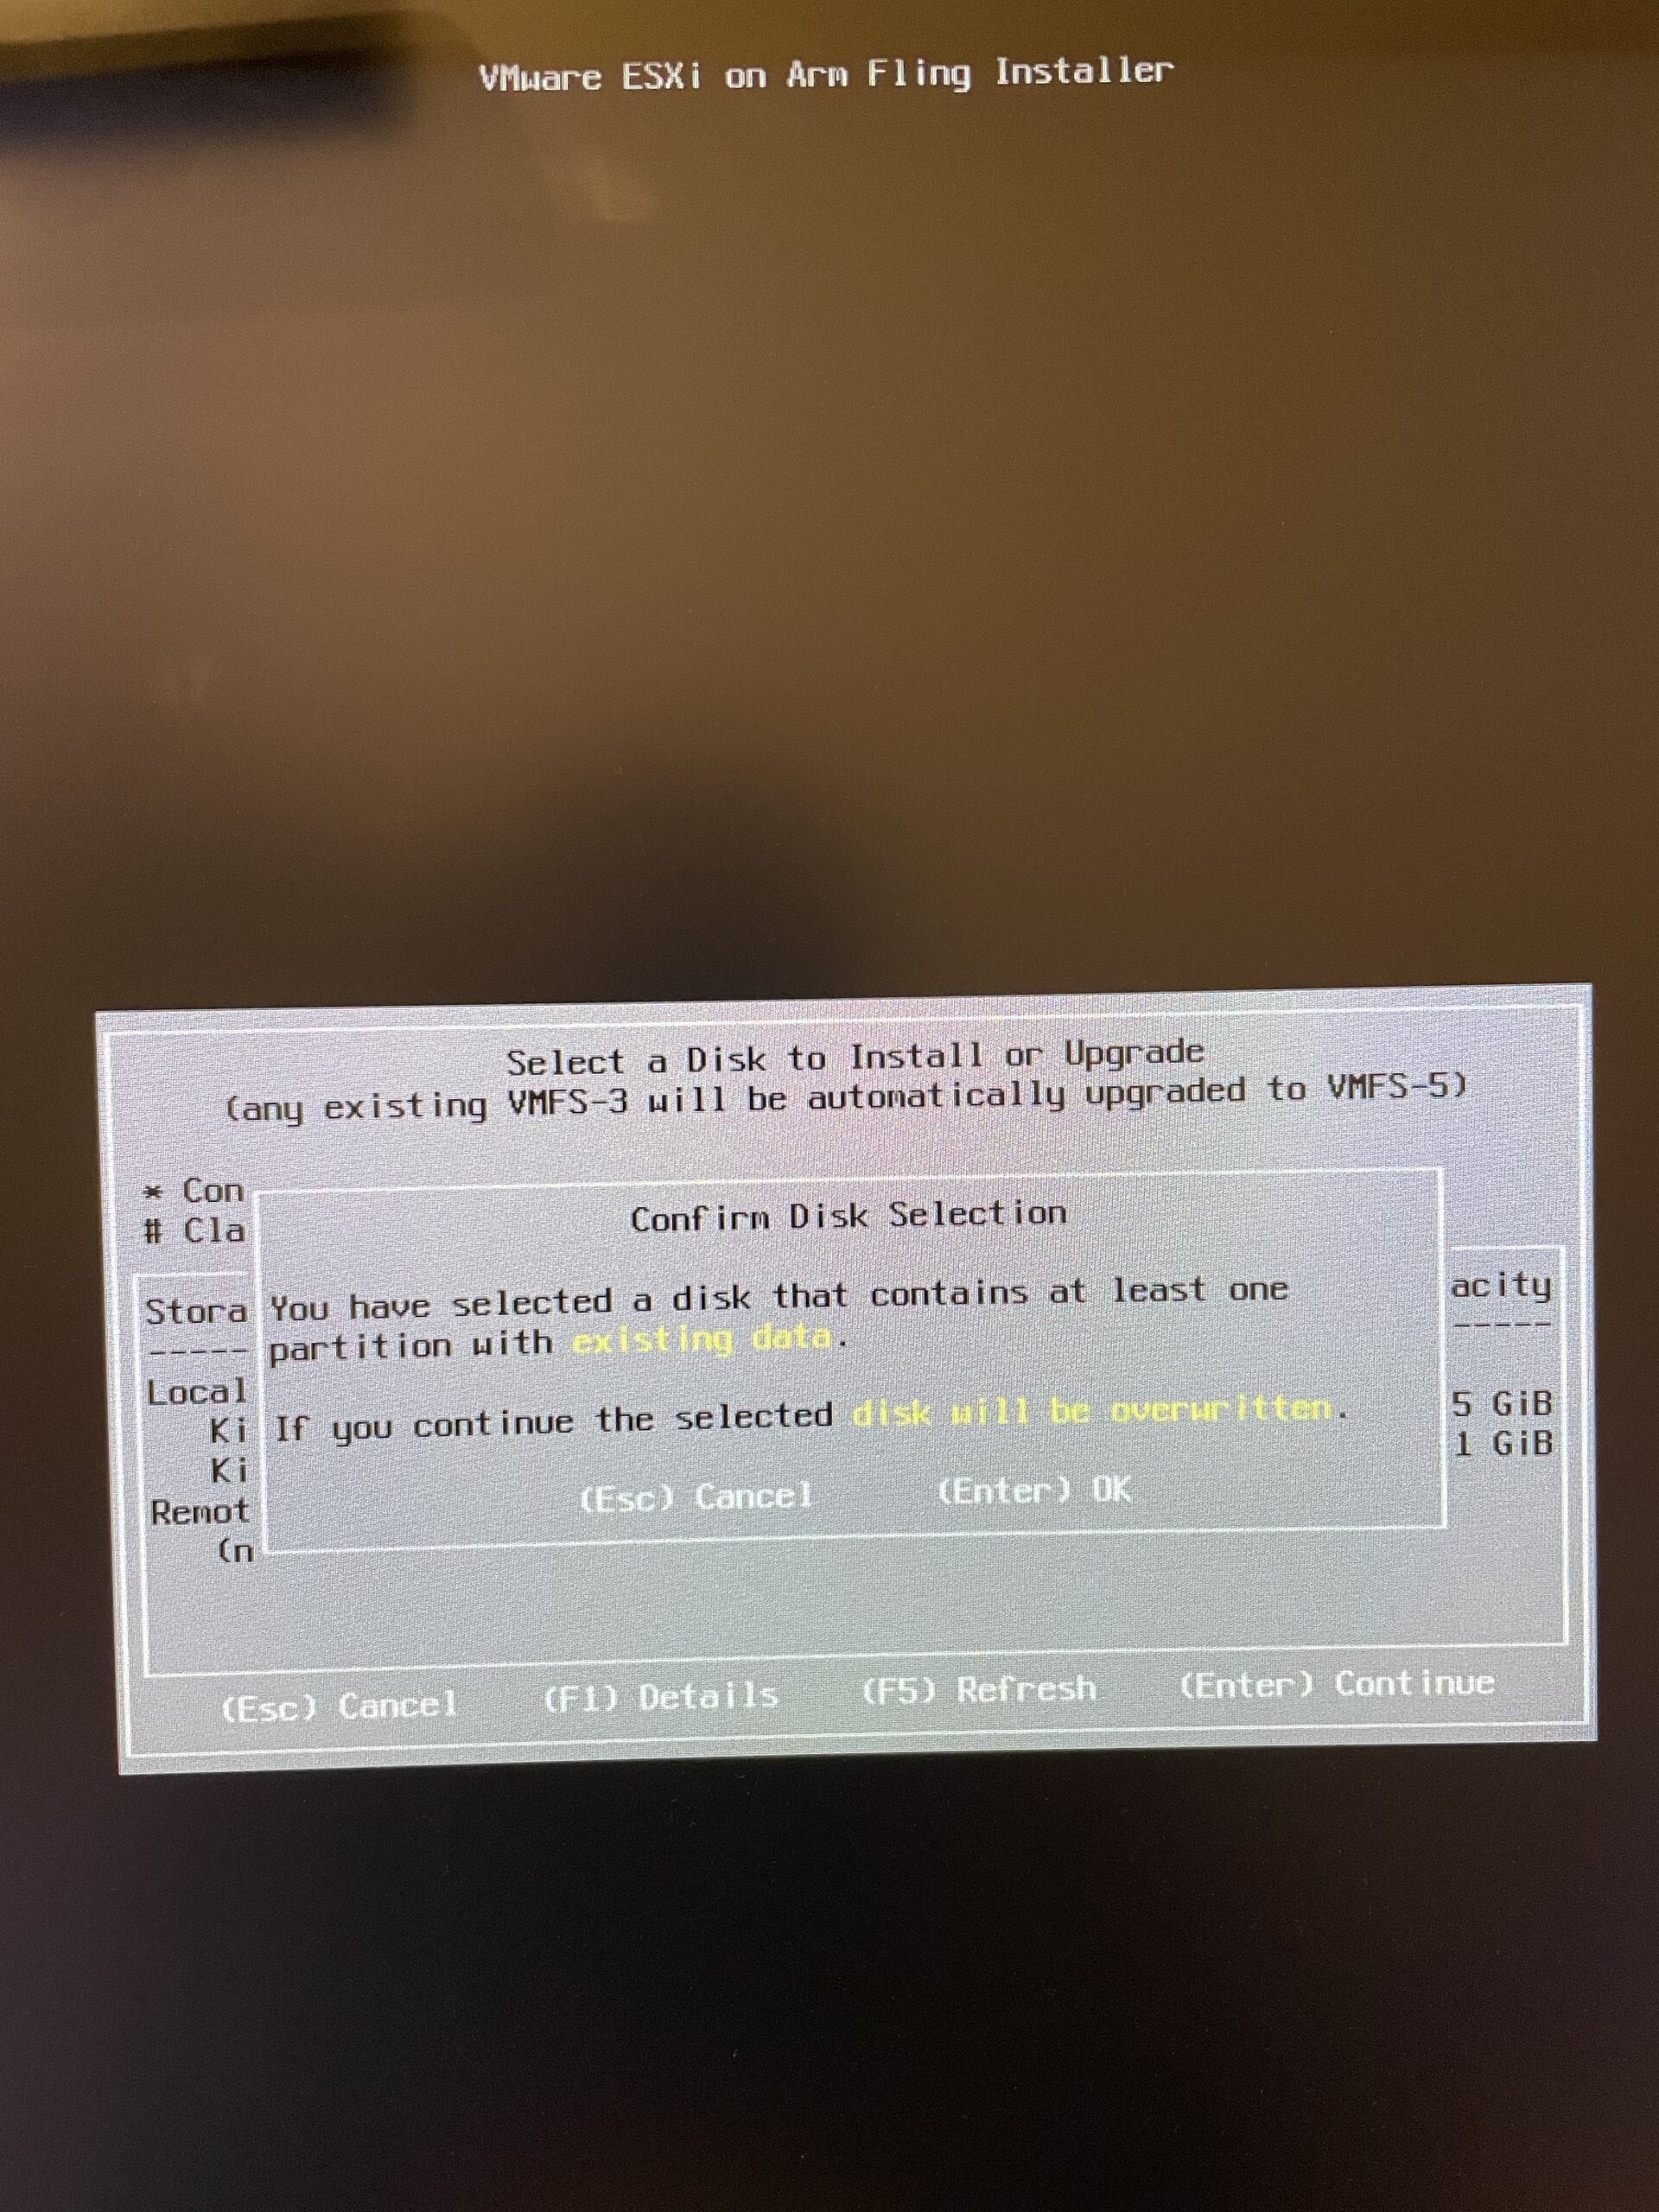
6. Choose eariler prepared USB drive as a destination datastore.

7. Confirm Disk Selection and press Enter.
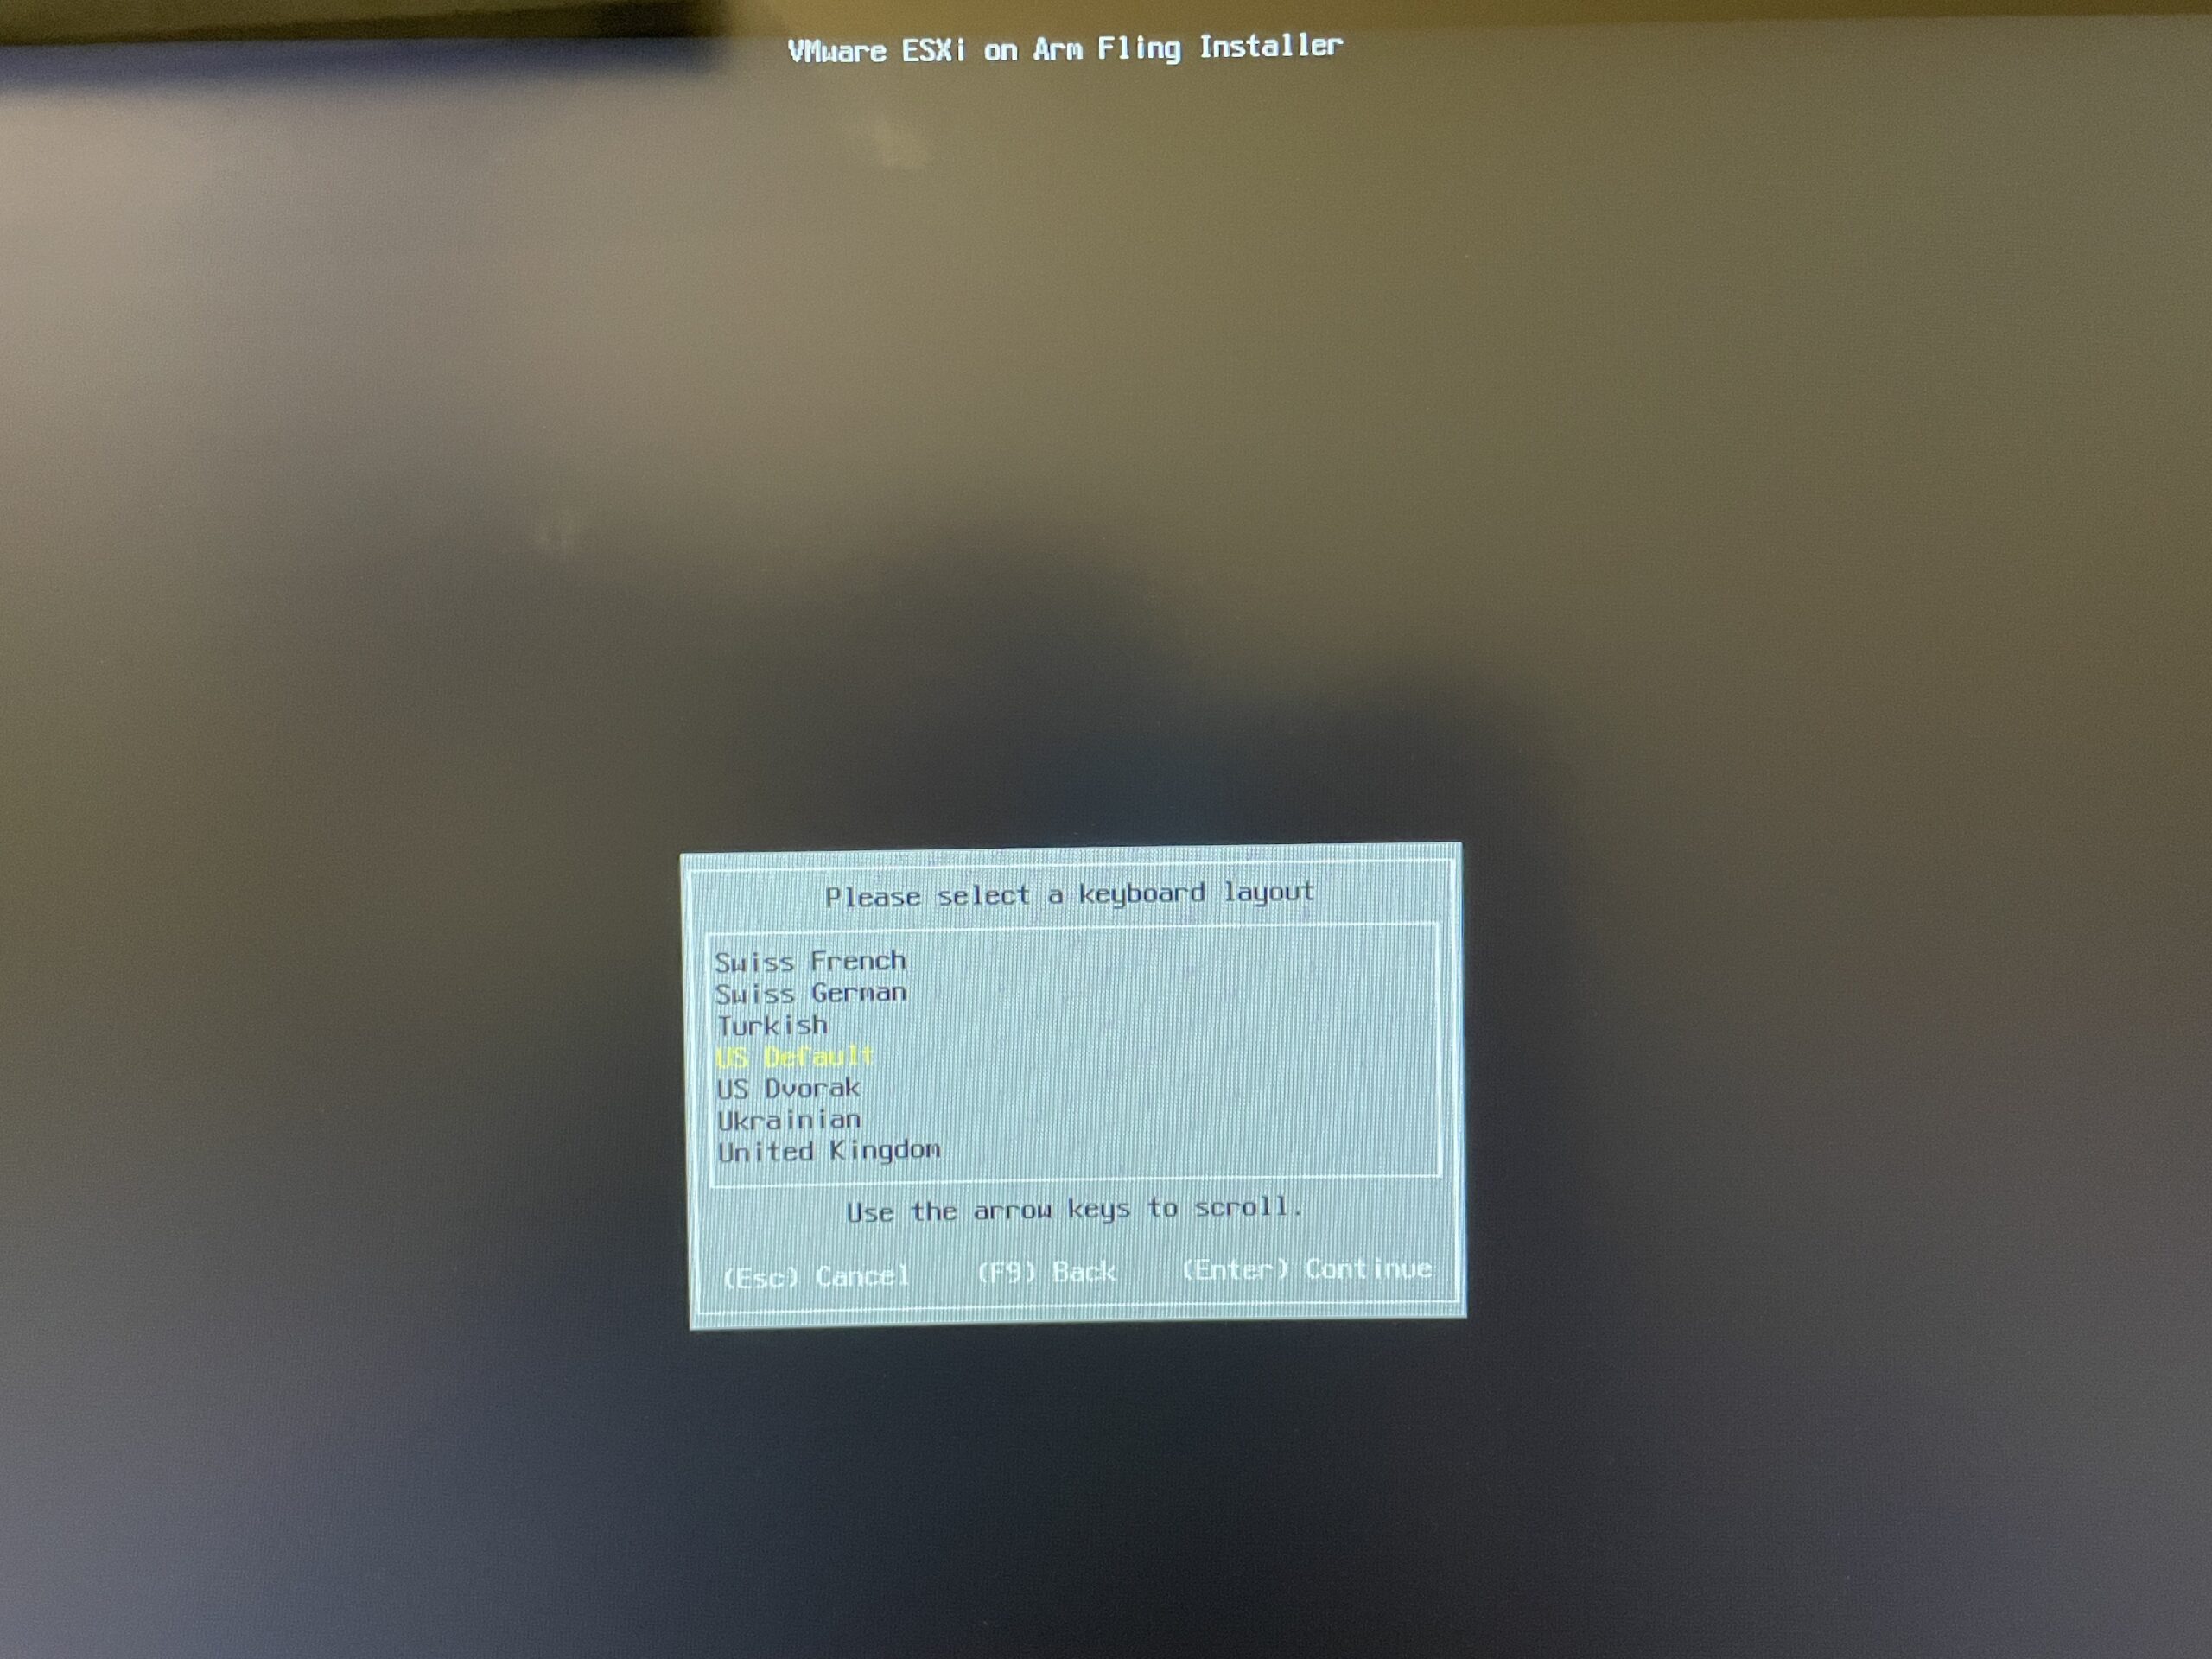
8. Choose a keyboard layout.
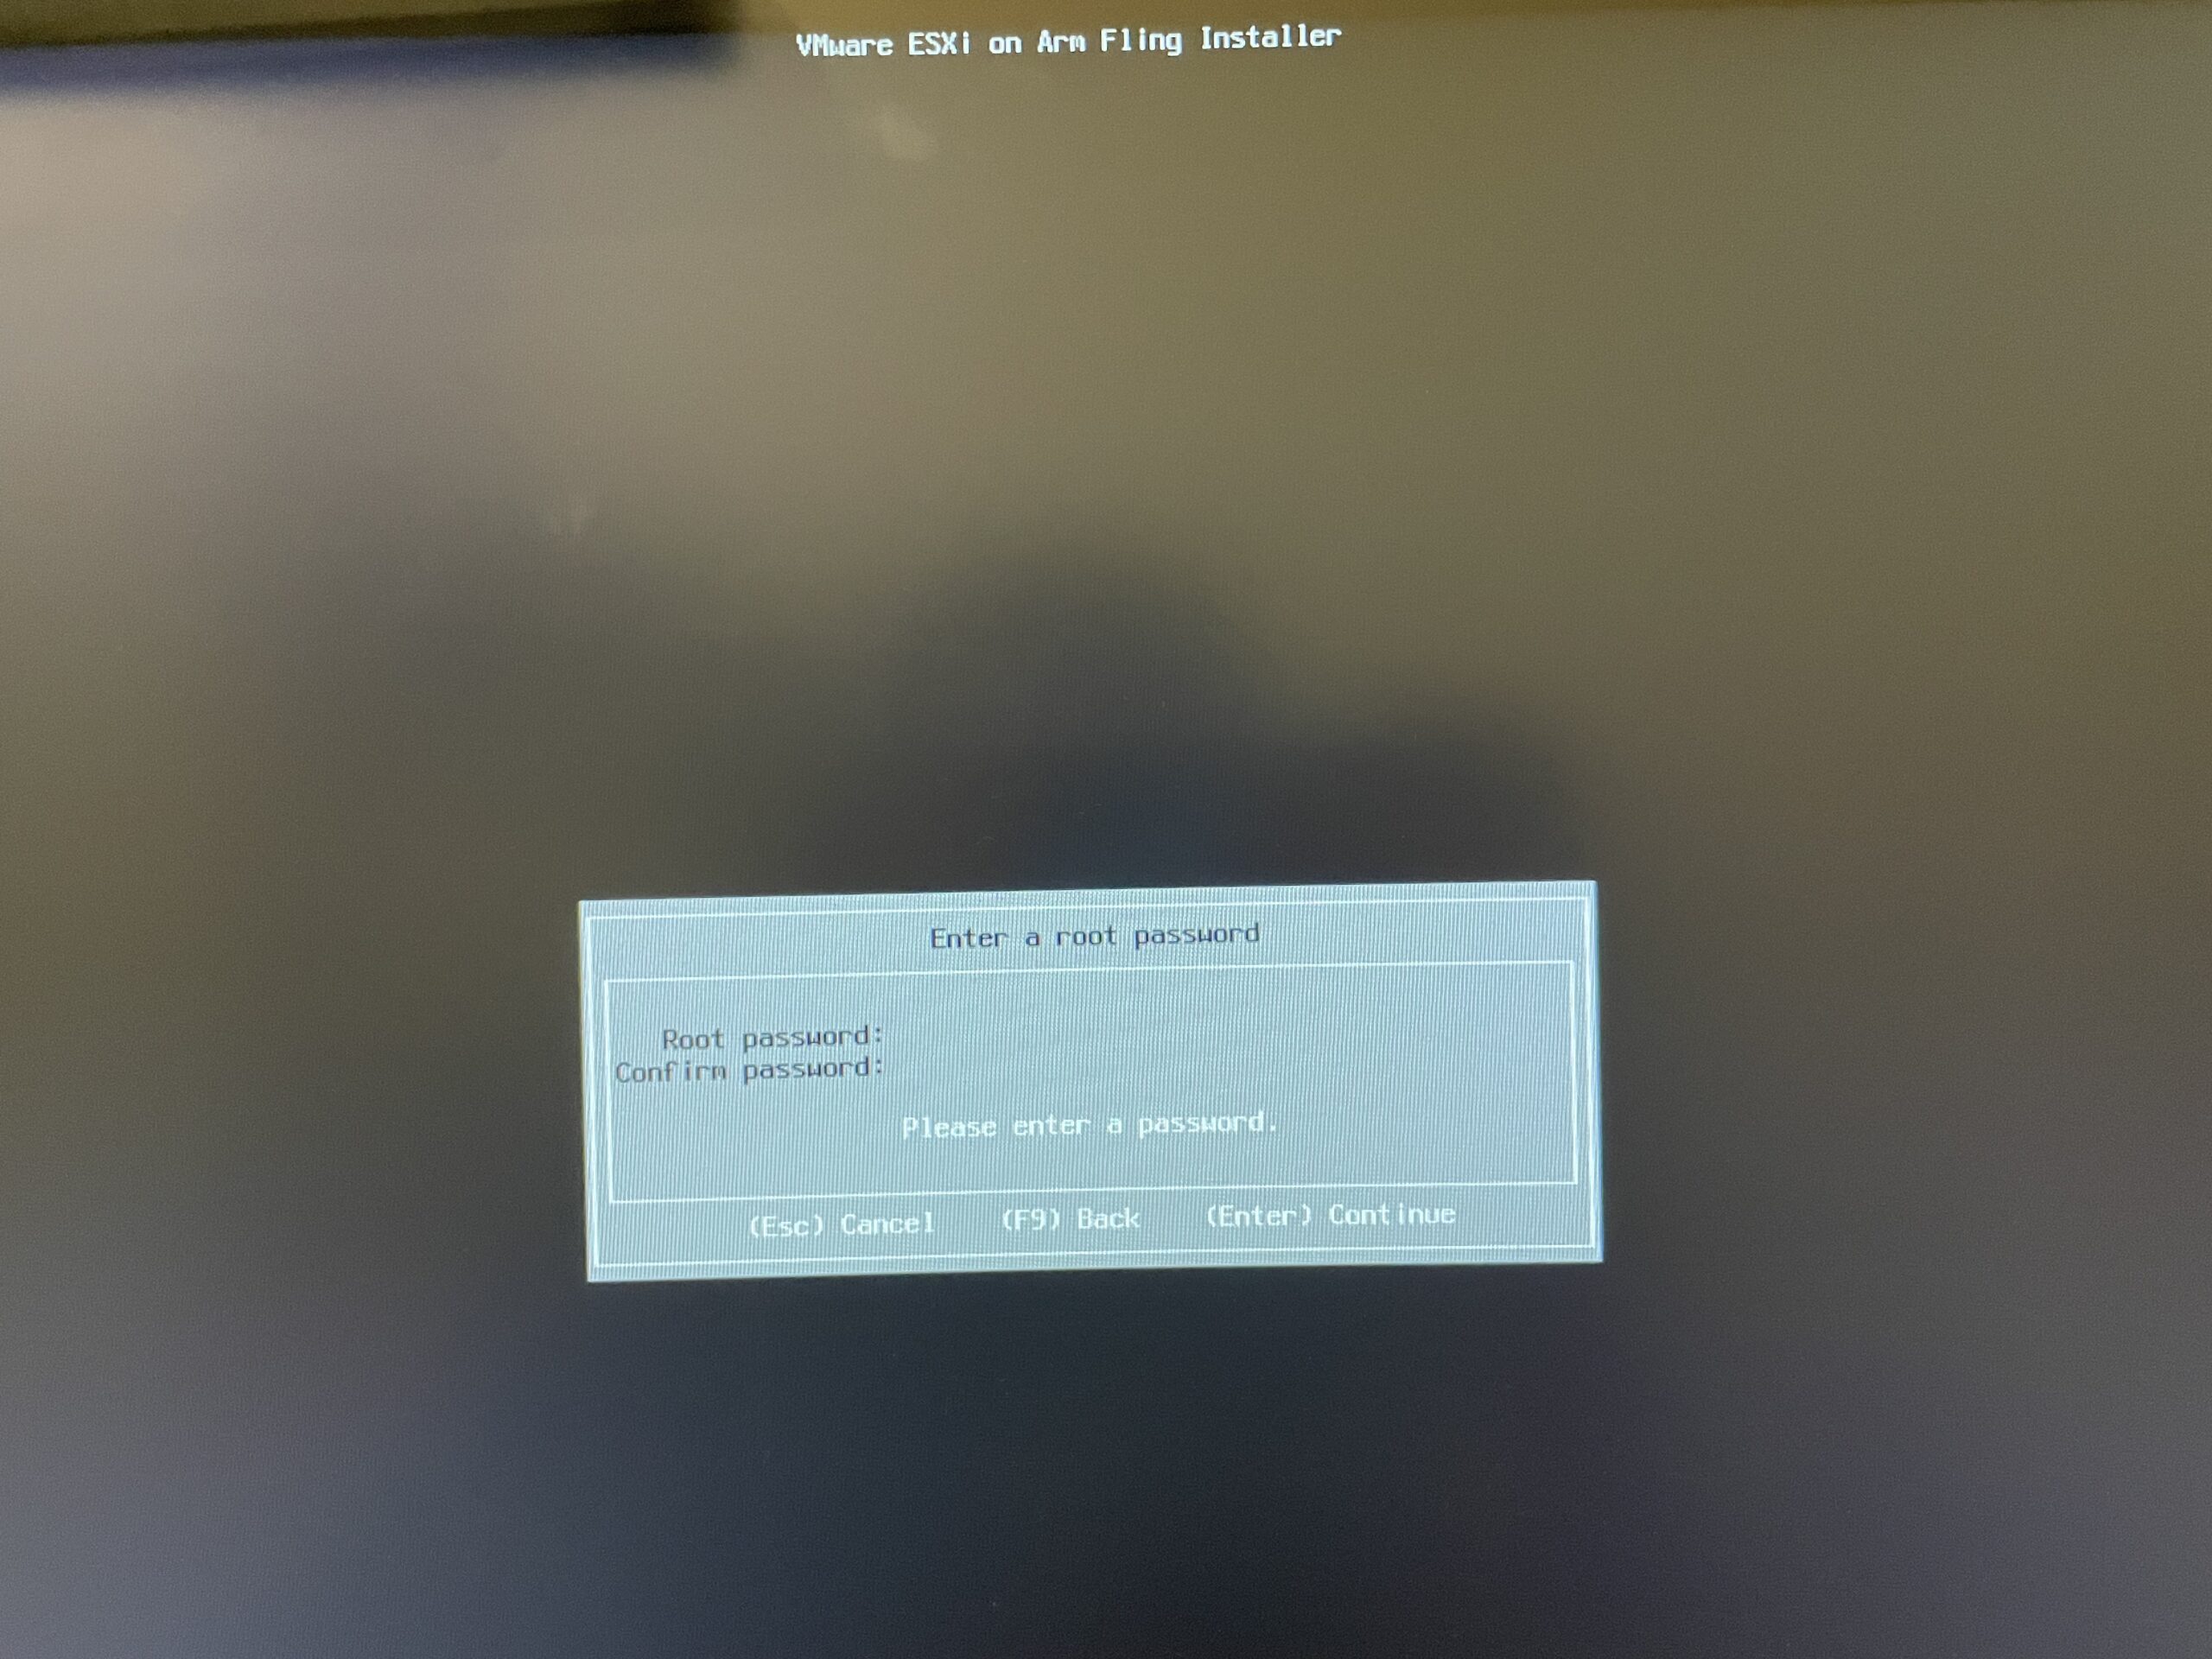
9. Provide a root password and press Enter.
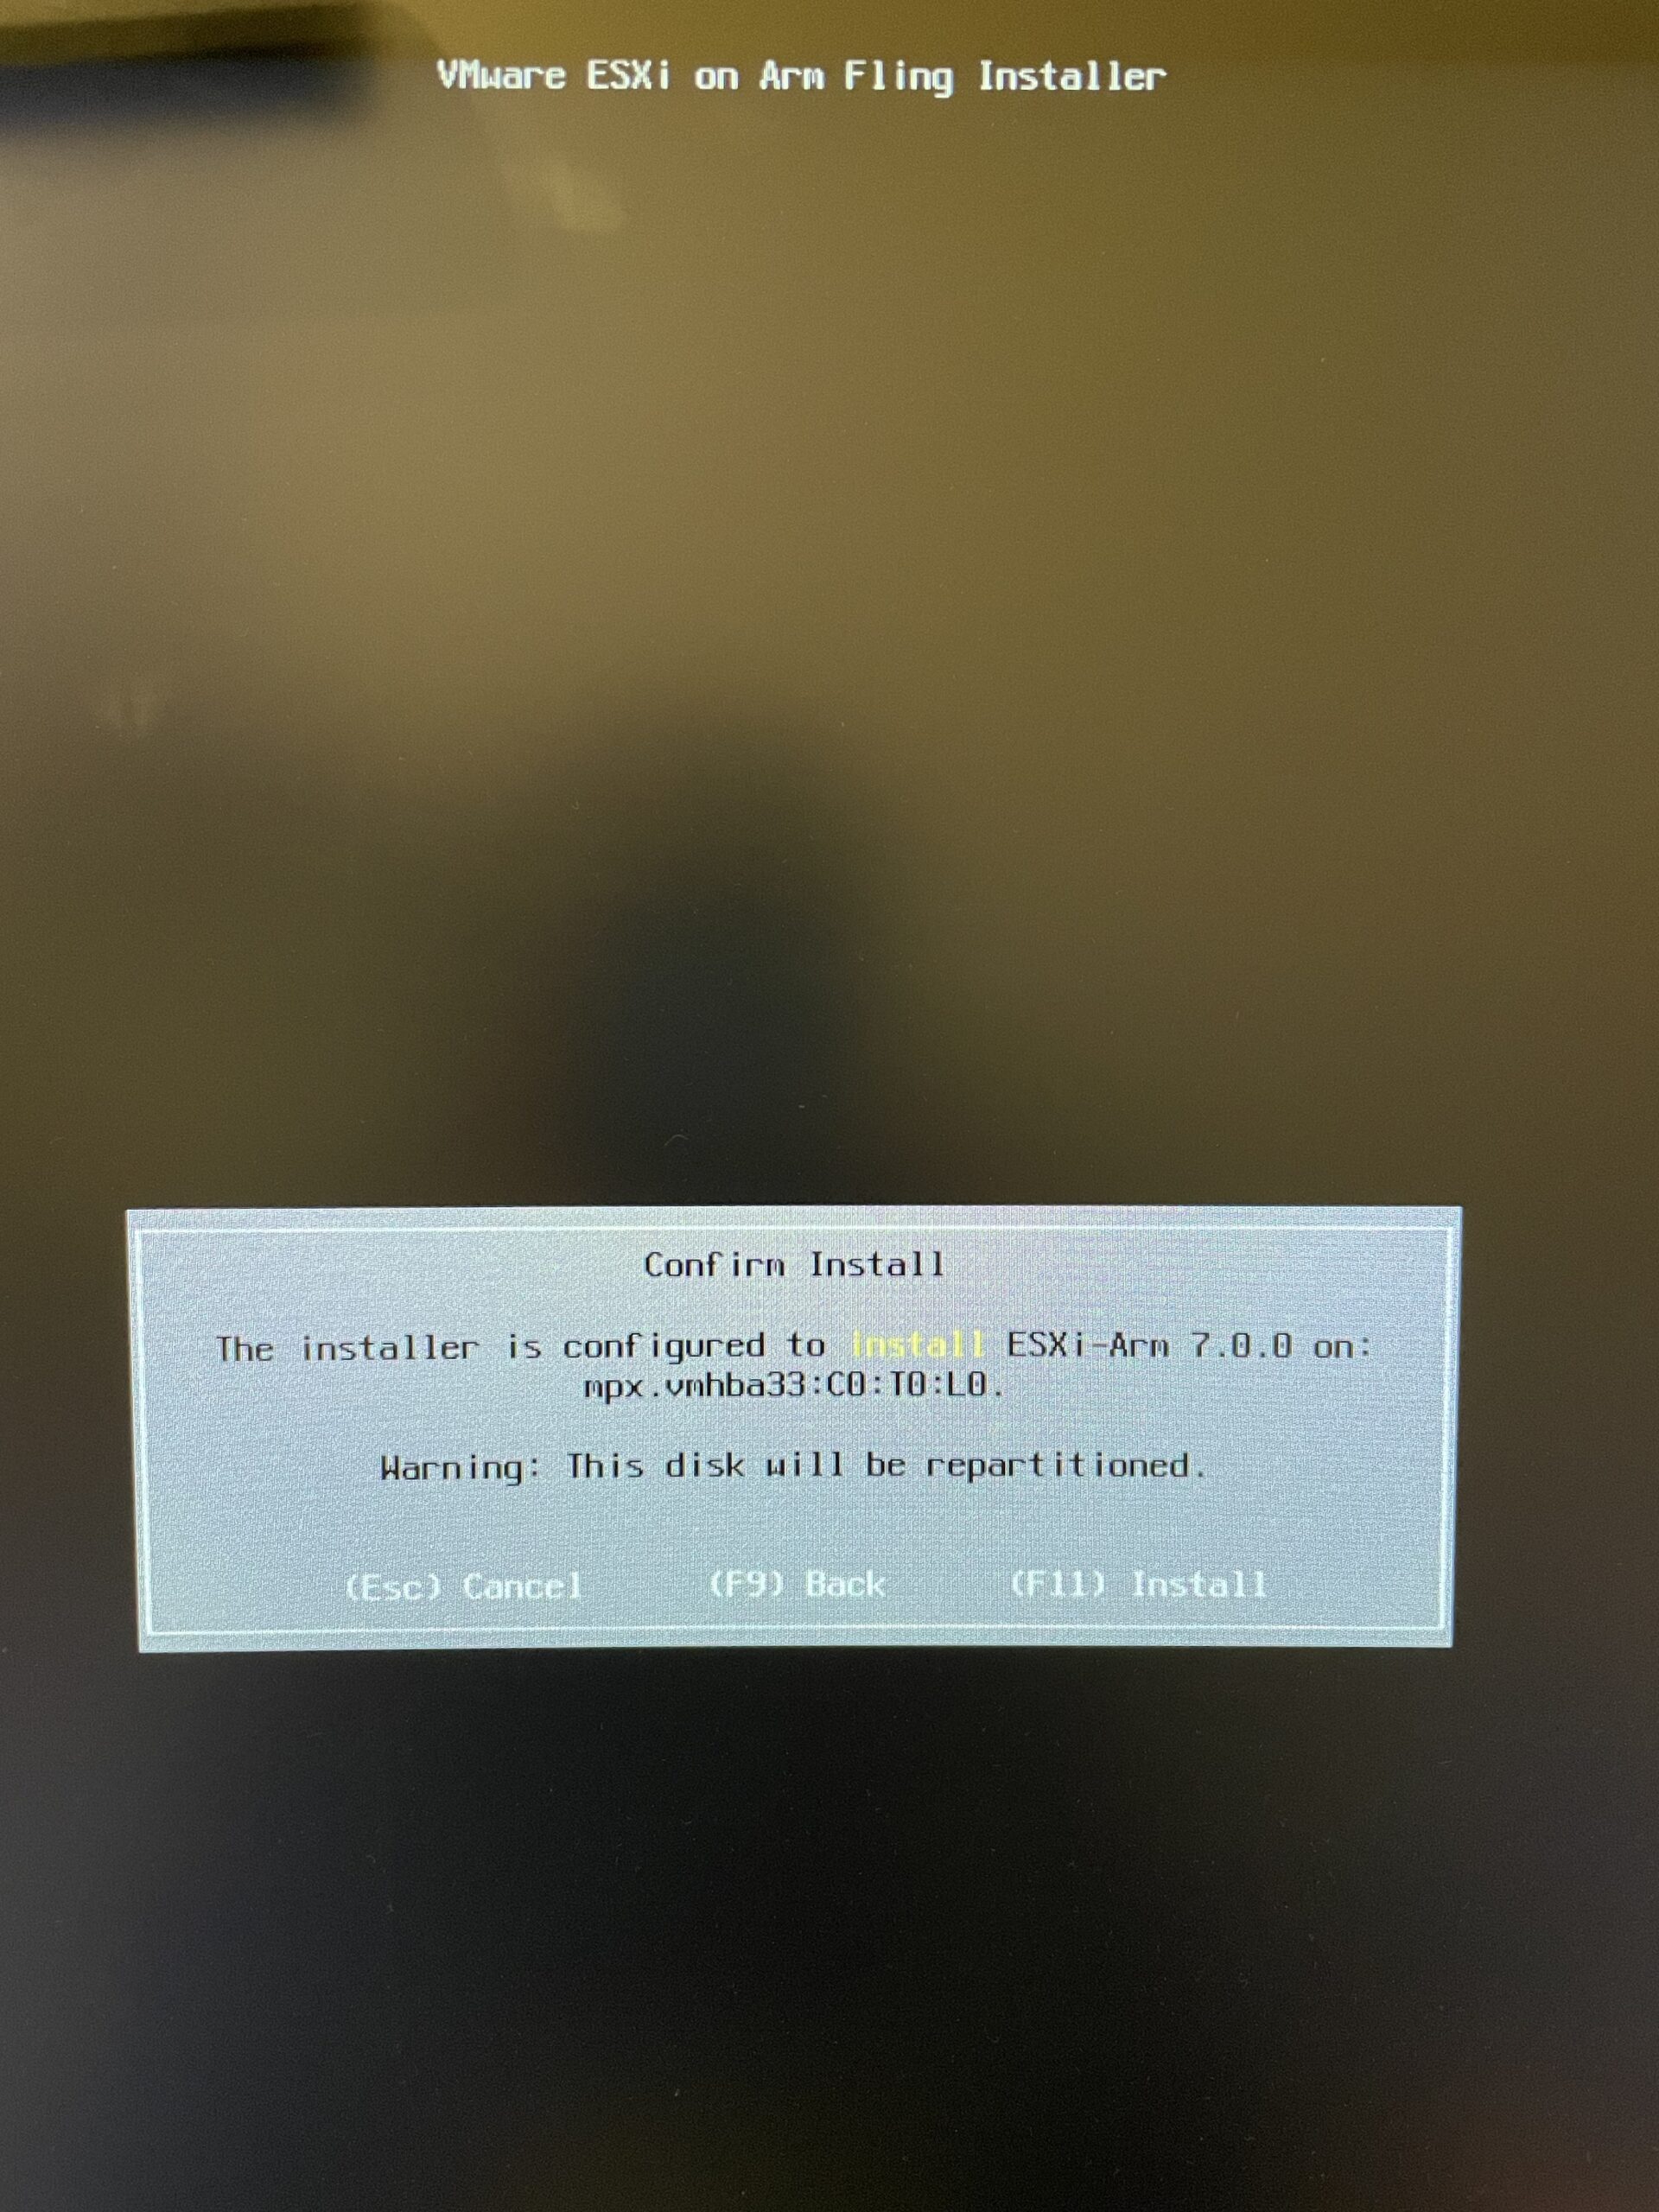
10. Confirm installation and repartitioning your disk, press F11.
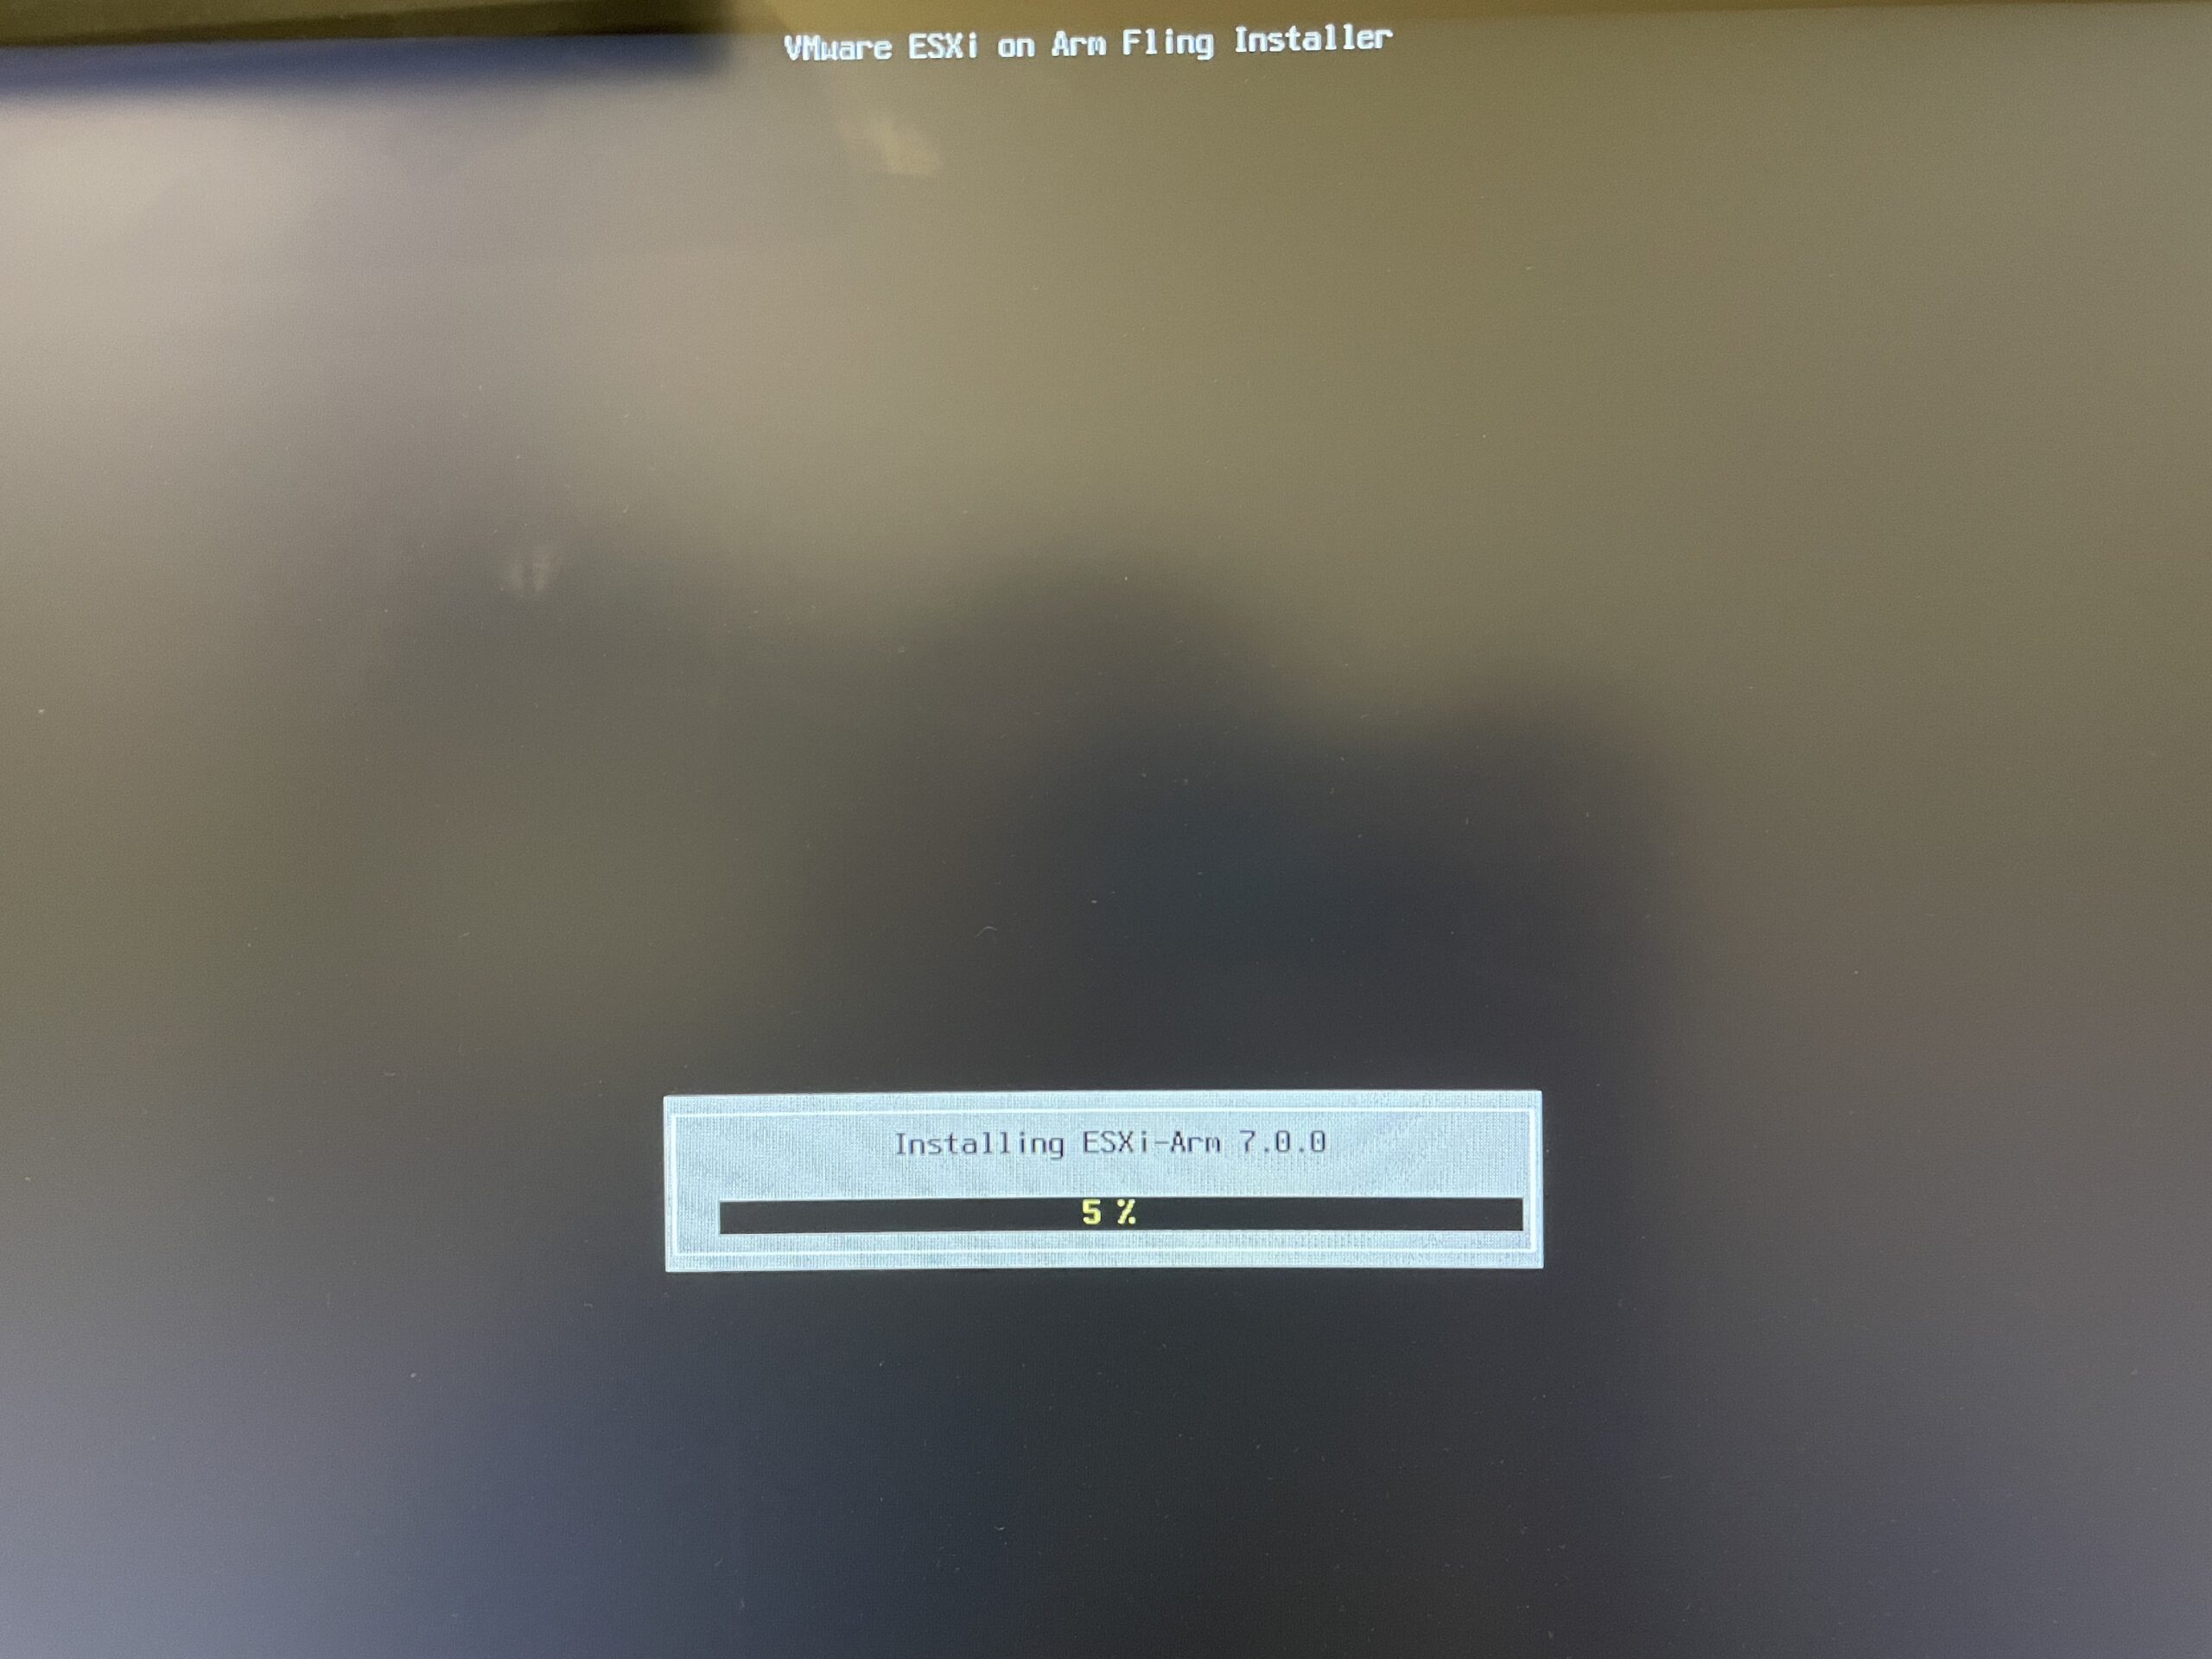
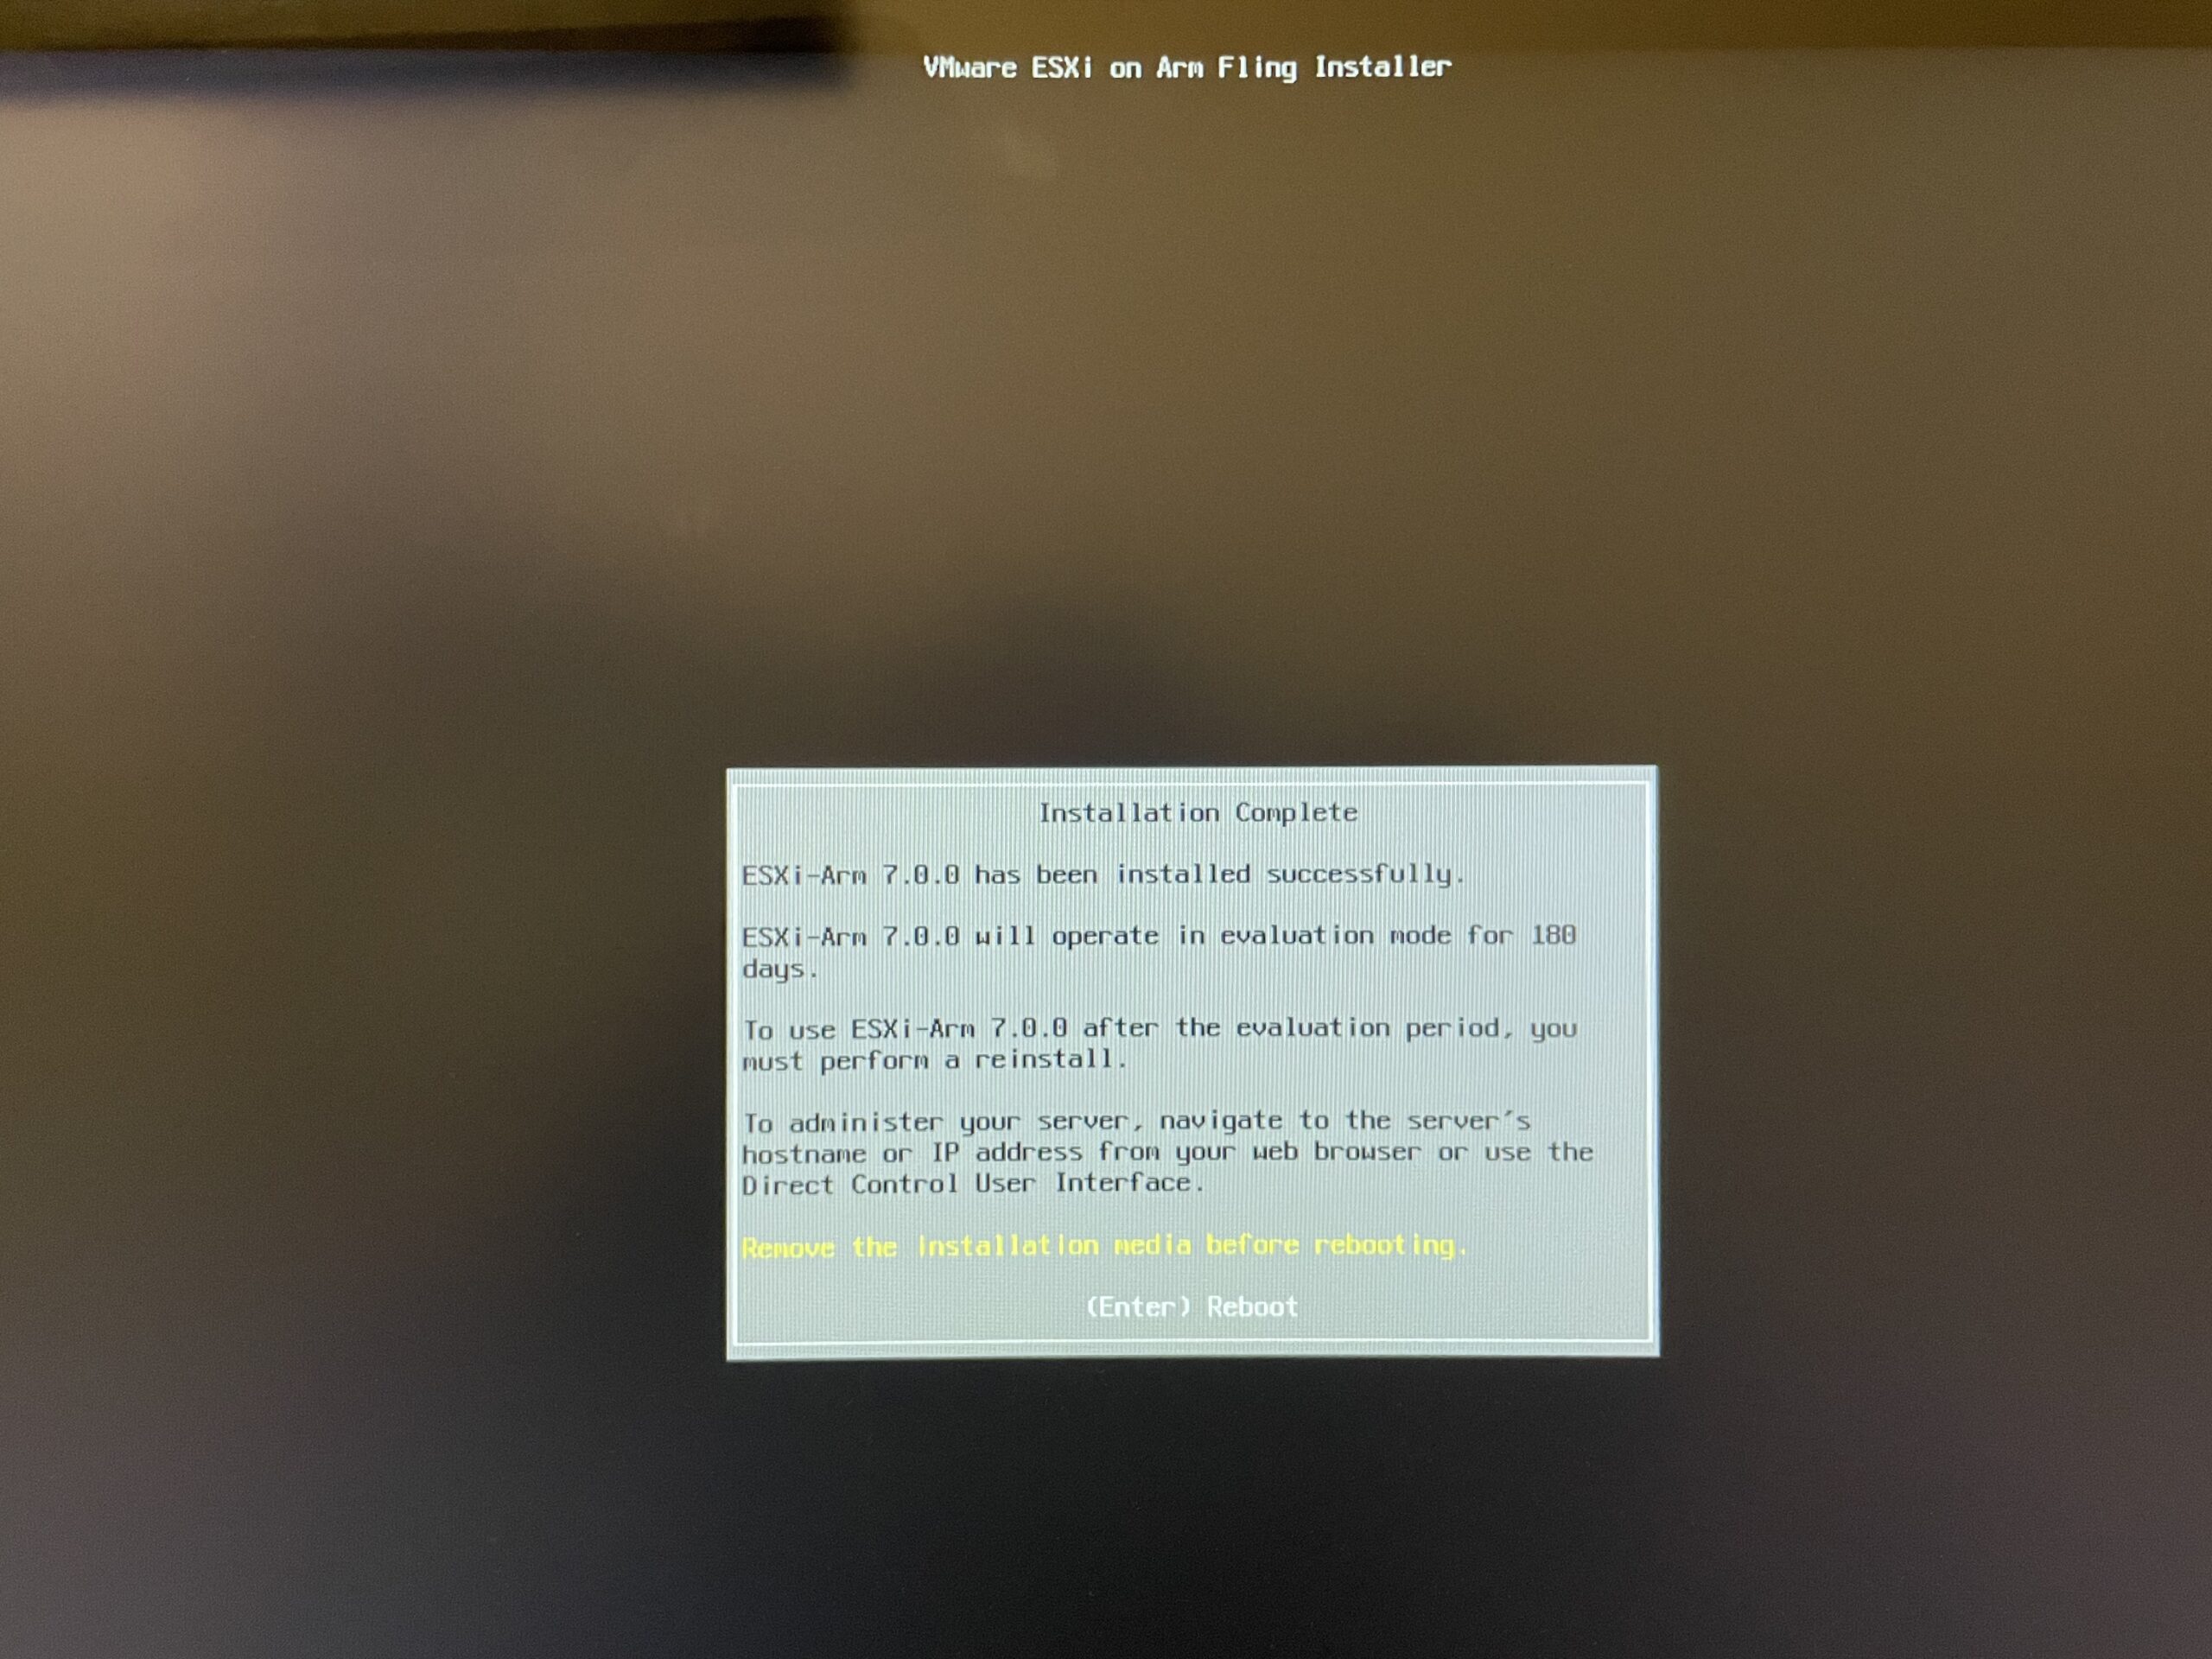
11. Installation completed. Press Enter to reboot the device. Now, you can unplug installation USB.
At the first booting screen (with Raspberry Pi logo) press ESC.
Change default bootable device
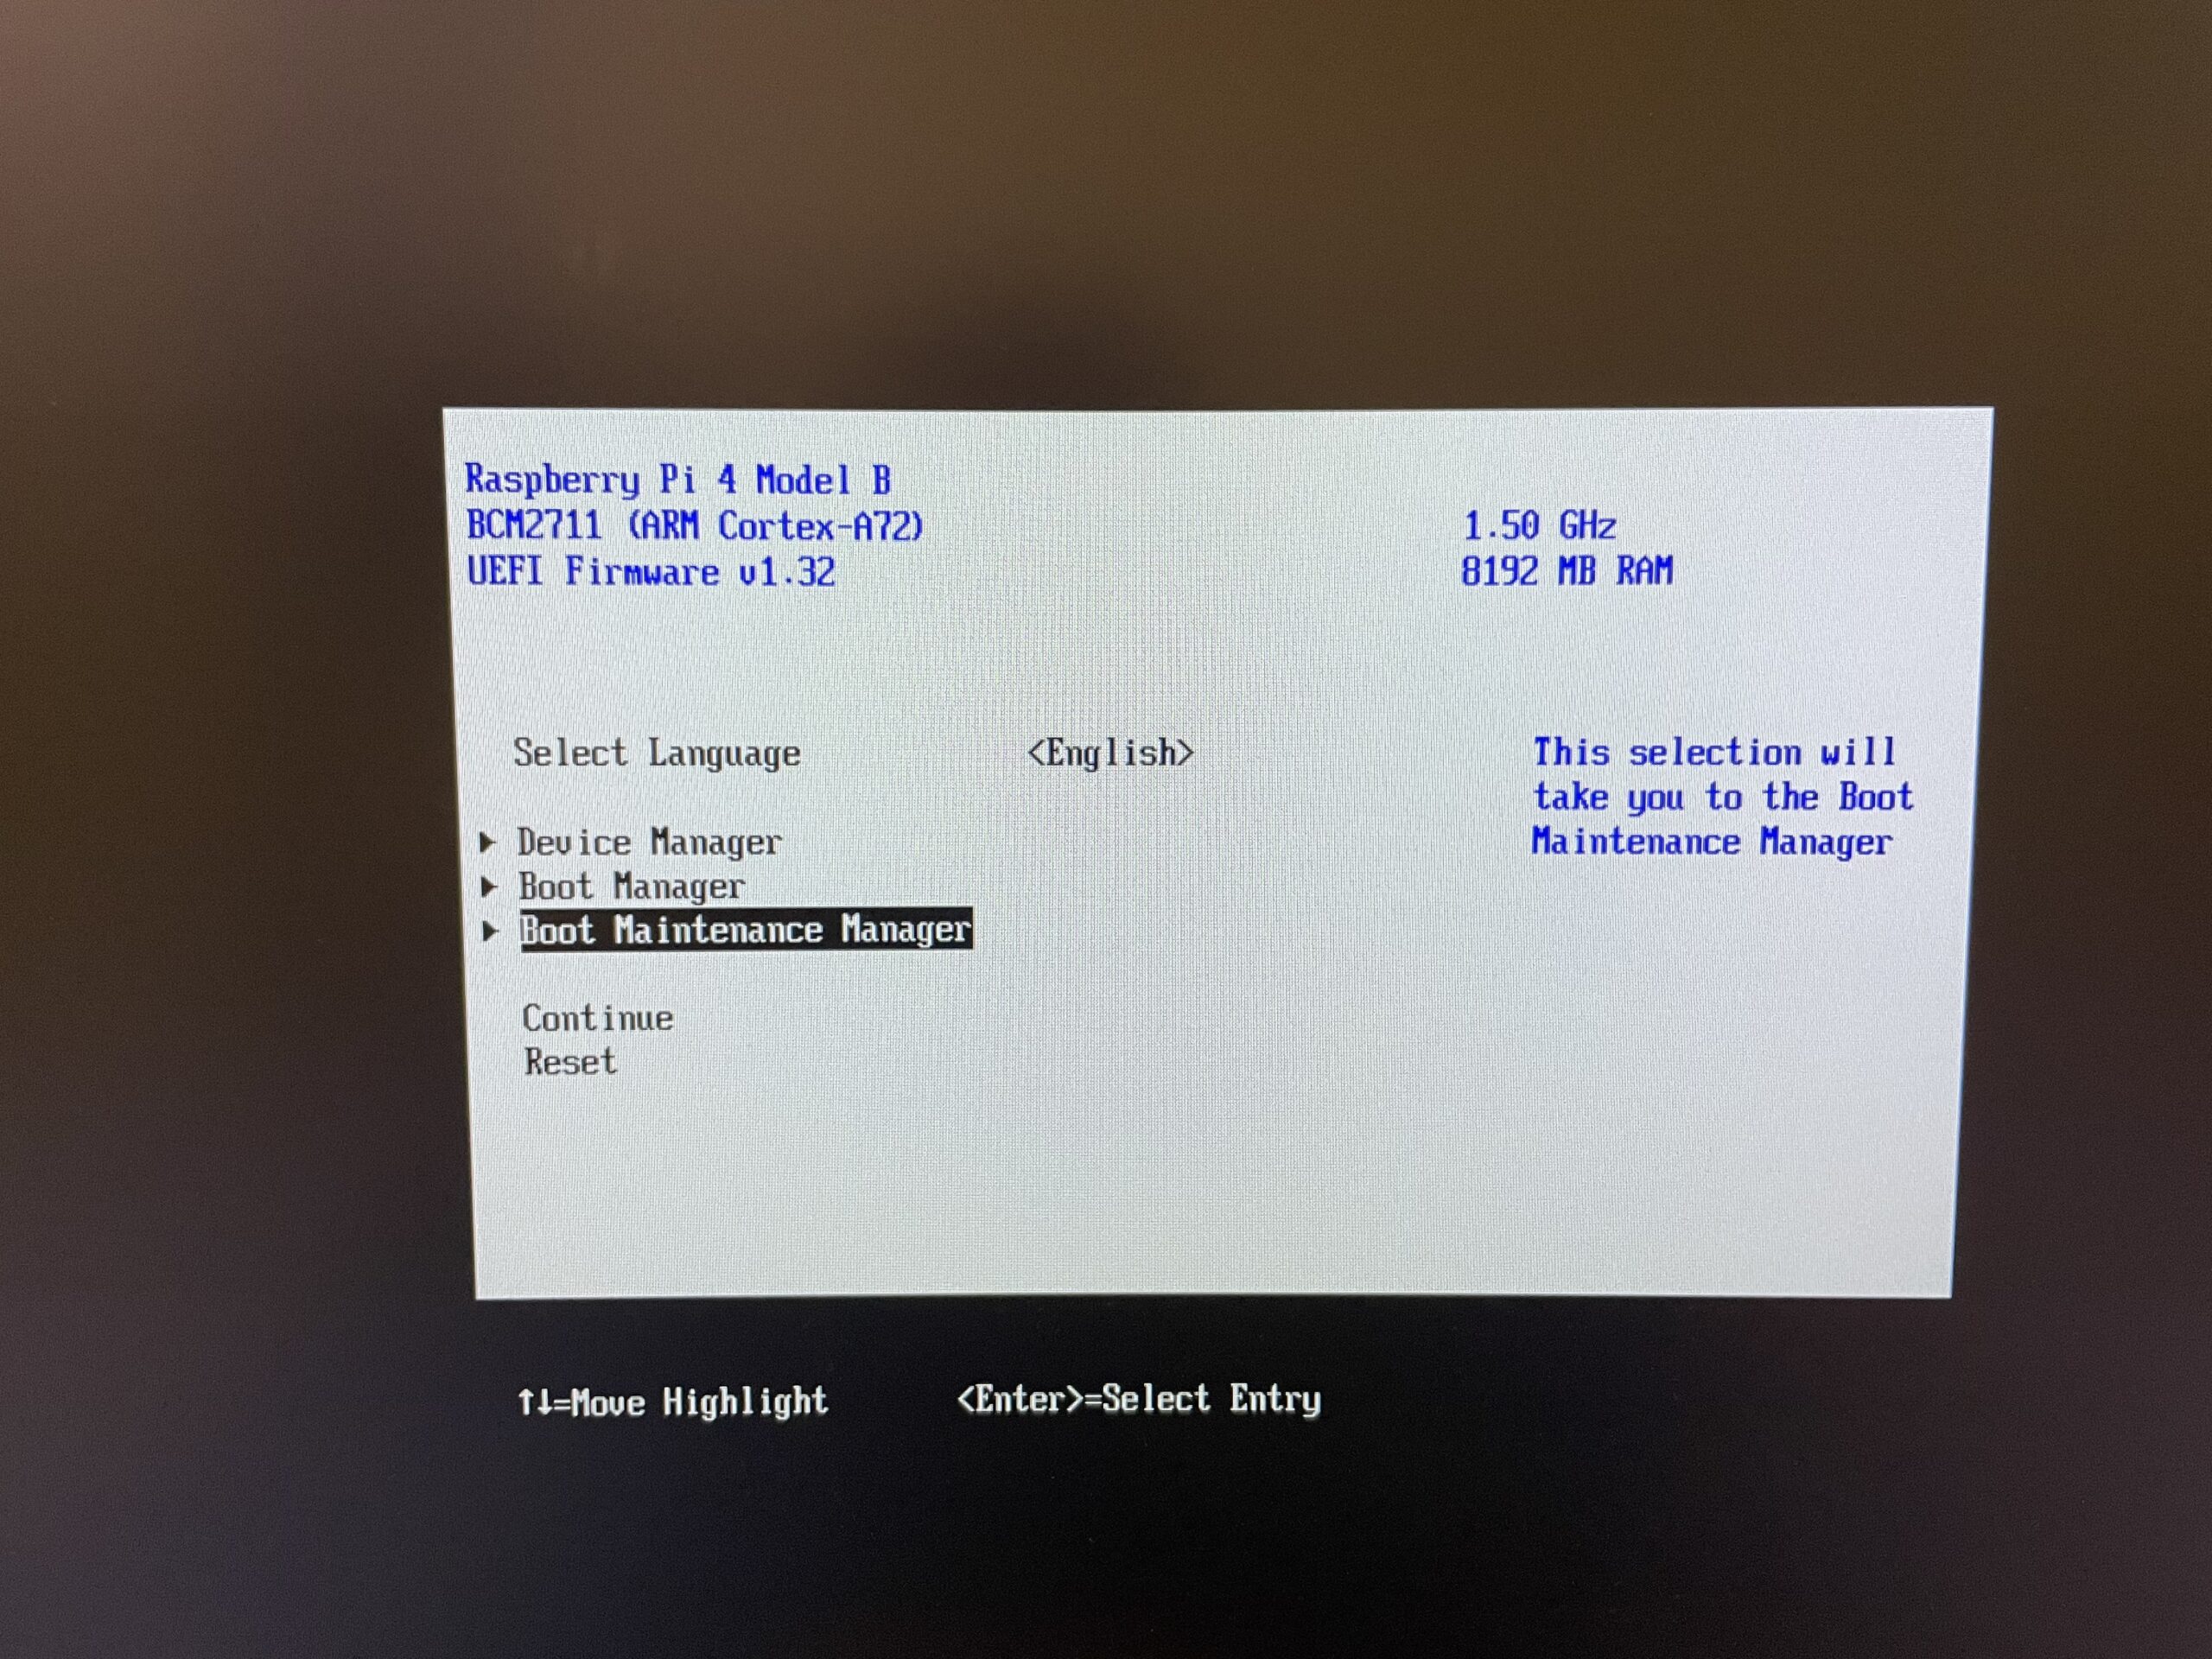
- Choose Boot Mainenance Manager.
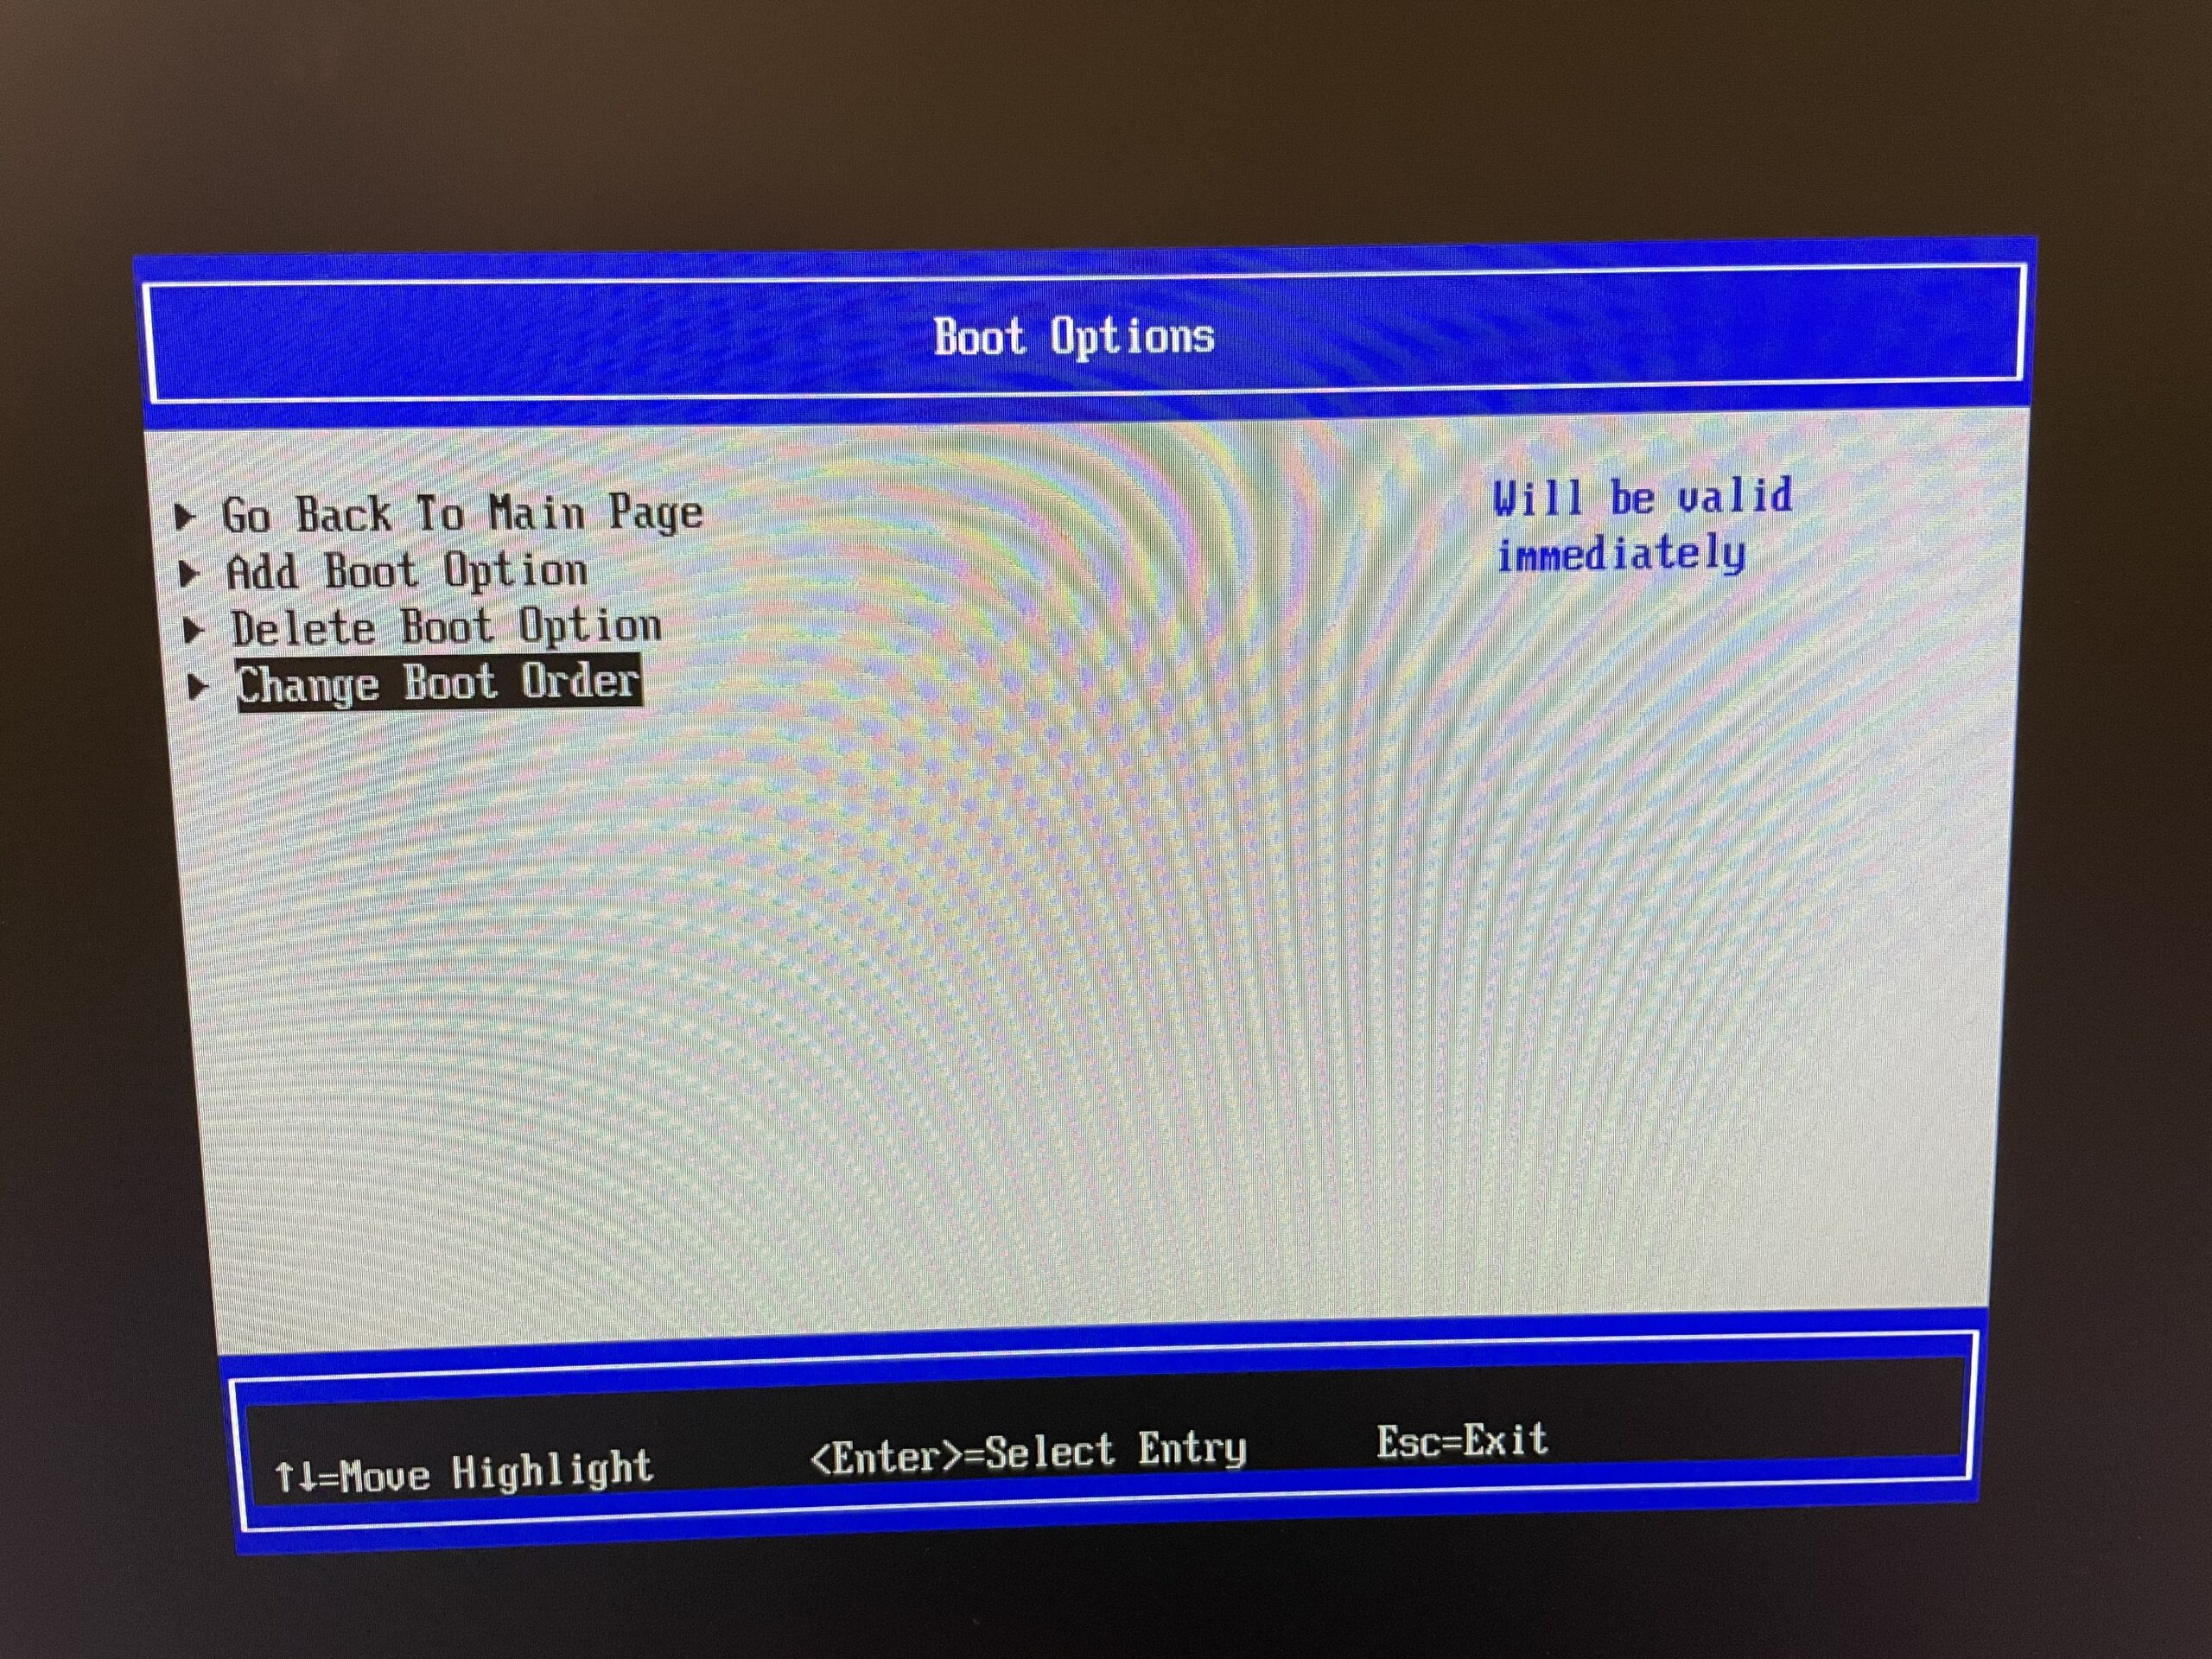
2. Choose Boot Options.

3. Choose Change Boot Order.
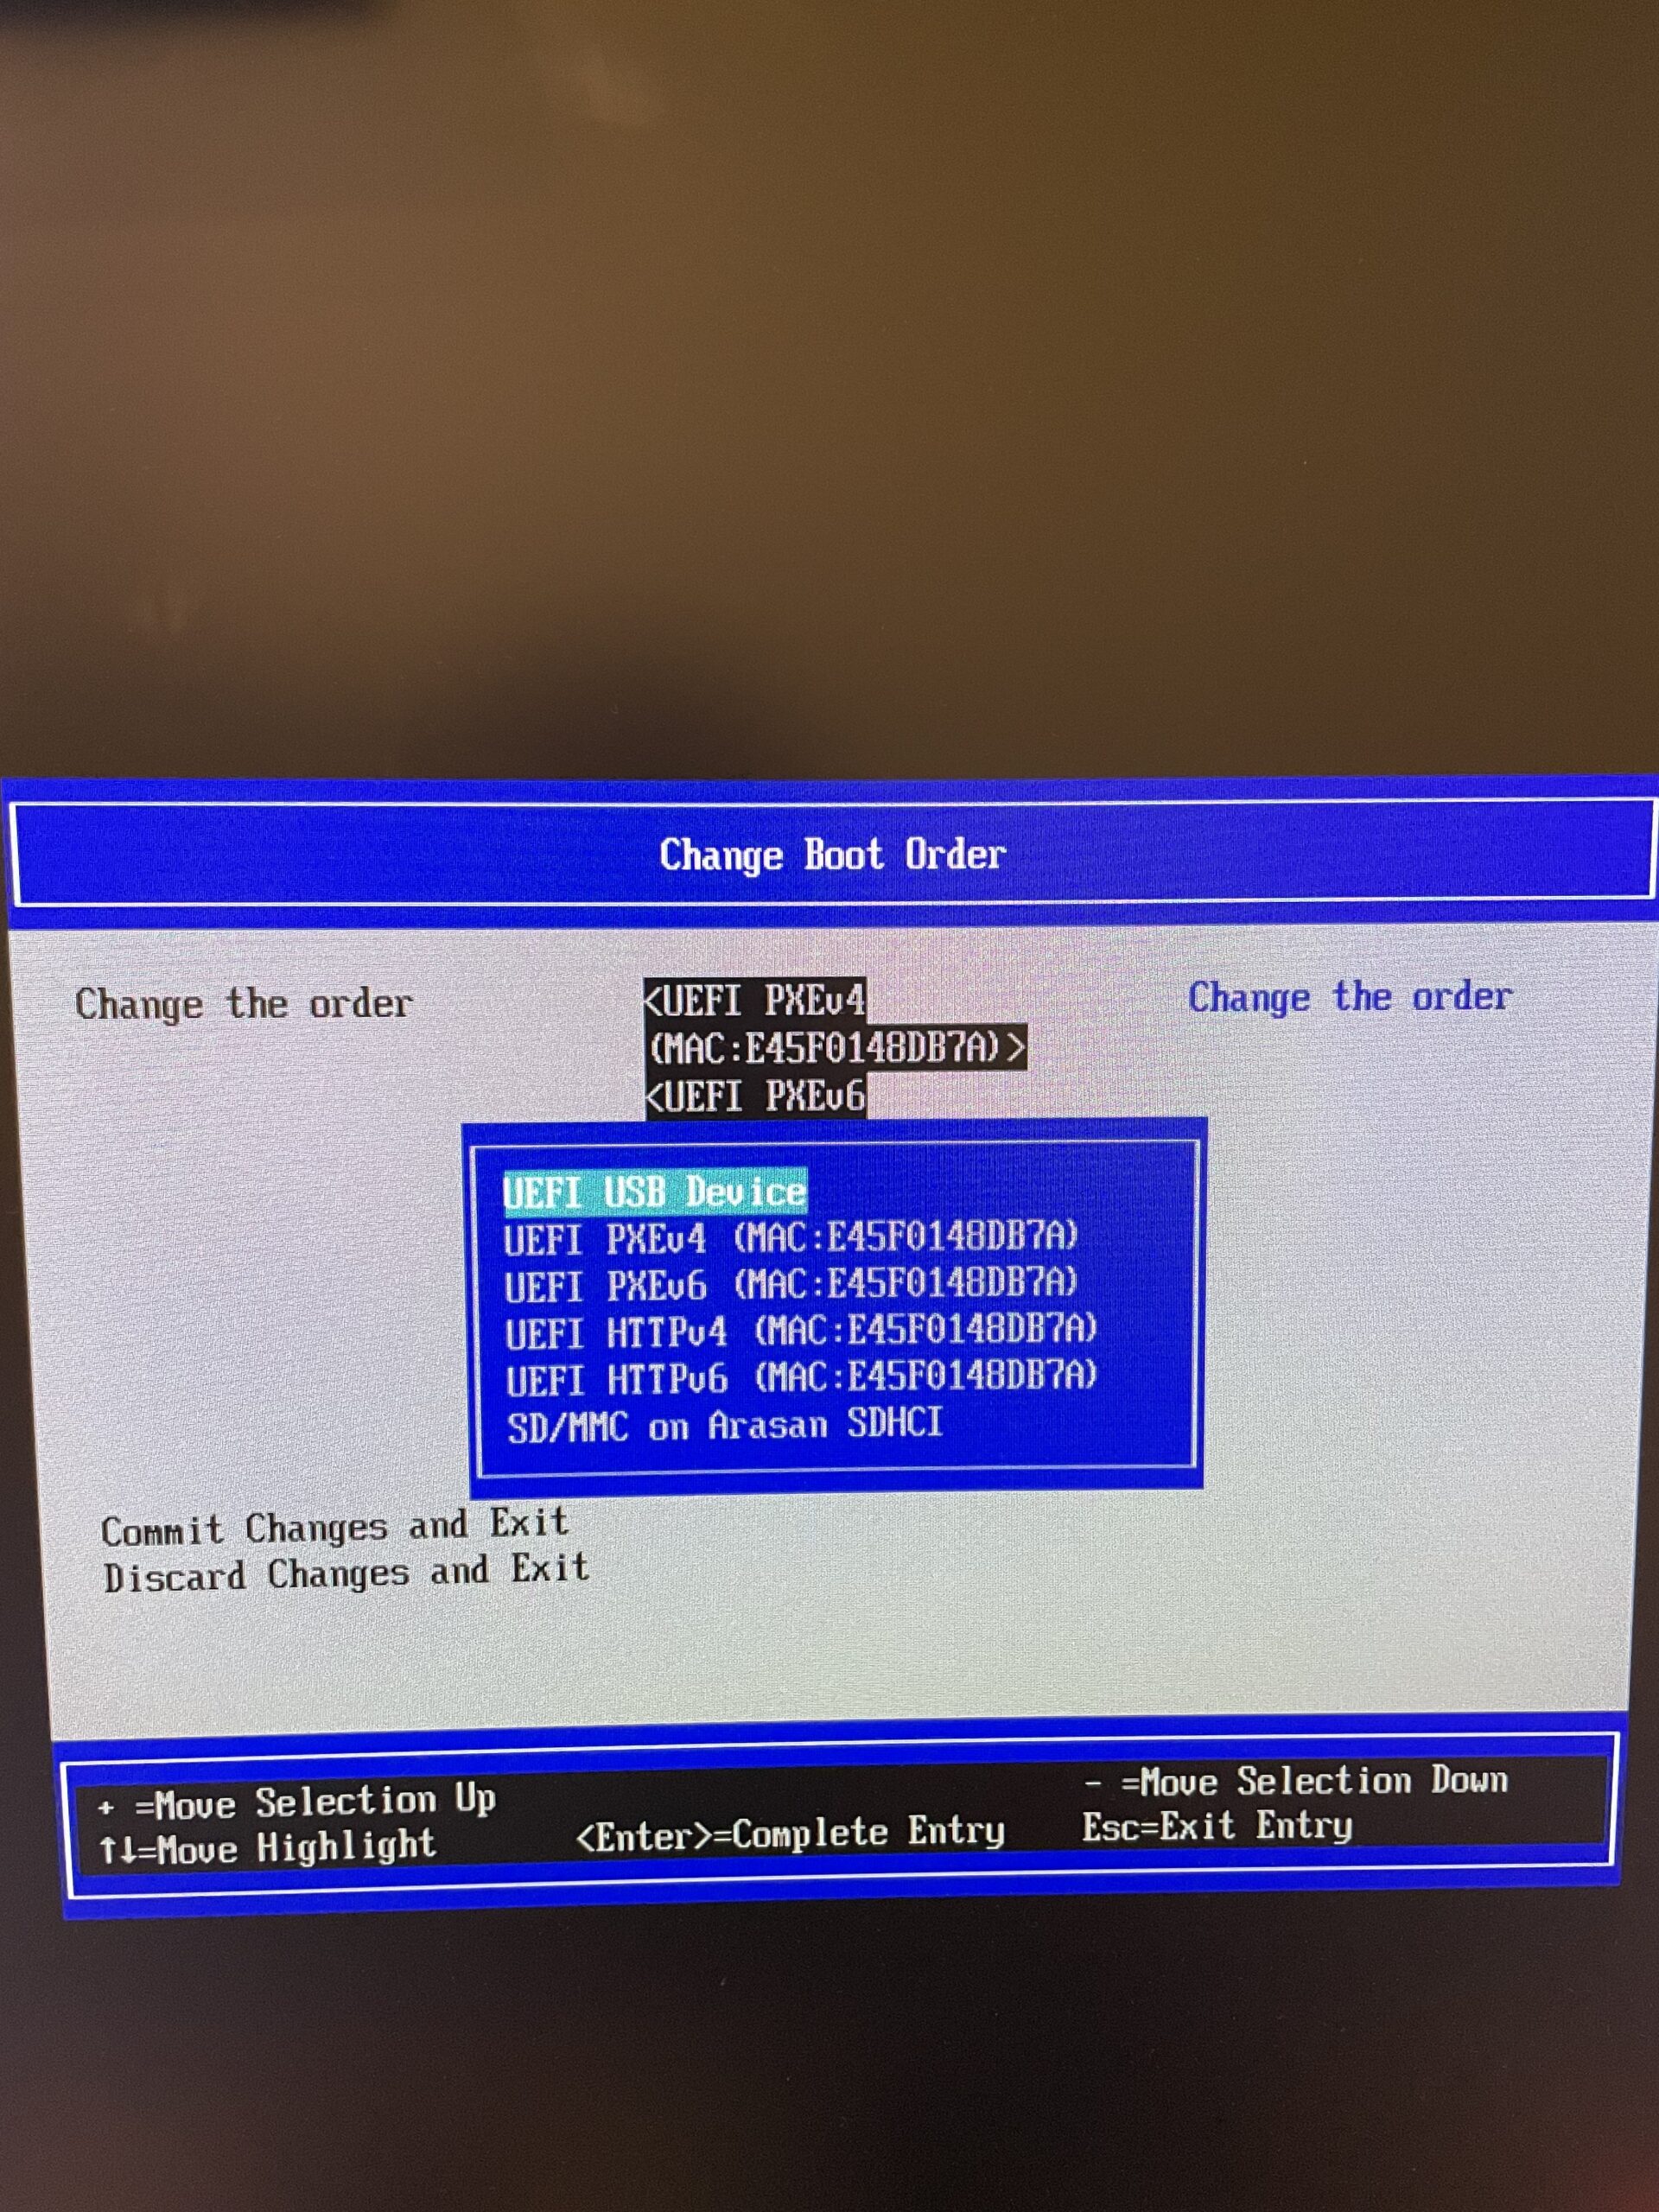
4. On the next screen change boot order. Put UEFI USB Device on the top.
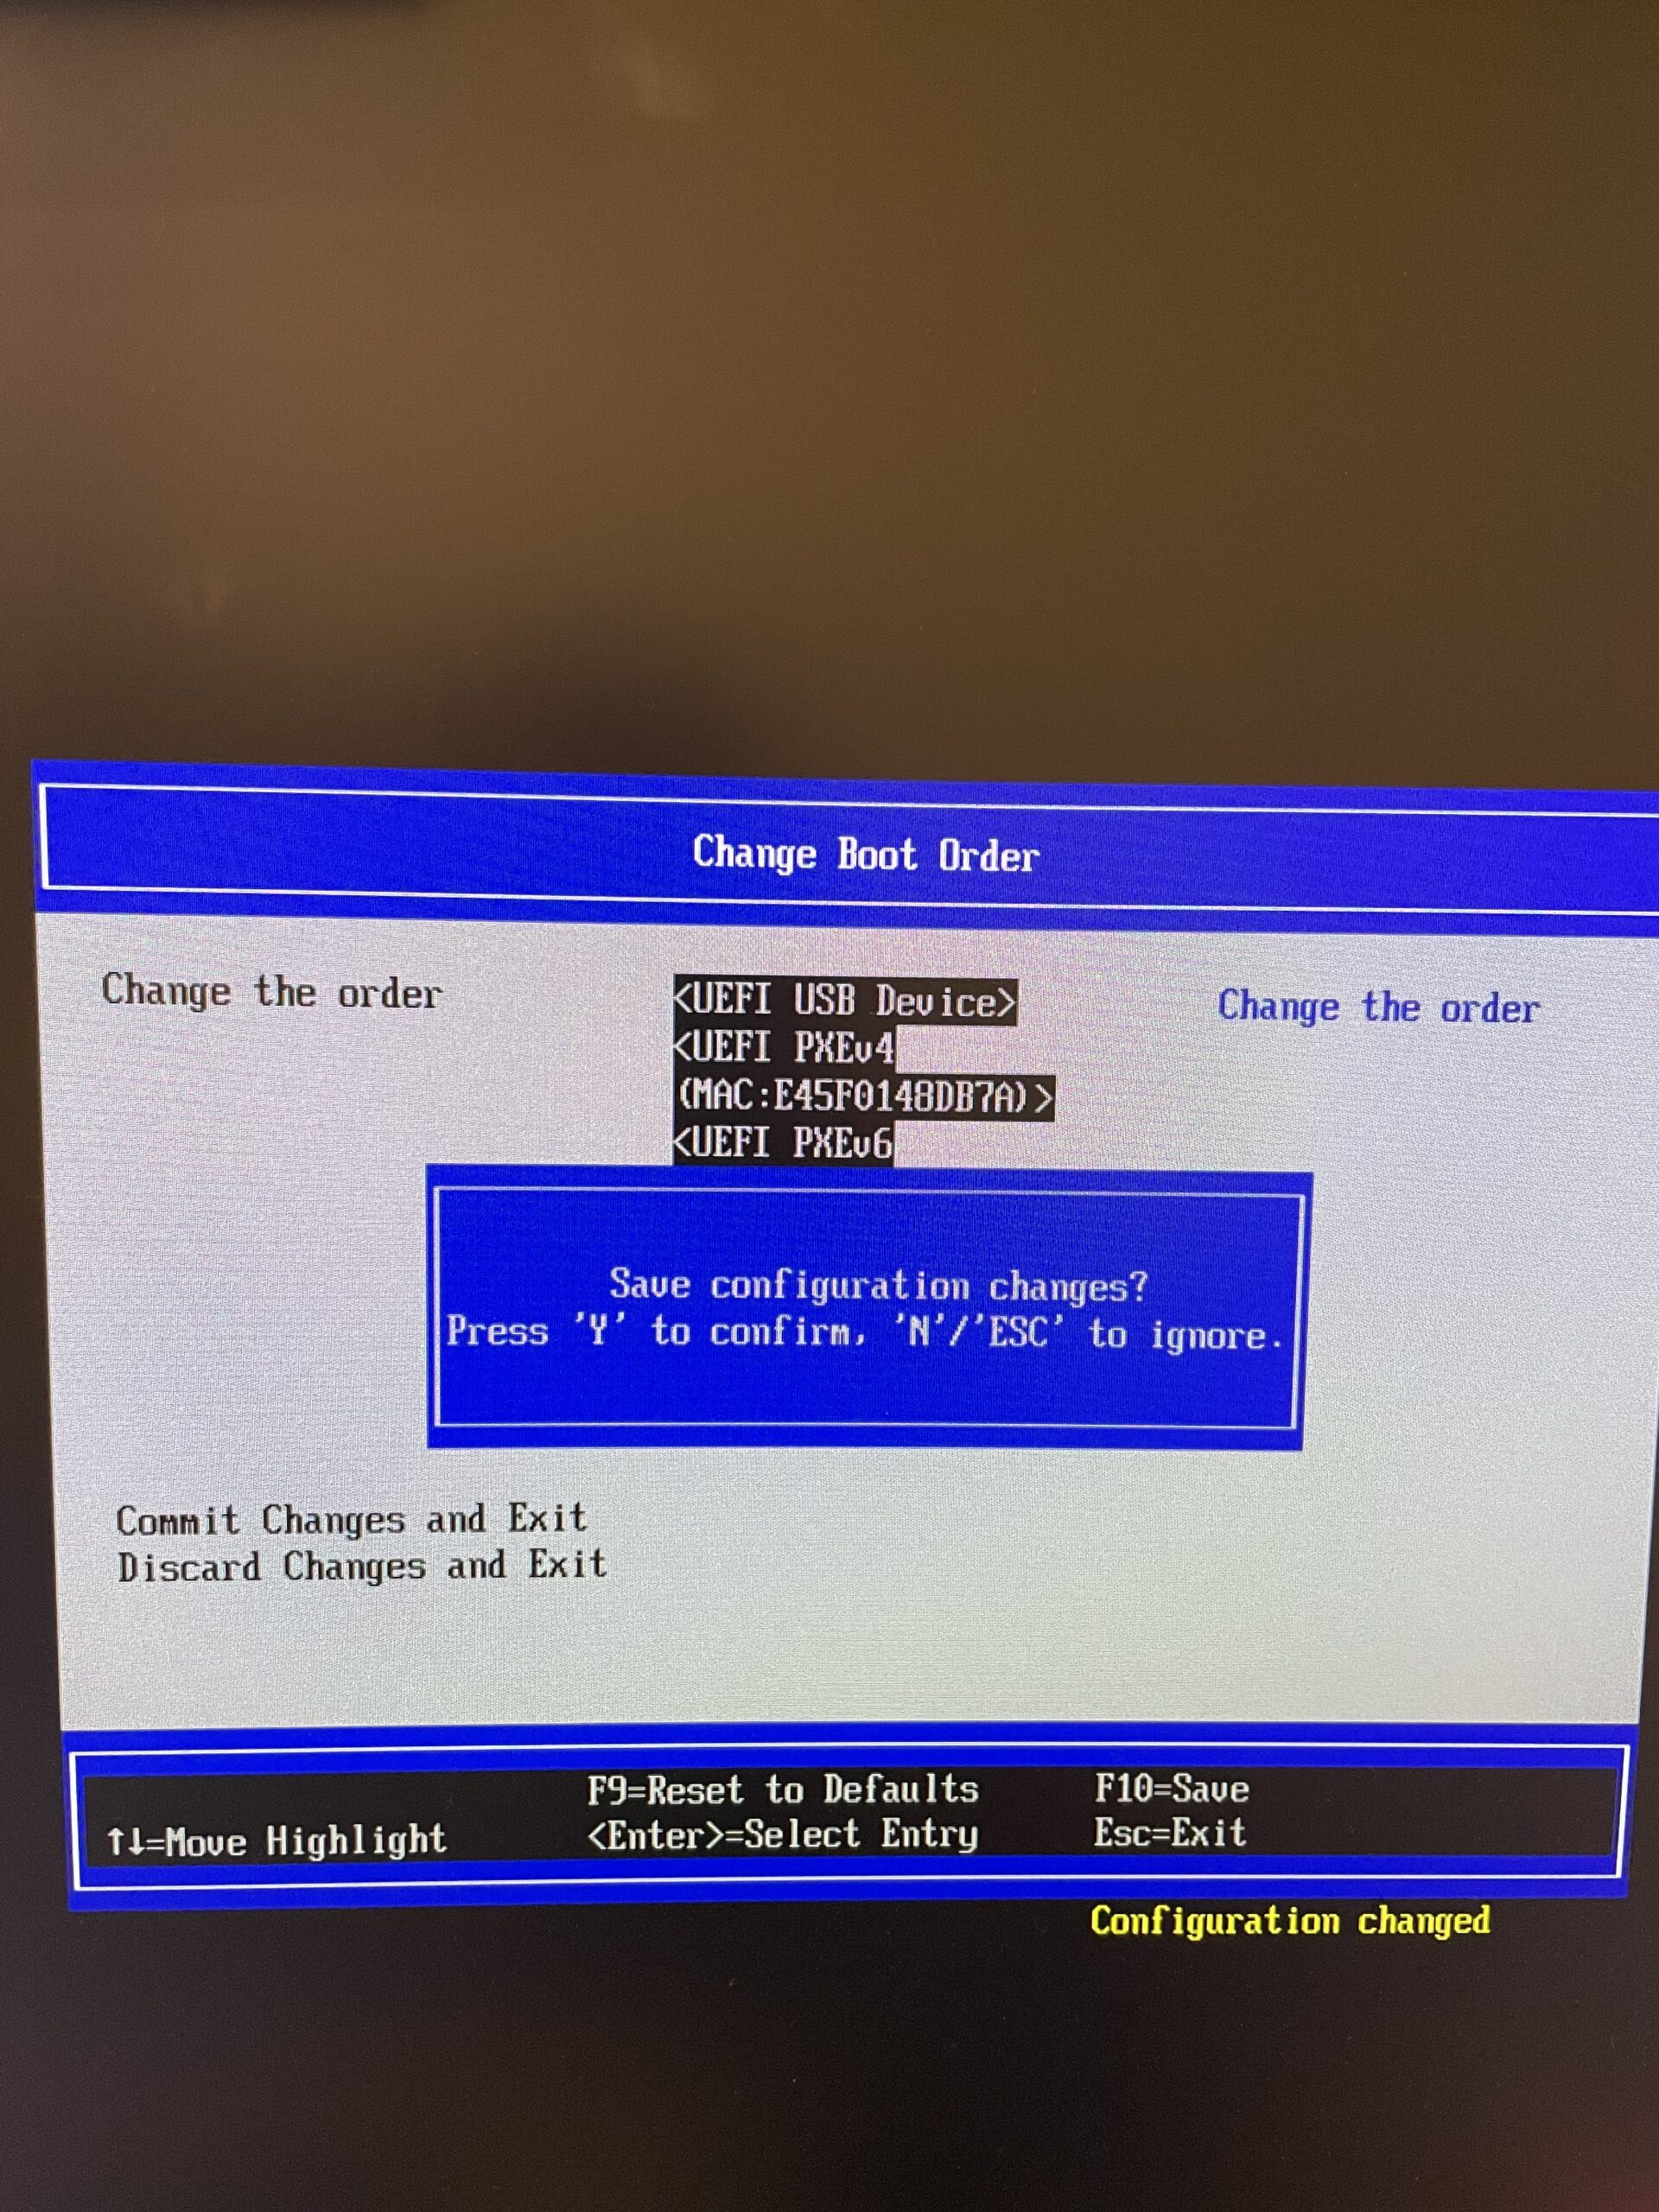
5. Press F10 to save and confirm changes with ‘Y’. Press ESC 3 times and choose Continue in the main menu.
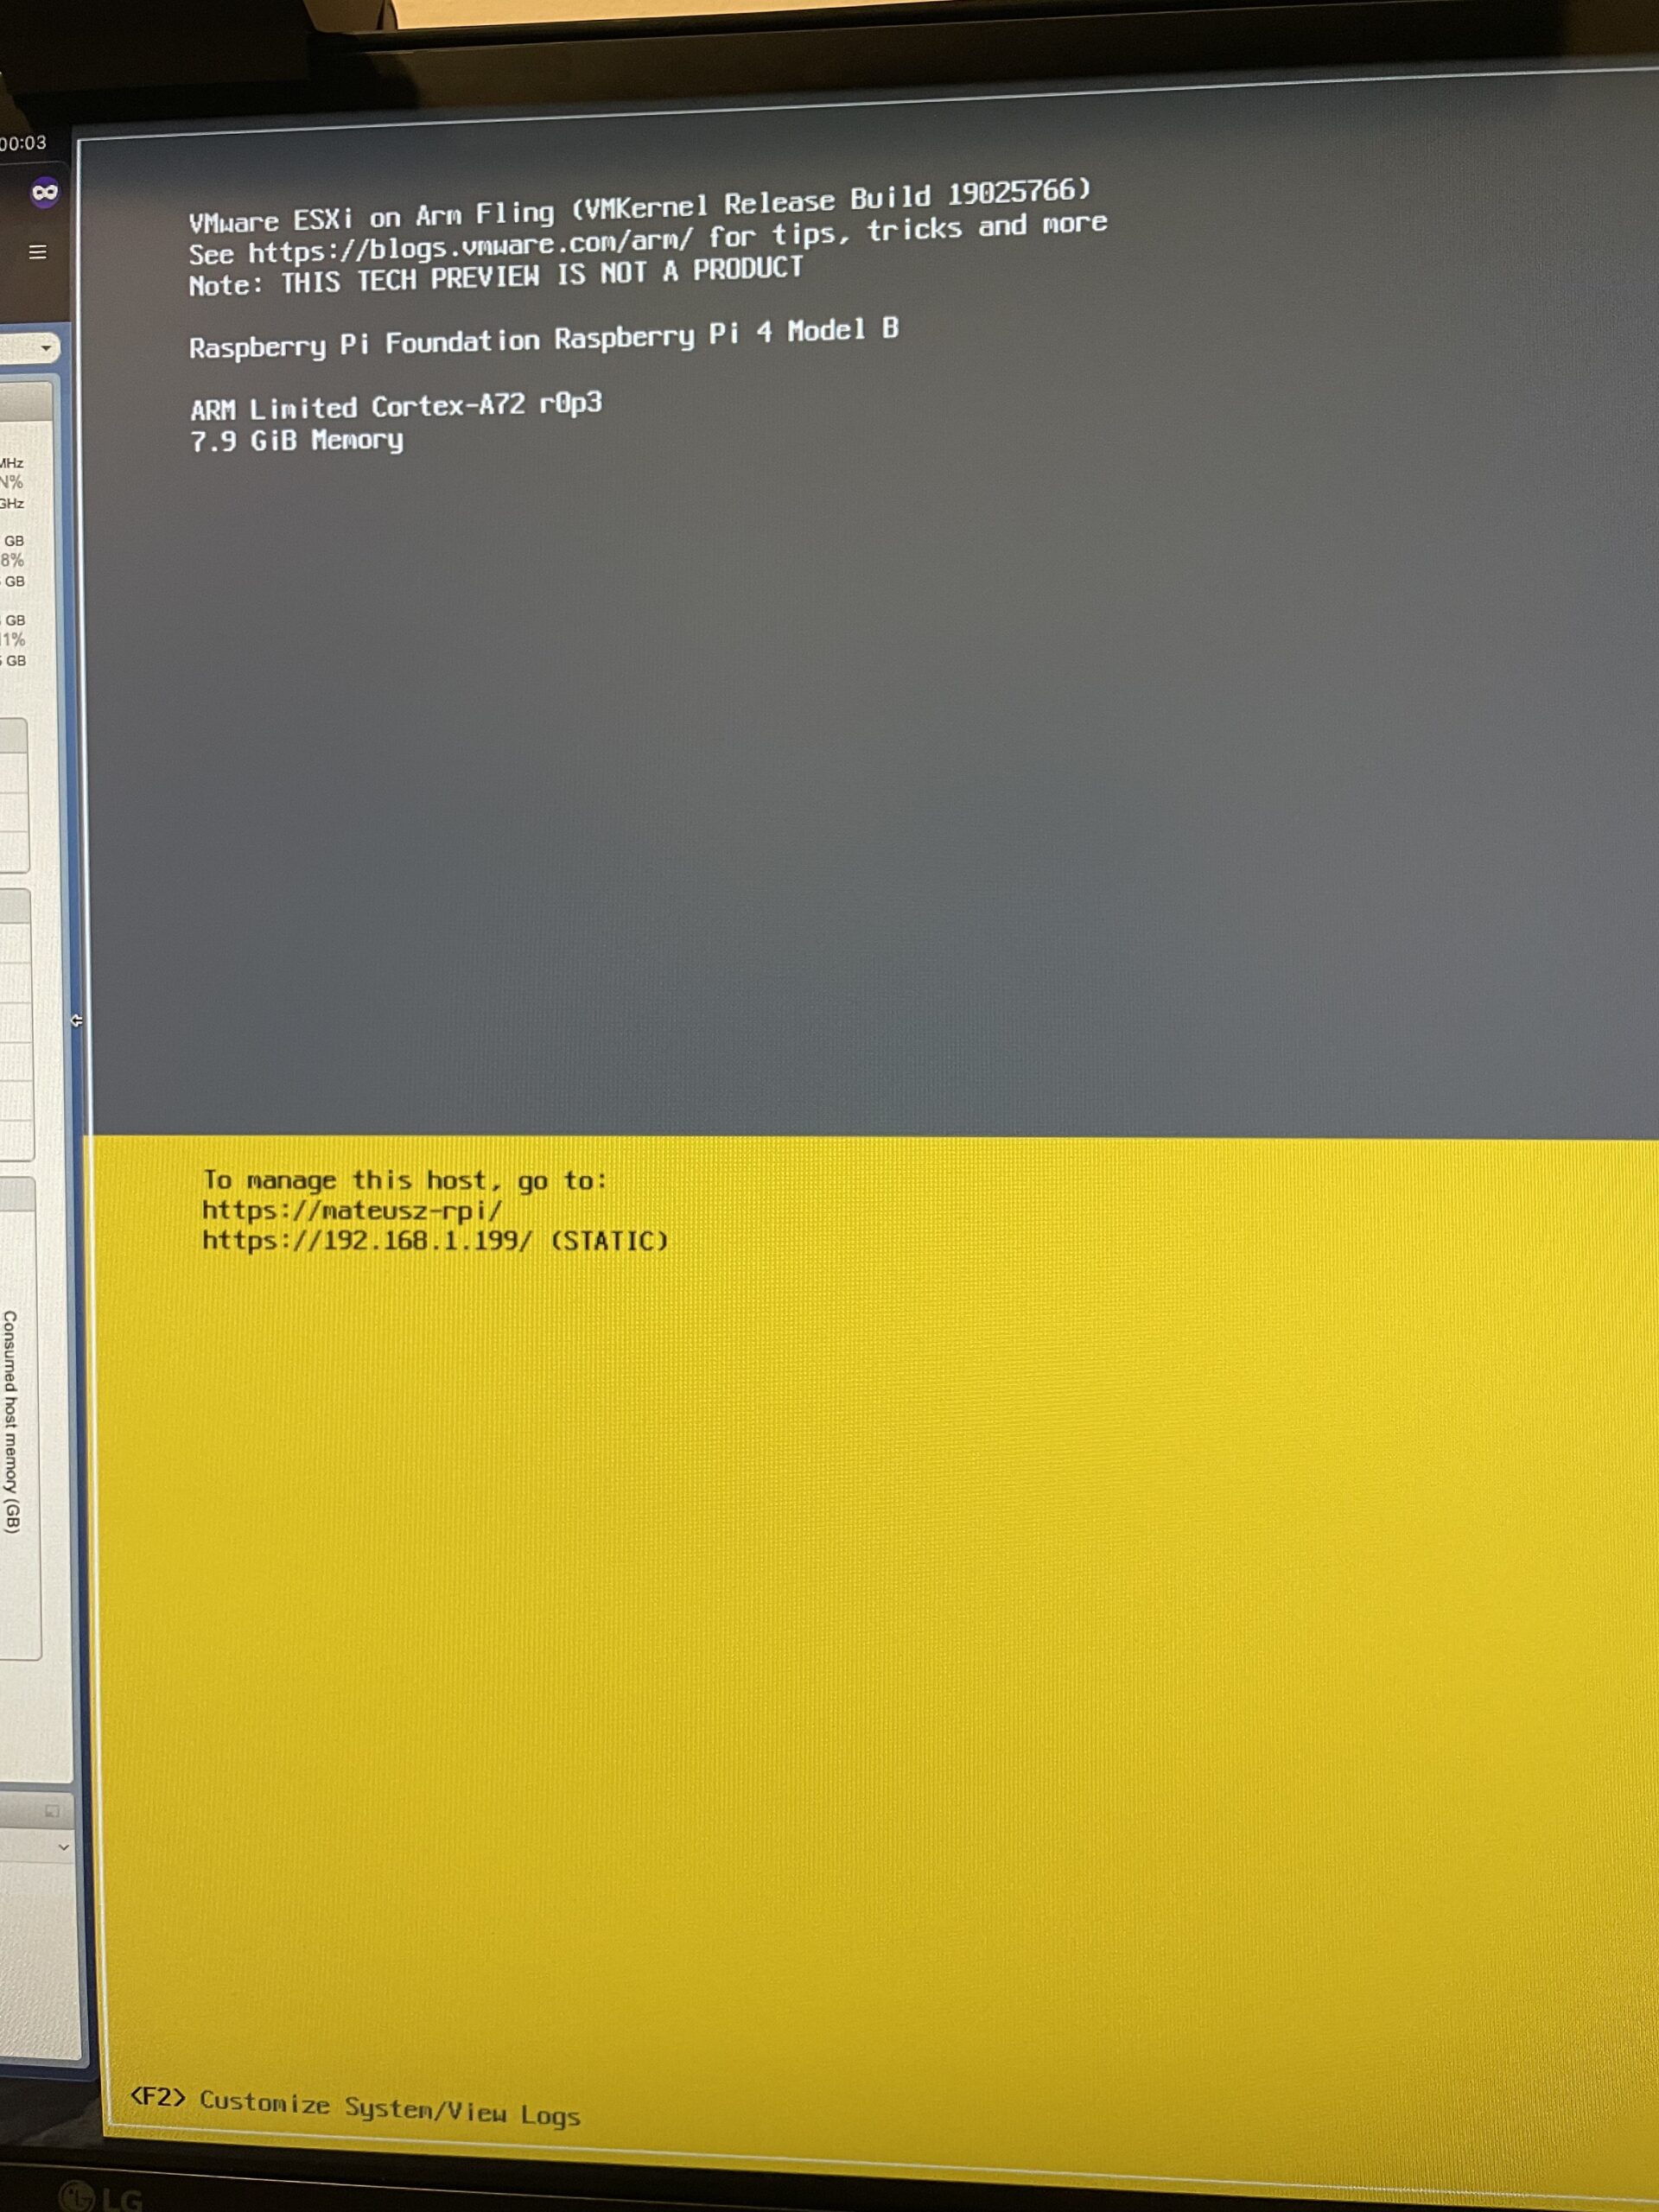
6. That’s it, ESXi installed on Raspberry Pi 4 with 8 GB RAM!
After ESXi booted, I’ve done some changes.
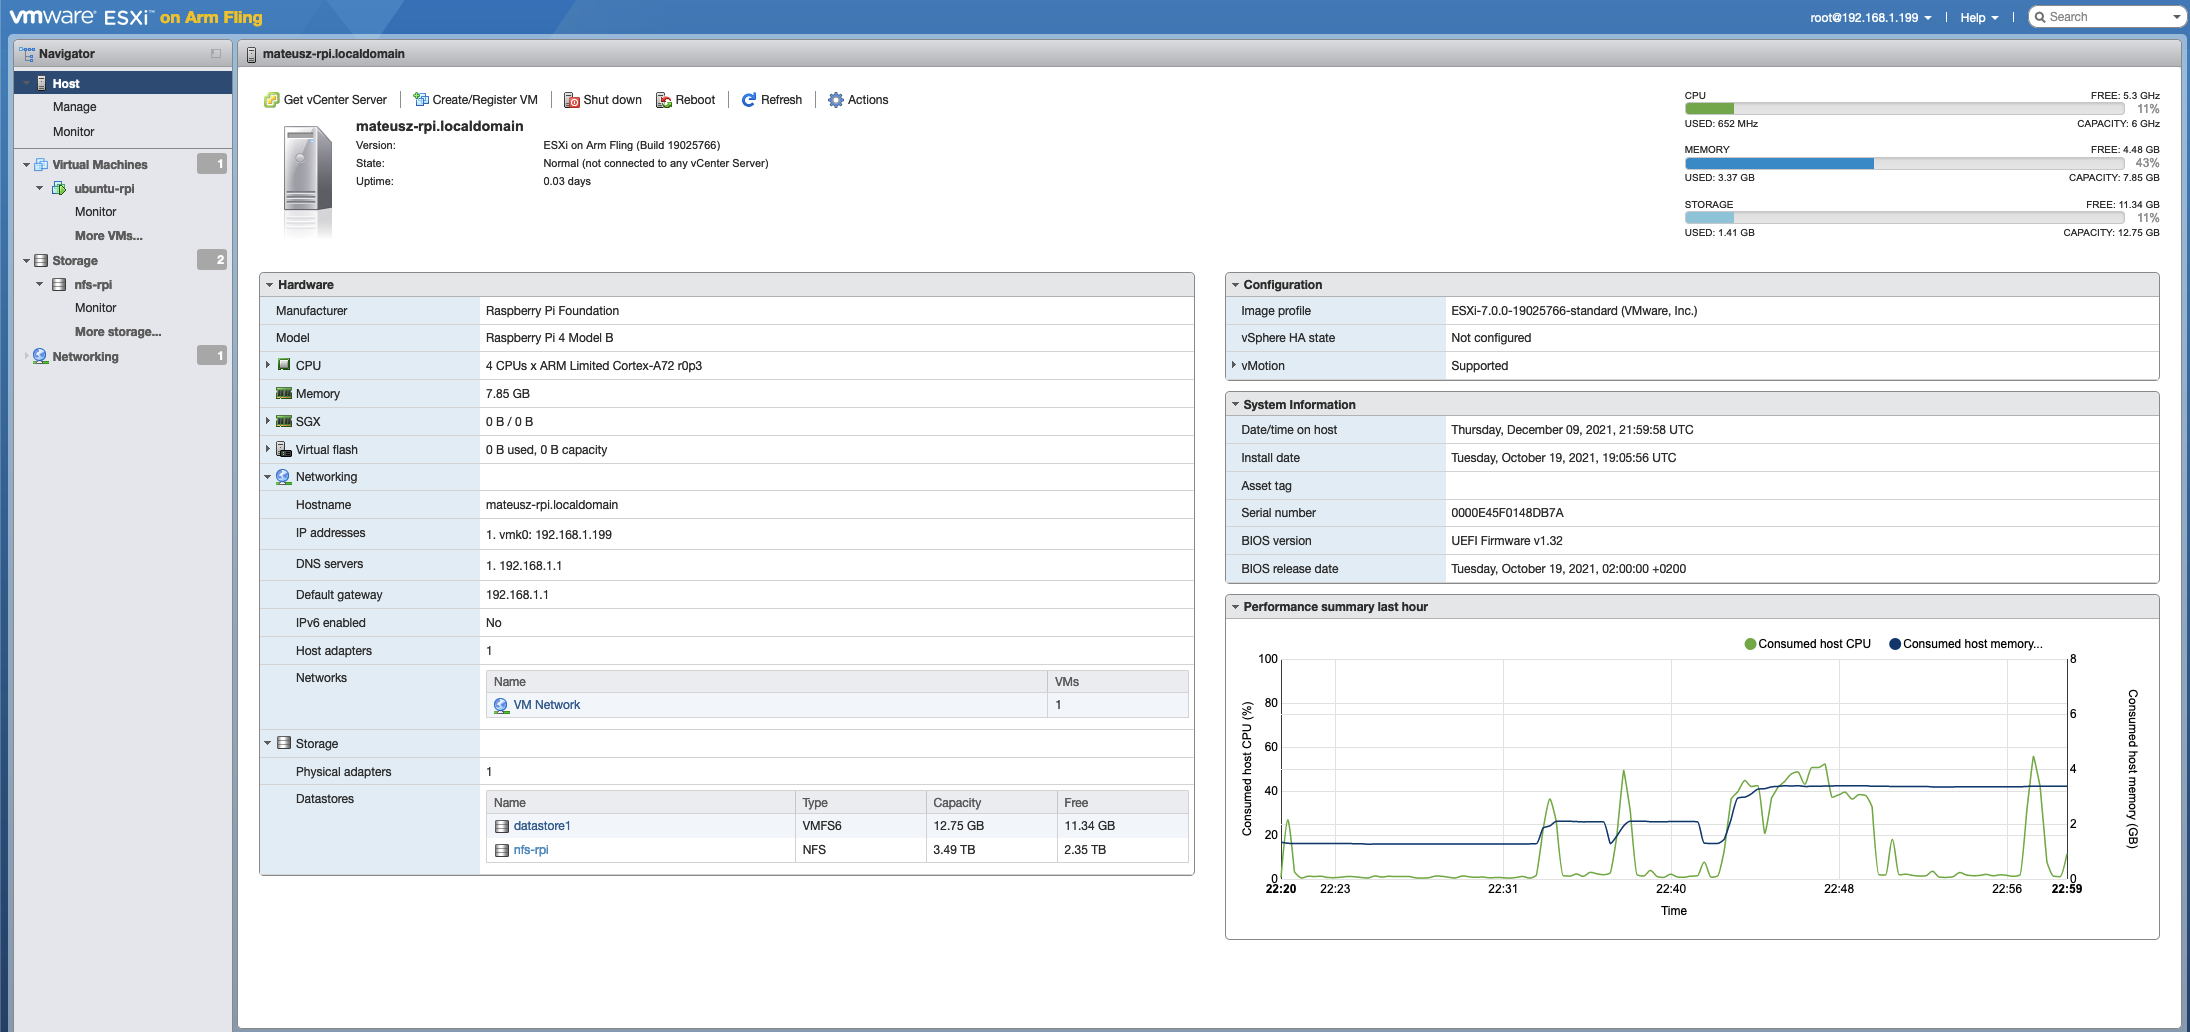
7. ESXi after login via browser.
In the meantime I’ve added new NFS datastore – nfs-rpi and created small virtual machine ubuntu-rpi with 2 vCPUs and 2 GB of RAM.
Summary
ESXi ARM for Raspberry Pi is an awesome thing! Maybe it’s a little bit complicated to install, because you need to do few additional steps. The project is still in progress and still develop. But, after all you have ESXi 7.0 on microcomputer. You can deploy some VMs, add new storage, portgroups etc…Nice thing to learn and have a comparison to bigger, rack servers.
Also, I recommend check https://flings.vmware.com There are many appliances and programs worth attention.