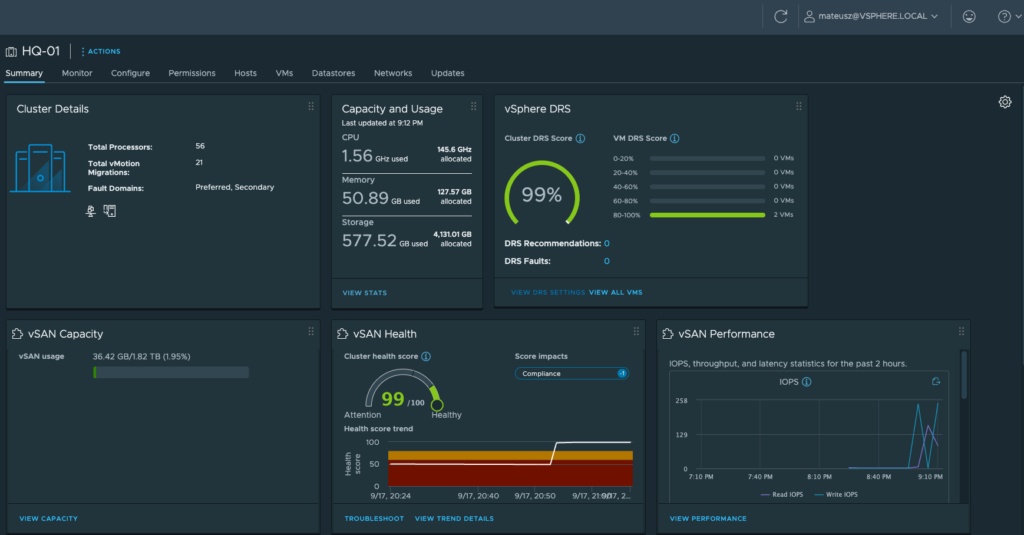
vSAN OSA (Original Storage Architecture) is one of two ways for implement a VMware virtual storage solution. Another one is vSAN ESA (Express Storage Architecture). Today I want to focus on the first one. In short, vSAN enables to configure virtual storage across VMware ESXi hosts using local drives. There are 3 configuration options to setup this Software-Define Stroage (SDS):
Standard vSAN cluster -> Requires minimum 3 ESXi hosts in a vSphere cluster. Most common case.
Two node vSAN cluster -> Requires minimum 2 ESXi hosts in a vSphere cluster in a single site. In the second site (or another vSphere cluster in the same site) vSAN witness host. Best for ROBO.
vSAN stretched cluster -> Requires minimum 2 ESXi hosts in a vSphere cluster (one per site) and a witness host in the third site (the best option).
In this post, I want to show you, how to deploy vSAN 8 (OSA) using “Two node vSAN cluster” option.
Requirements:
- VMware vCenter 8
- One vSphere cluster with 2 running ESXi hosts
- Minimum 1x SSD for cache and minimum 1x HDD for capacity in both ESXi servers
- Second vSphere cluster with a one running ESXi host
- Configured separate VMkernel for vSAN traffic on each host in both vSphere clusters
- vSAN witness appliance running in single node cluster
1. Topology
This is a view of my vCenter 8 topology. There are 3 vSphere clusters.
HQ-01 -> 2-Node cluster running a few virutal machines. I want to use it to configure vSAN solution.
HQ-02 -> Single node cluster. There are any virtual machines yet. I want to use it as witness site for vSAN solution.
HQ-03 -> Single node cluster with a vExpert NUC (from VMware Explore 2022).
In this tutorial, HQ-01 is a 2-Node cluster in one site and HQ-02 cluster “theoretical” in the other site.

2. ESXi hosts preparation
1. Storage devices.
As a minimum configuration for vSAN cluster, esxi01 and esxi02 has installed two additional drives:
– 1x 256 GB SSD – for vSAN cache
– 1x 1 TB HDD – for vSAN capacity

2. VMkernel adapaters.
On esxi01, esxi02 and esxi03 are configured additional, dedicated VMkernel adapters for vSAN traffic.


3. Turn off vSphere HA on 2-Node cluster.
If you have HA enabled on 2-Node cluster, temporary turn it off. vSAN configuration wizard, won’t start with this feature. After installation, you can turn it on.

3. VMware vSAN Witness Appliance deployment
Before we can proceed with vSAN deployment, witness VM is mandatory. Download it from VMware Customer Connect site and install it.
1. Go to this page: https://customerconnect.vmware.com/downloads/details?downloadGroup=WITNESS-OVA-80U1&productId=1356
Download VMware vSAN Witness Appliance for vSAN 8.0 U1 OSA OVA file.

2. Deploy OVF (OVA in this case) template on esxi03 in HQ-02 wintess site.

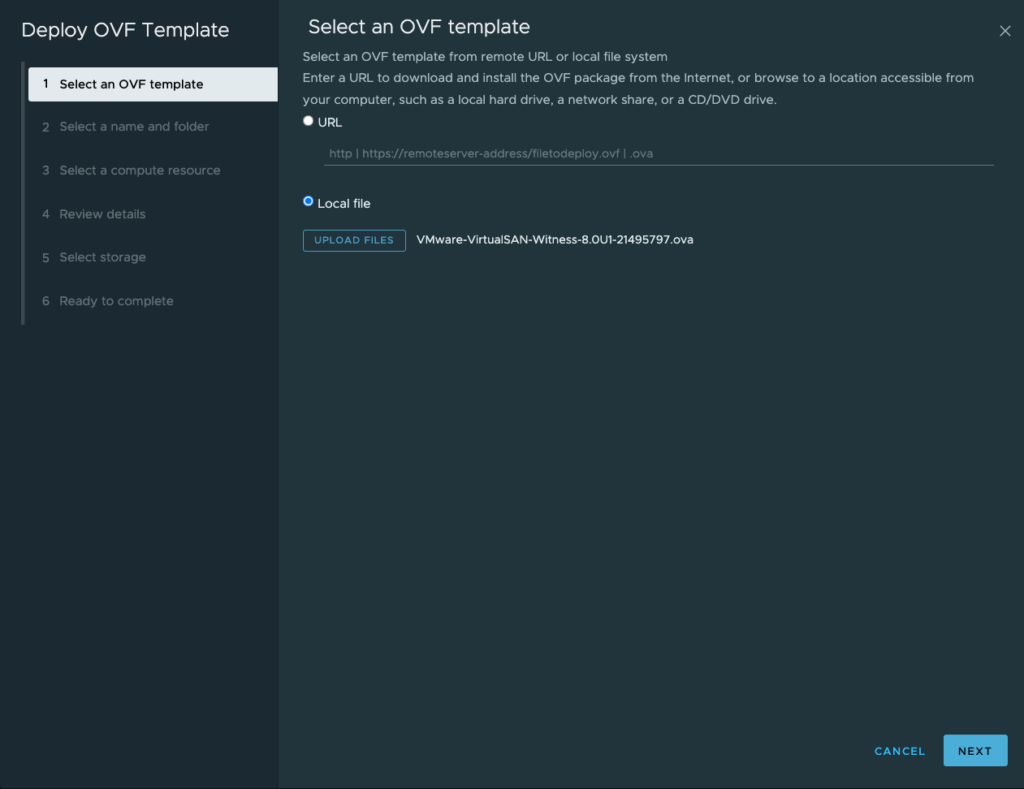
3. Type a name for the virtual machine, choose location, esxi03 as a compute resource, review details and accept license agreements.

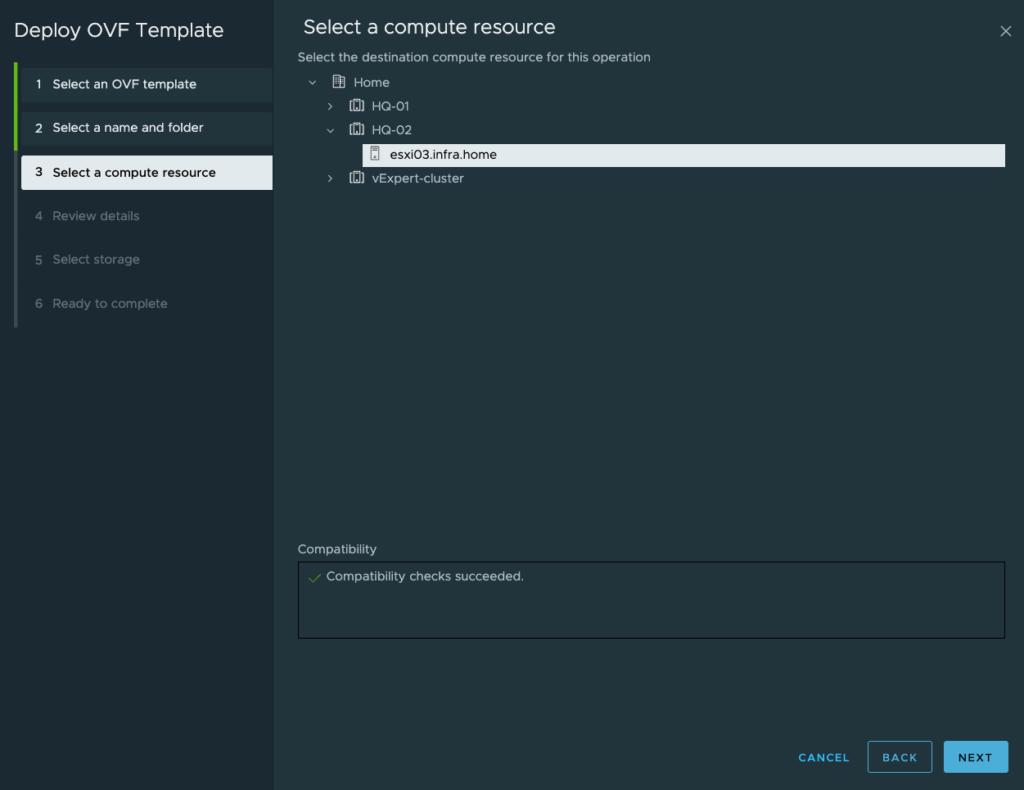


4. Depending how big is your infrastructure choose size of the vSAN witness appliance. For testing and lab purposes, I checked a Tiny one.

5. Select storage.

6. Select networks.
Management Network -> this is only management IP for this appliance. In fact, vSAN appliance is a virtual ESXi host.
Secondary Network -> I have prepared dedicated portgroup for vSAN purposes. It will be use to communicate to the 2-Node cluster.

7. Customize template.
Type a password, provide addressing for both network interfaces, review settings and finish.


4. VMware vSAN Witness Appliance post configuration
1. When deployment was finished, power on virtual machine.
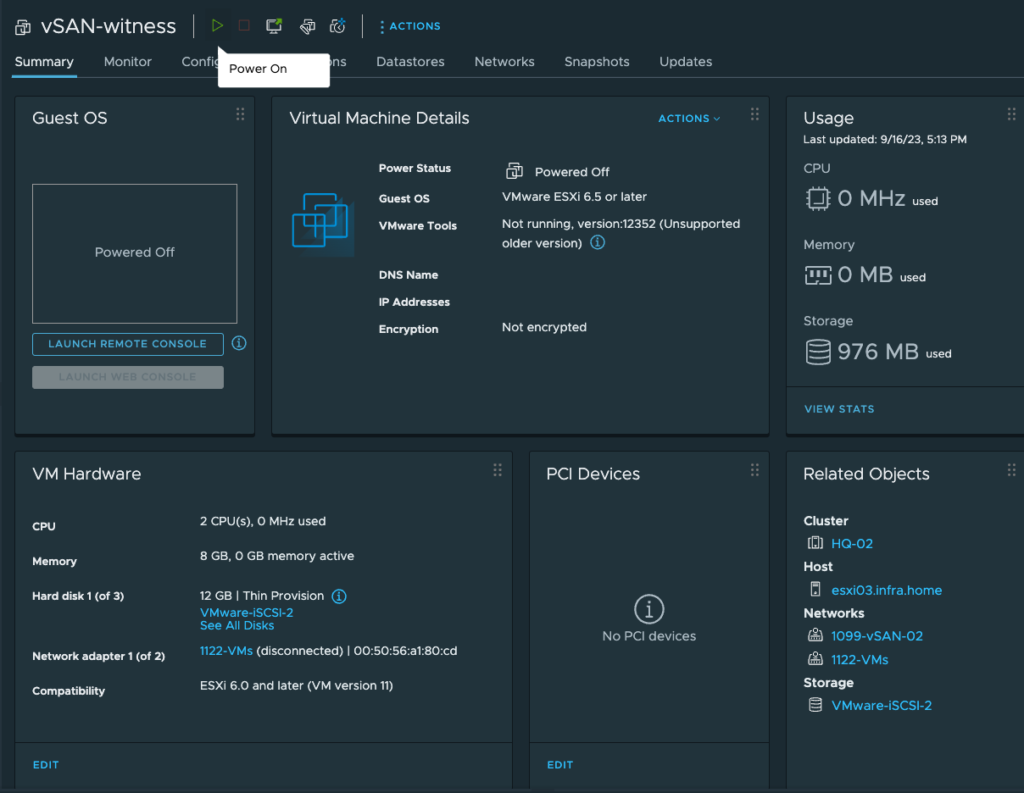
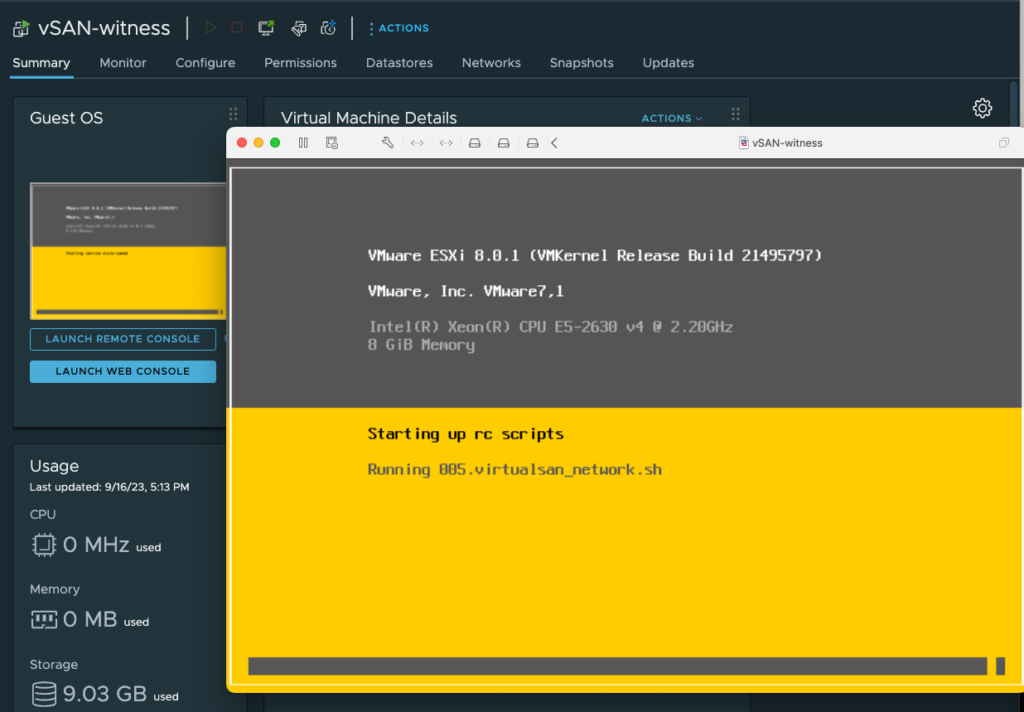
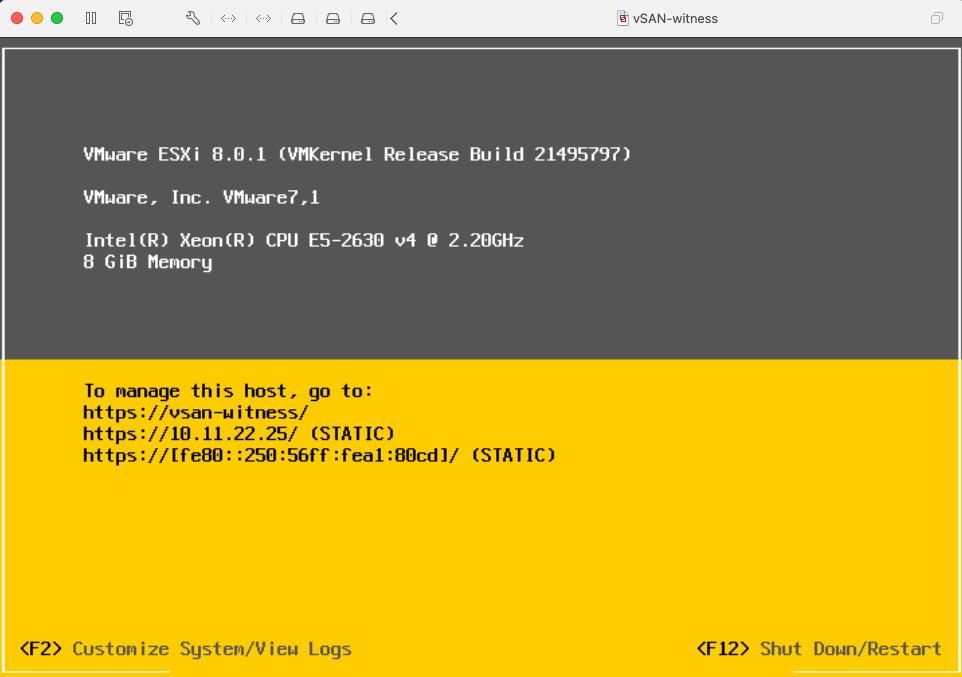
2. VM powered on. Now, you can log in and check configuration, make same changes (if needed) or check networking. Like in the standard ESXi host.
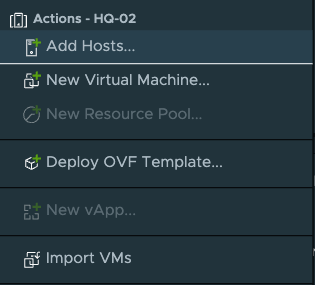
3. Now, it’s time to add this virtual host to the HQ-02 cluster. Provide FQDN or IP and rest of the details. The ESXi host will join the cluster with a slightly different icon than the standard ESXi server.


5. vSAN configuration
This is the stage where vSAN configuration begins.
1. Go to the 2-Node cluster (in my case is HQ-01), next Configure tab and find “Services” under vSAN section. Choose Two node vSAN cluster and proceed with a configure button.

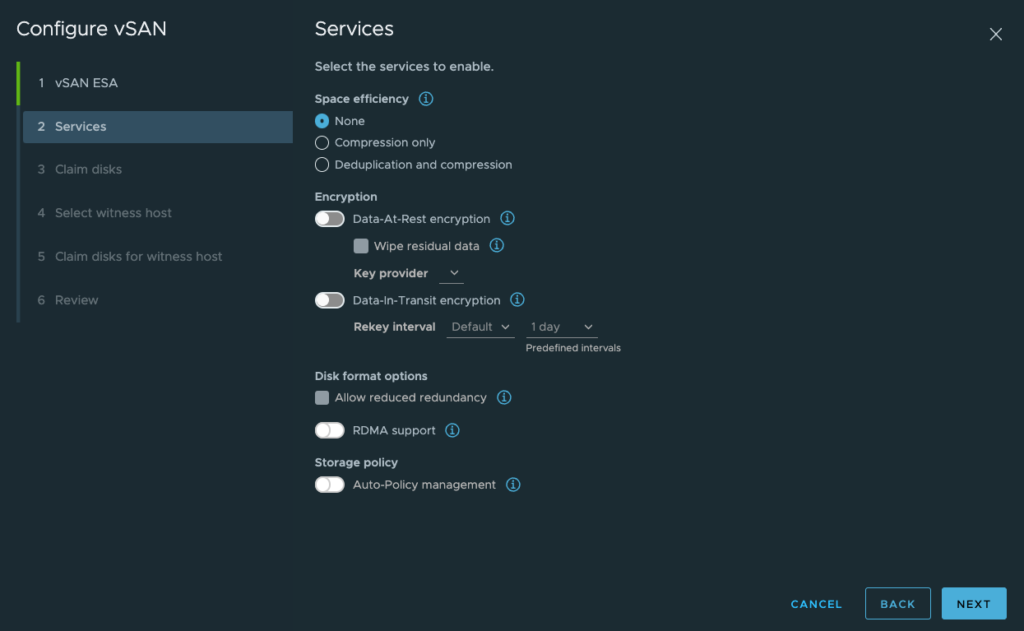
2. In this tutorial I don’t setup vSAN ESA. Uncheck this option.

3. On the services screen, leave all settings as is.
4. Claim disks.
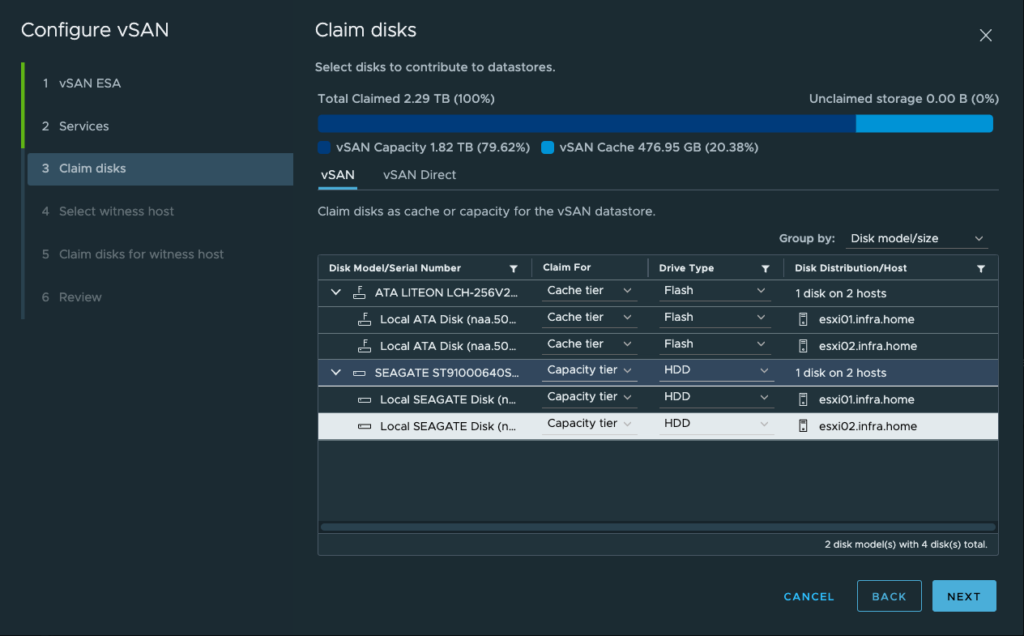
To extend list of the available disks on servers, click an arrow. Flash and HDD attached to the both ESXi hosts will appear. Claim Flash disks as a Cache tier, claim HDD disks as a Capacity tier.


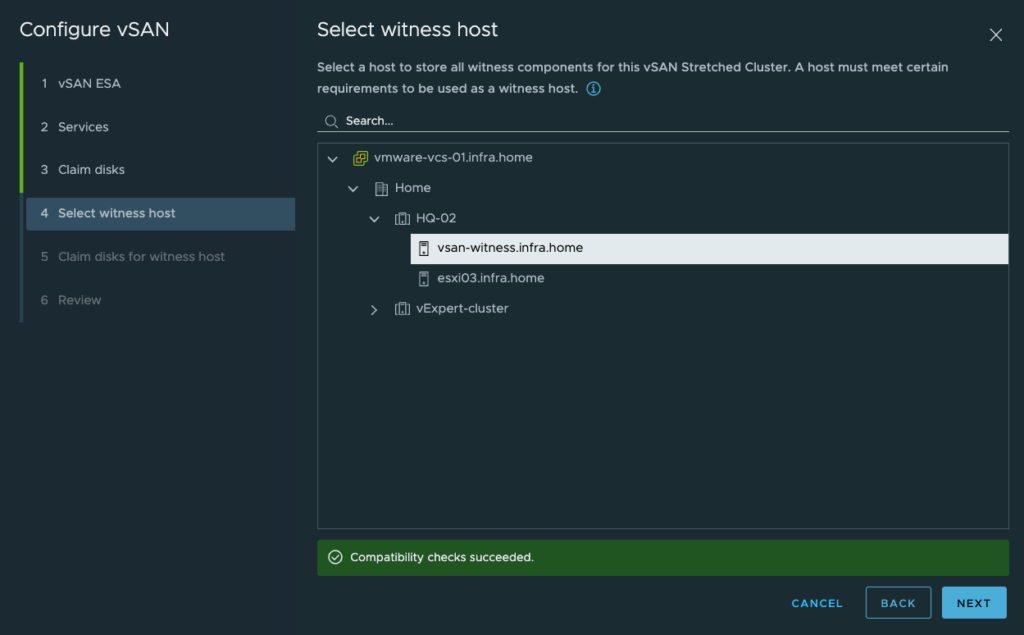
5. On the next screen choose vsan-wintess-infra.home ESXi host from HQ-02 cluster as a wtiness host.
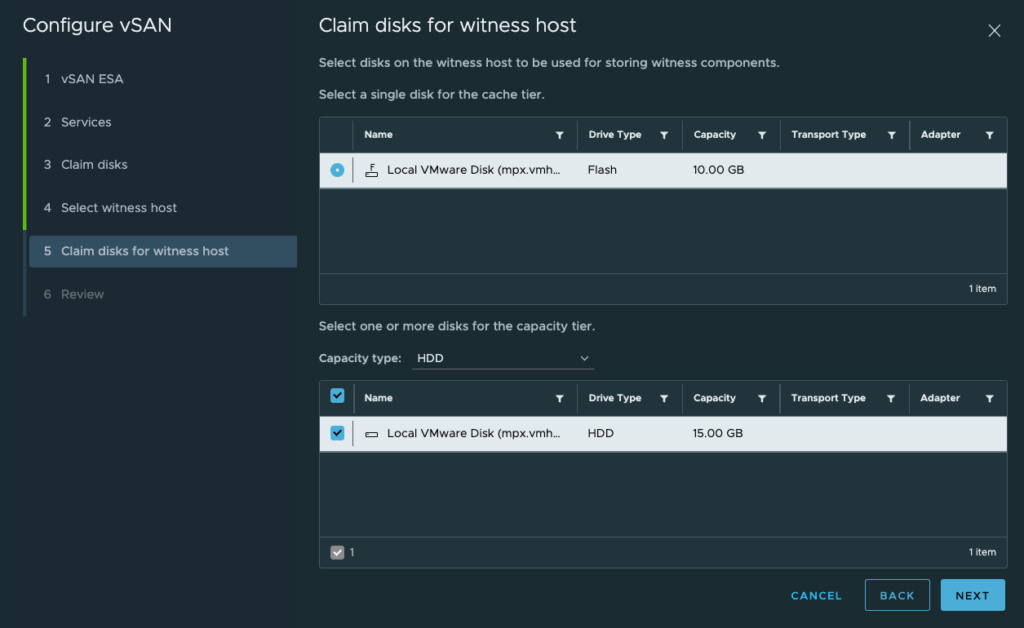
6. vSAN witness appliance has configured cache and capacity disks by default. Choose one for the each tier. Go to the review screen and finish.
Deploying vSAN will start immediately.


6. vSAN overview and tests
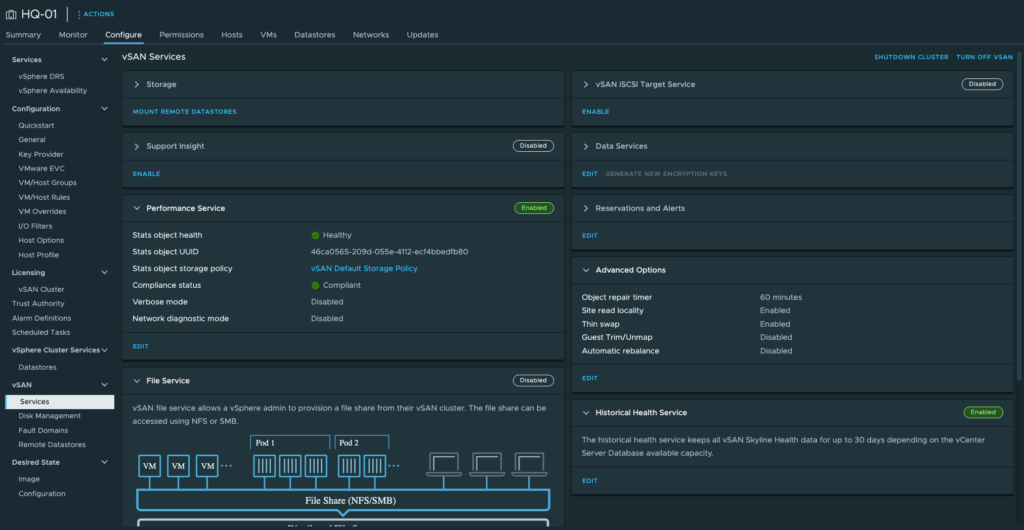
After a few minutes, vSAN is running! There is approximately 1.8 TB of disk space available.
1. Let’s take a look around 😉
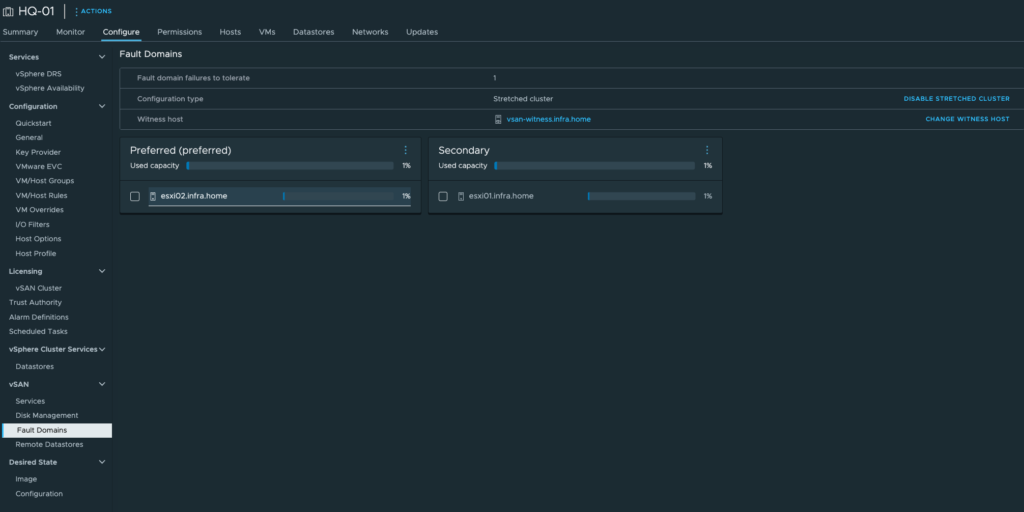

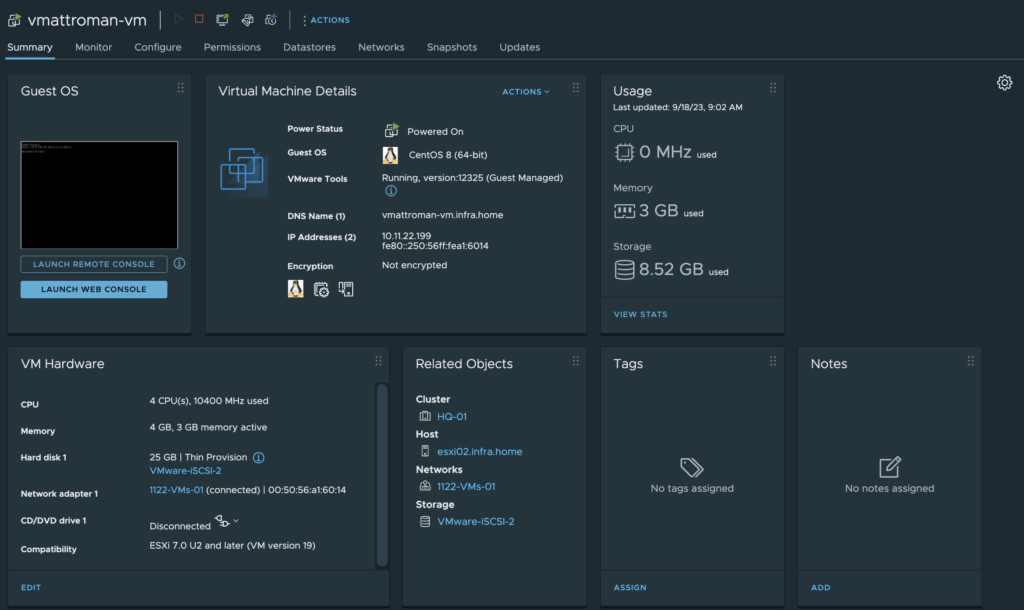
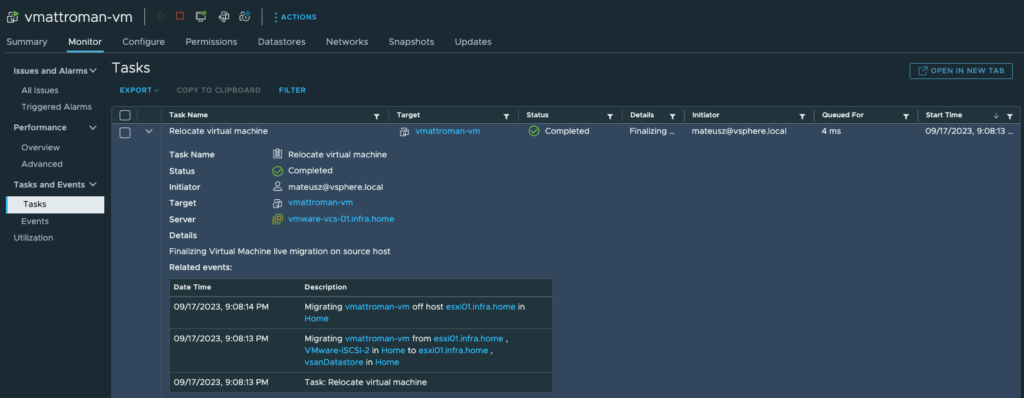
2. To verify that vSAN storage is available and everything is working, we need to test it. The easiest way is to create a new virtual machine or use storage vMotion. I chose the second option. The vmattroman-vm virtual machine runs on an iSCSI datastore. I want to migrate this VM to a new vSAN datastore.

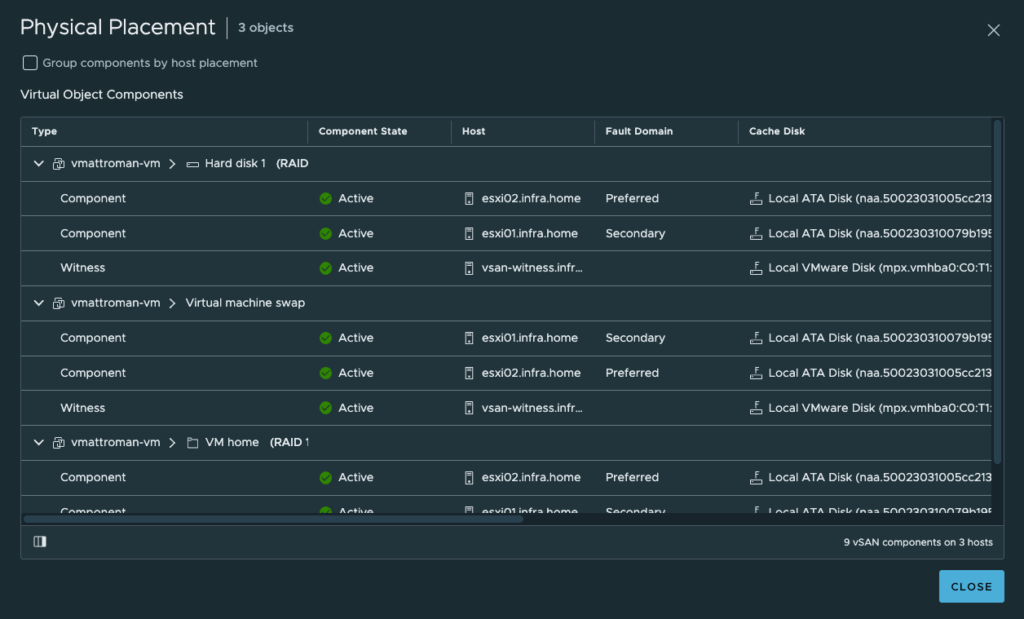
2. Storage vMotion is complete. Let’s take a look at the virtual object placement, physical placement (check the box on the left next to the VM name) and performance overview.




















2 Comments
Thank you so much my friend. This is by far the most clear and helpful demystification of the 2-node/witness setup that I could find.
Grande!!
thank you so much!!