vSphere Lifecycle Manager (vLCM) was introduced in vSphere 7. This is the next-generation managment tool for updating and keep in sync ESXi fleet. The main goal of the vLCM is to maintain configuration consistency across ESXi hosts in the infrastructure. It uses a declarative model, to define the desired state of the ESXi host image including the target ESXi version, firmware and drivers.
In this post, I will show how to easily upgrade ESXi host from version 7 to version 8 with vLCM.
Requirements:
- VMware vCenter 8
1. Preparation of the ESXi host
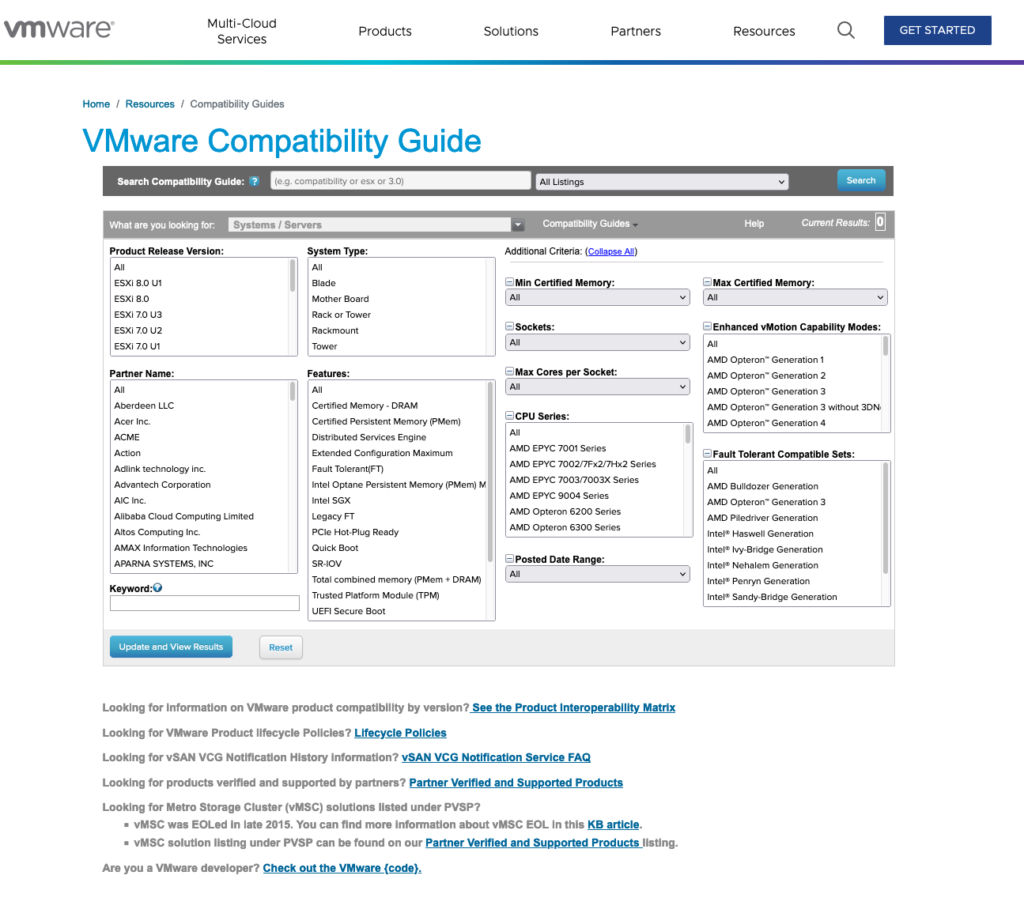
1. At the begging, the most important thing is to check compatibility matrix: https://www.vmware.com/resources/compatibility/search.php
Even if you’re playing with a homelab envirnment, it’s a good habit to look at this site.
2. Next (another good habit) is to backup ESXi configuration through SSH.
To achieve this task, Start SSH service. Go to Configure tab, than find SSH service and start it.

3. Log in to the ESXi host. Type two commands.
1st – To synchronize the configuration changed with persistent storage type :
vim-cmd hostsvc/firmware/sync_config
2nd – To back-up the configuration data for the ESXi host, type:
vim-cmd hostsvc/firmware/backup_config

4. Copy generated link to the web browser, change ‘*‘ to the ESXi IP address or FQDN and download .tgz archive.
If something goes wrong, you can use this file to to restore host configuration.

2. Configure vSphere Lifecycle Manager
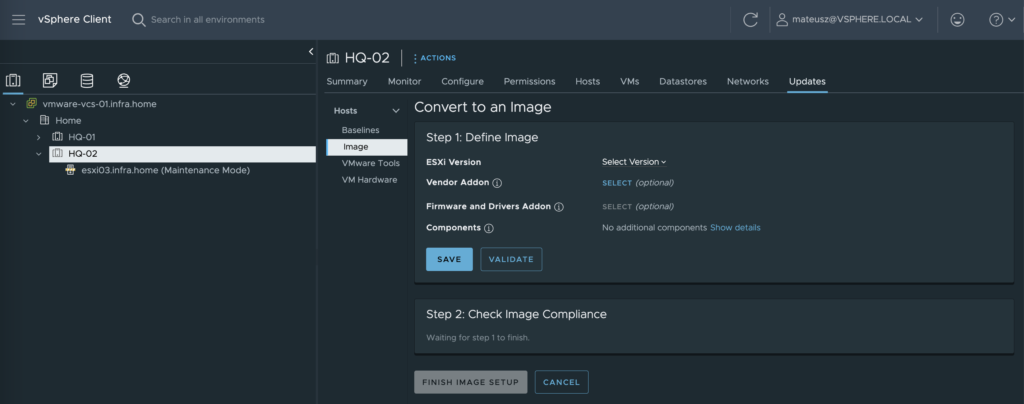
1. Navigate to vSphere cluster and move to the Updates tab. Under Hosts section, choose Image option. Click blue button – Setup Image

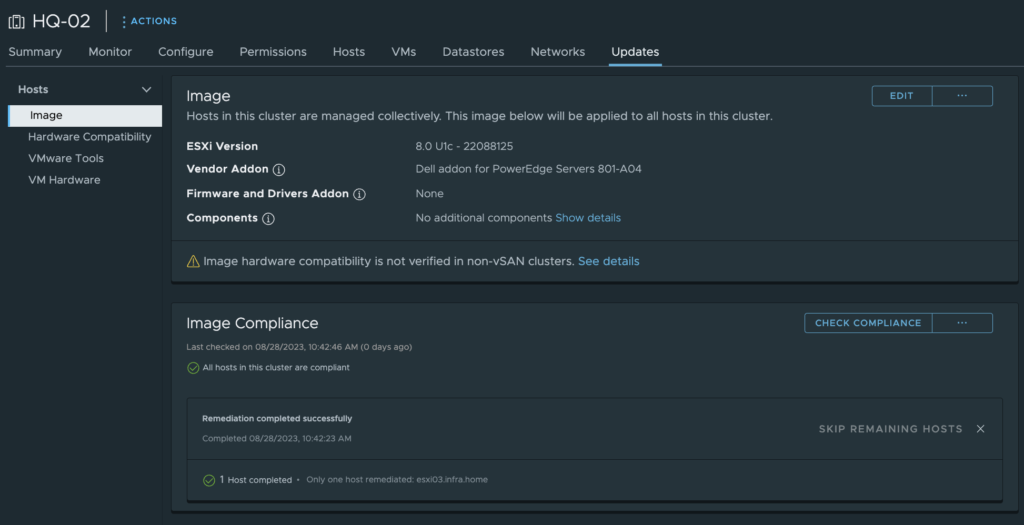
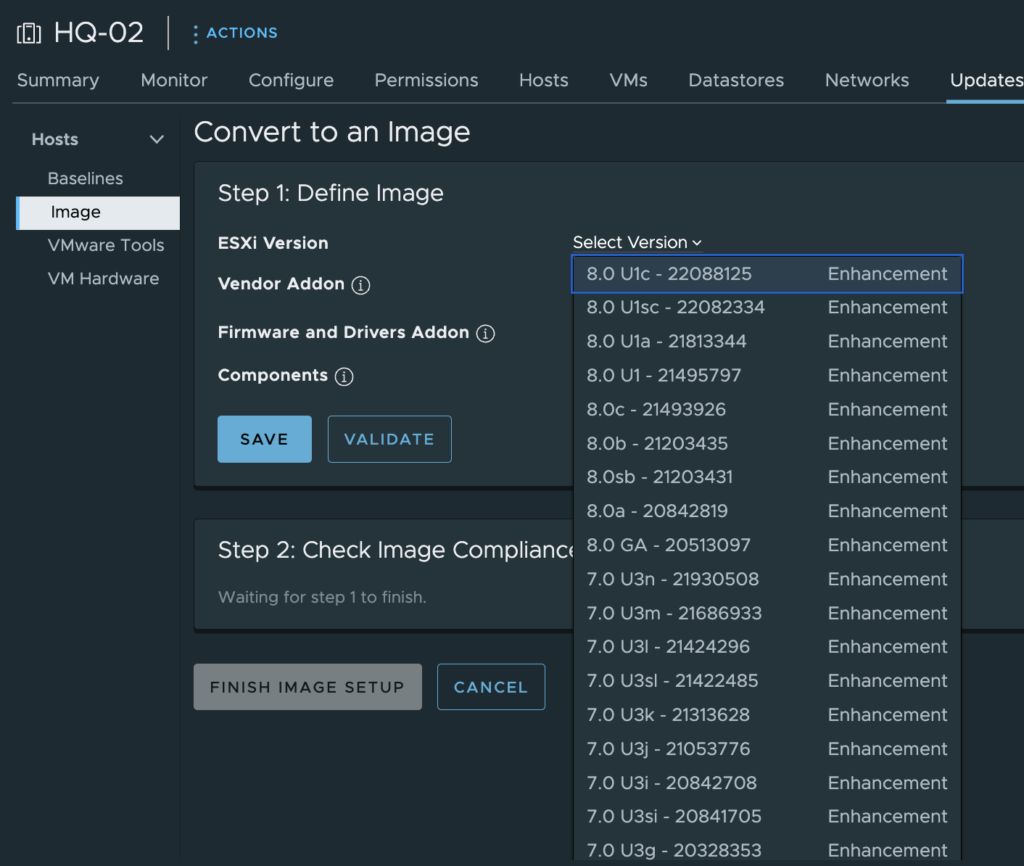
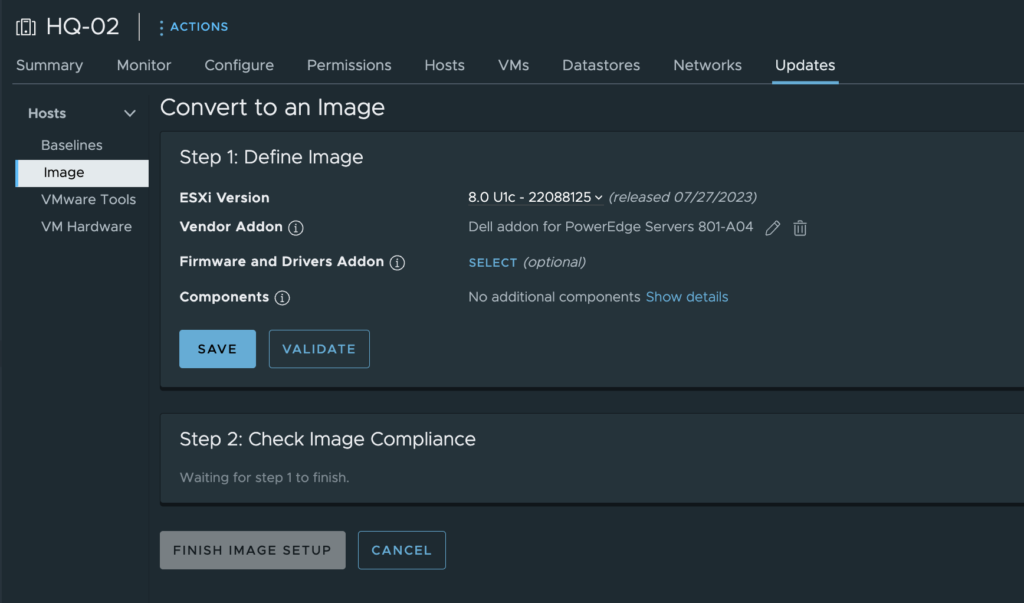
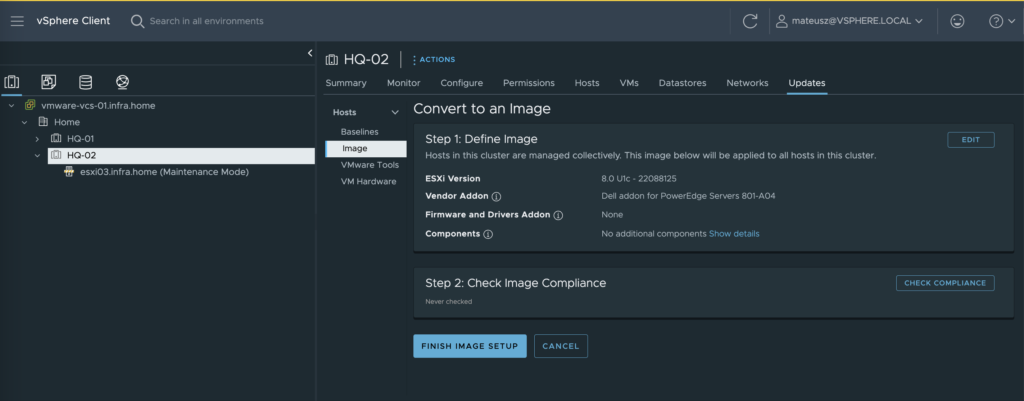
2. Convert to an image section appear. Now, we need to pick desired ESXi version. For that, expand “Select version” at the ESXi Version line and choose the newest available one – 8.0 U1c – 22088125
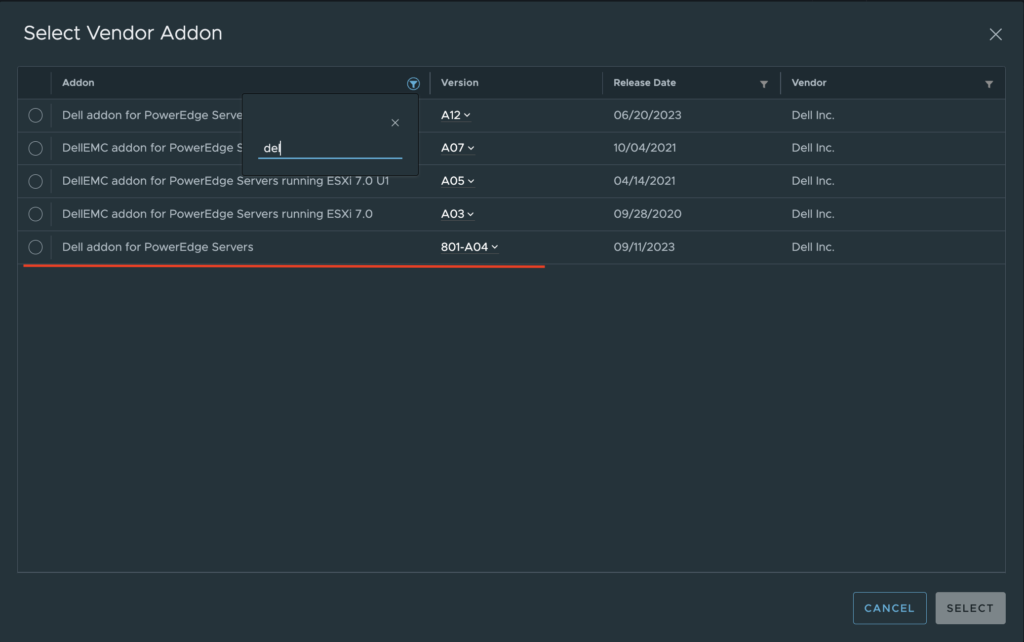
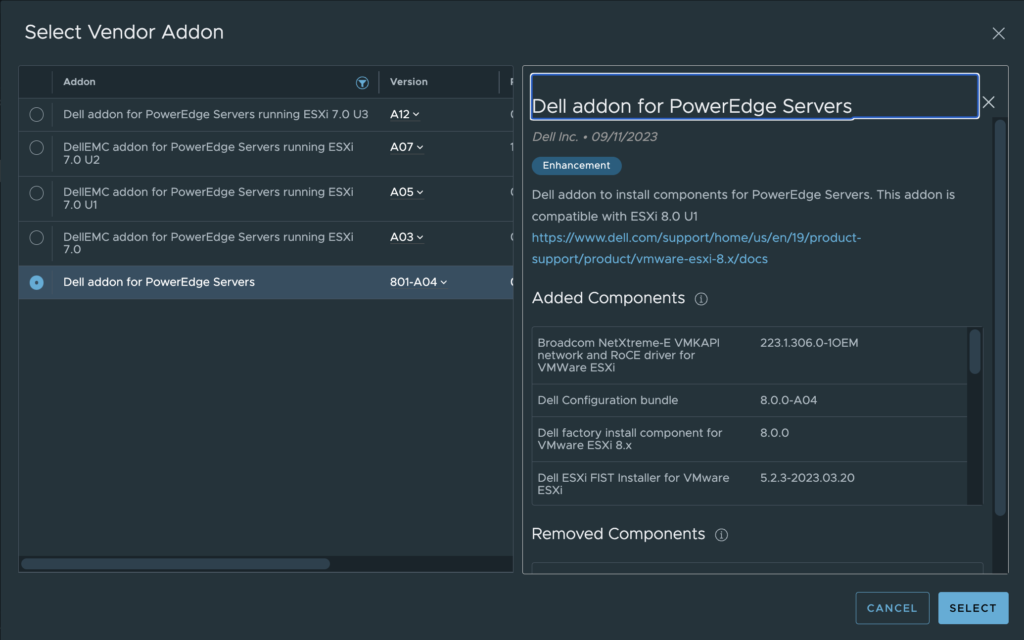
3. Select Vendor Addon. My ESXi host is running on Dell hardware and I want to add specific Dell addons. Addons are set of software components, customized drivers, patches and solutions prepared by the vendor.

4. From the list, find dedicated Dell addon by filtering with ‘Del‘. Select the last one with a name “Dell addon for PowerEdge Servers 801-A04“. In this case, addons wihtout “801-*” at the beginning are for ESXi 7.
If your server is from different brand (HP, Hitachi, Lenovo etc.), choose a right one.
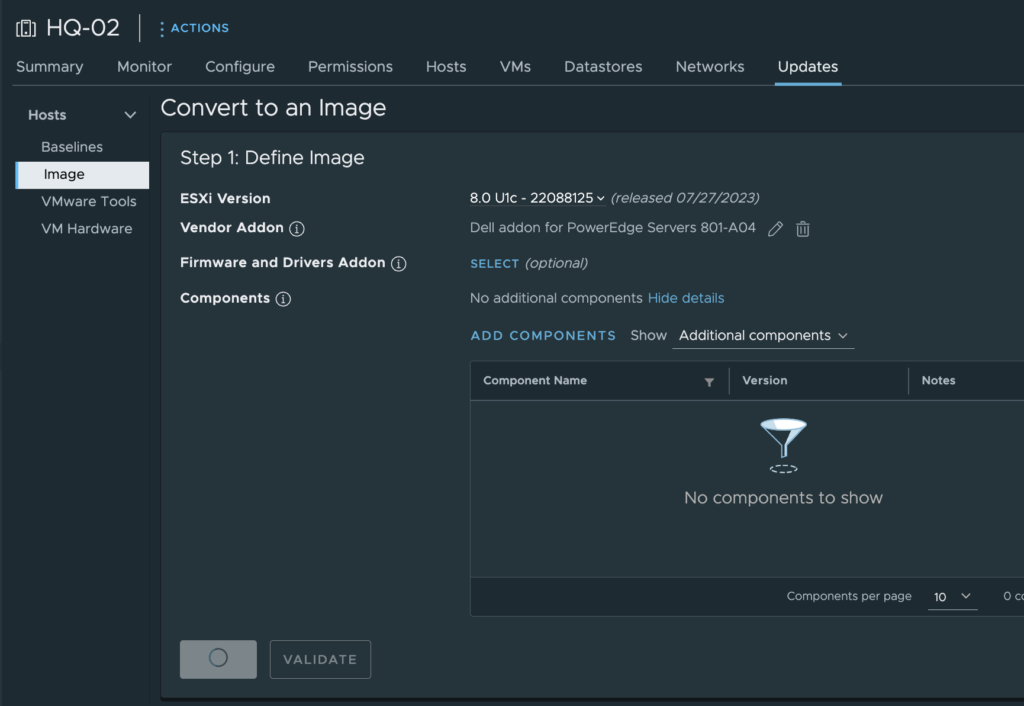
5. No need to change or add “Firmware and Drviers Addon” or “Compnents”
Click the Save button after defiining image stage.
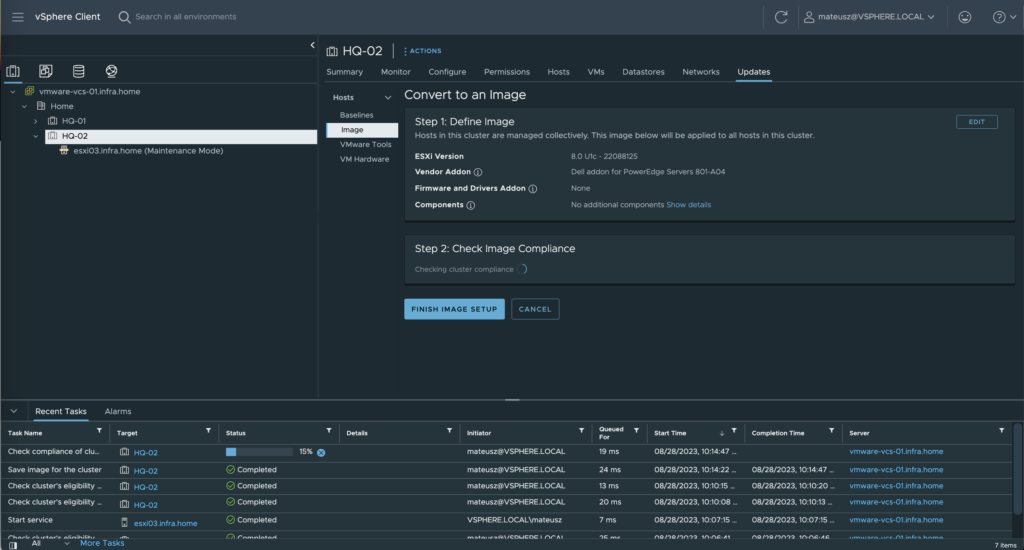
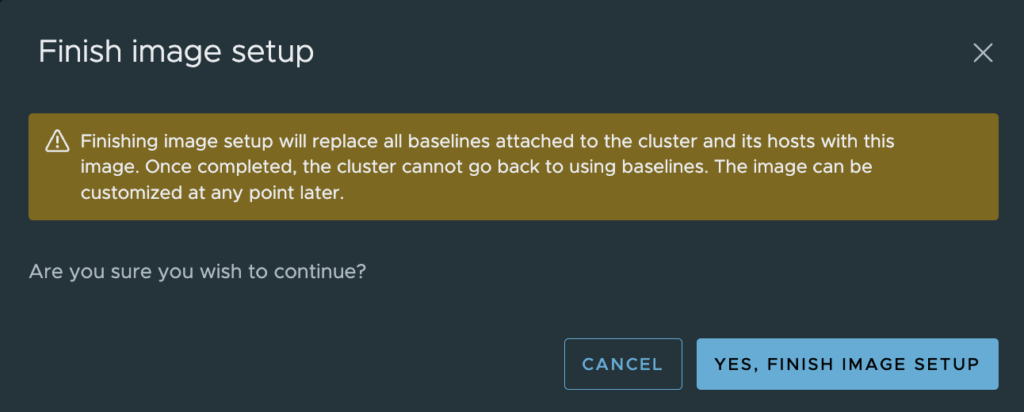
6. Click the Finish image setup button to complete the image preparation step. Confirm warning message regarding to replace all baselines attached to the cluster and hosts.
3. Upgrade ESXi host to version 8.0u1
After a while, the image is ready and can be used to upgrade the ESXi host.
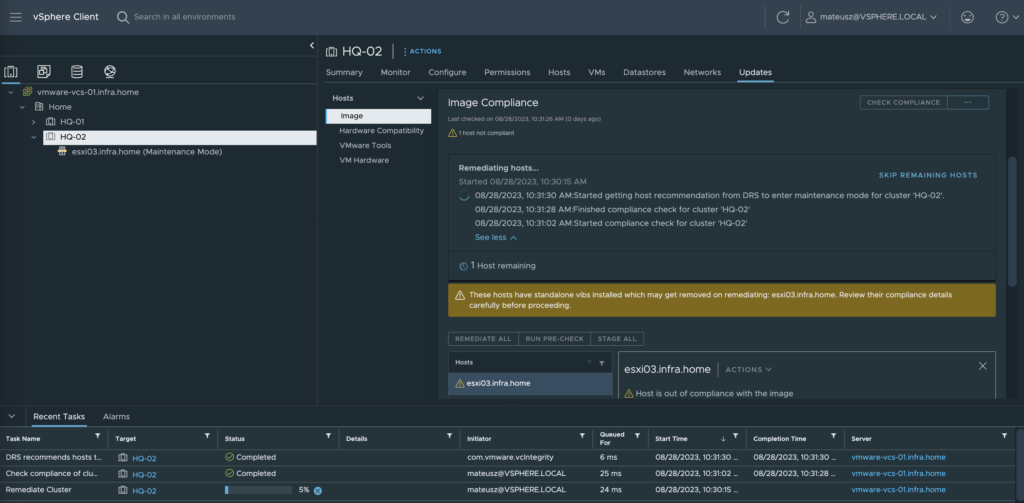
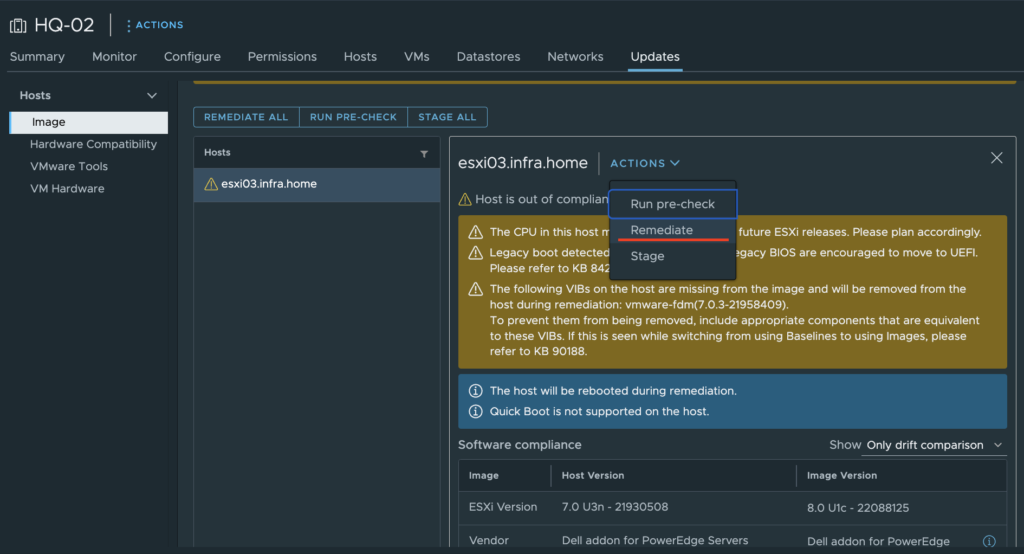
1. From the left side choose a server and than, expand Actions option. Choose “Remediate“
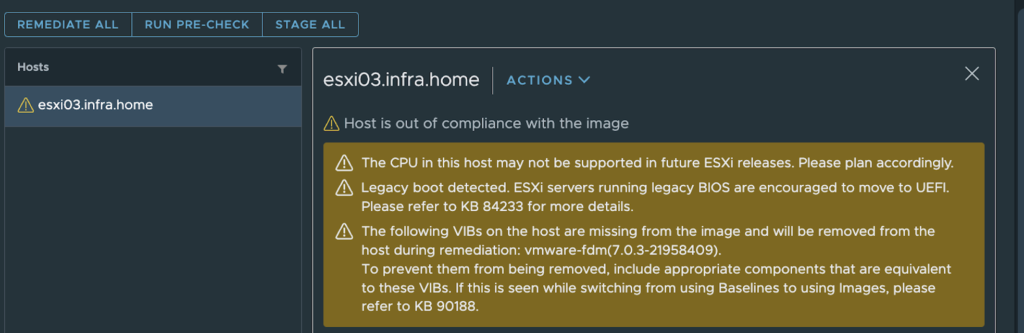
* Probably, if you are using a homelab server with an officially unsupported CPU, you may see an error like the screenshot below. Don’t worry, the installation should work. The same situation happens when you use Legacy BIOS instead of UEFI.
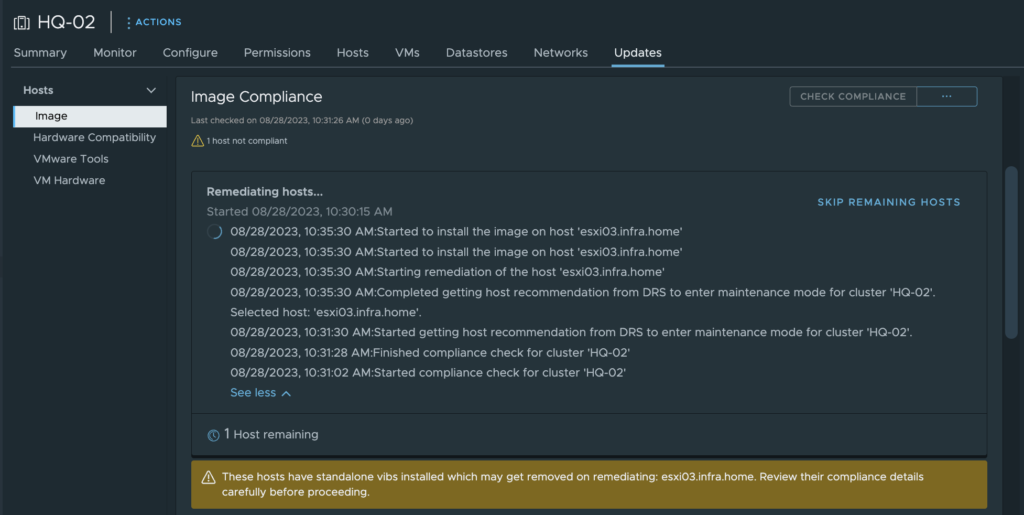
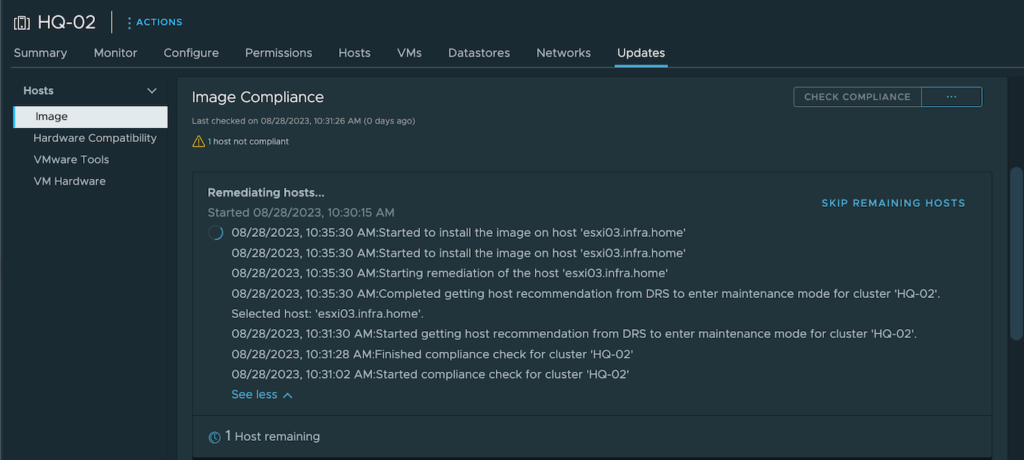
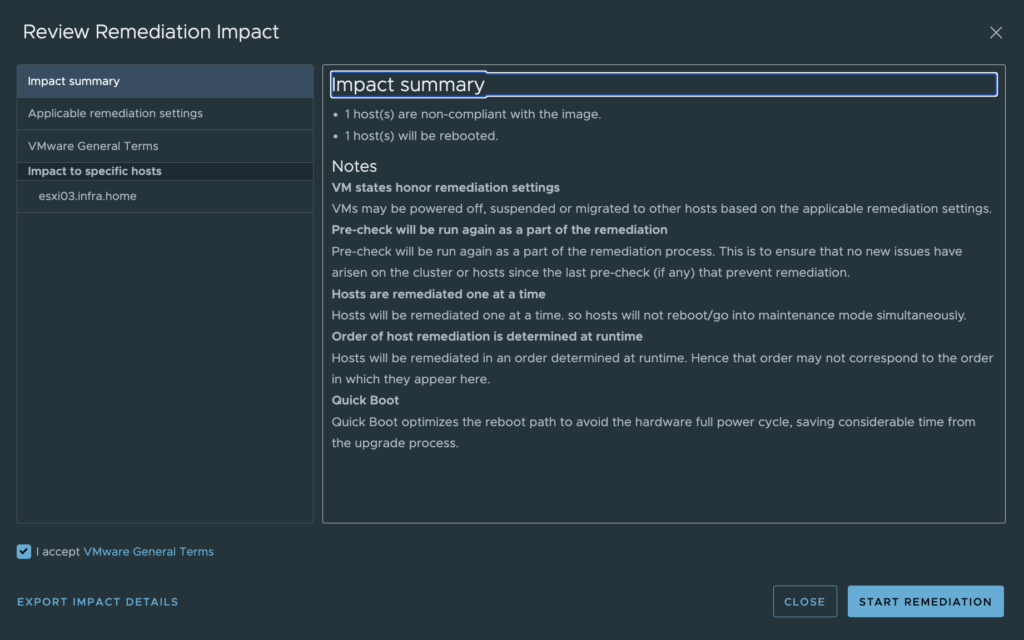
2. In the review window you can find summary of the process. If everything is correct, hit start remediation. The upgrade begins which will take a couple of minutes.

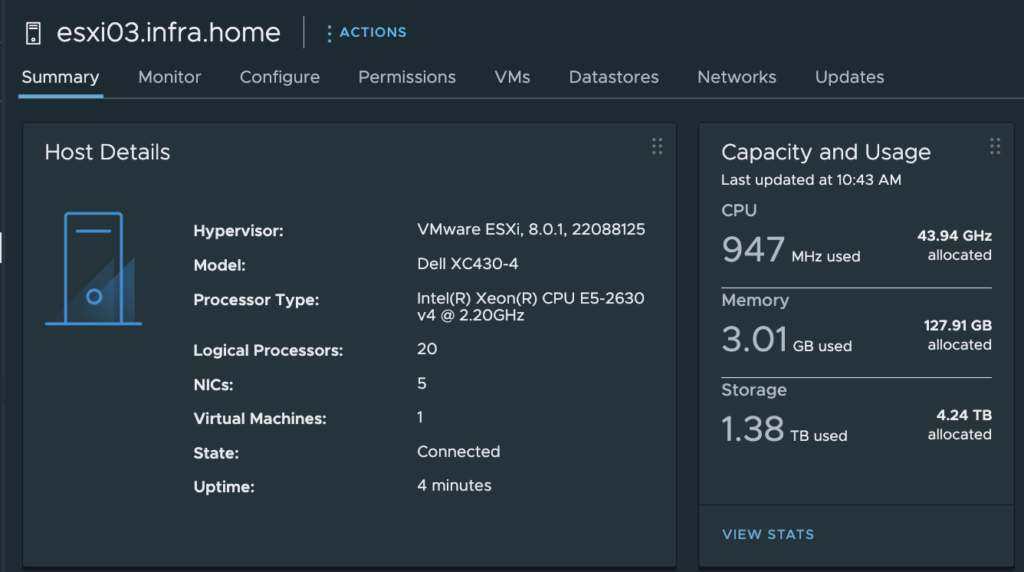
3. After a while, the ESXi host was upgraded to the most recent version of the hypervisor!