
PowerCLI is a PowerShell-based command-line interface developed by VMware for managing and automating VMware vSphere environments. It provides a comprehensive set of tools. It allows IT professionals to automate various aspects of vSphere management, including virtual machines (VMs), networking, storage, and guest operating systems.
In this short post, I will show you how to install VMware PowerCLI on the macOS.
Requirements:
- Homebrew package manager;
1. Installing Homebrew
Homebrew is a package management system designed primarily for macOS, but it also supports Linux. It simplifies the process of installing, managing, and updating software applications through a command-line interface.
If you have installed Homebrew on you Mac, skip this part and move to the section 2.
1. Type this command to install Homebrew
/bin/bash -c "$(curl -fsSL https://raw.githubusercontent.com/Homebrew/install/HEAD/install.sh)"2. Confirm the running version of the Homebrew.
brew --version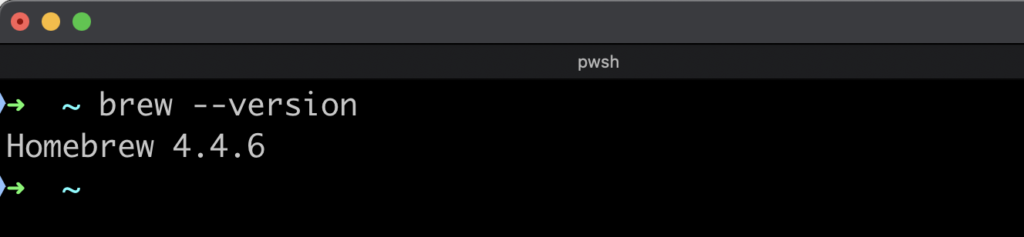
2. Installing PowerShell and VMware PowerCLI
PowerShell is a powerful task automation and configuration management framework developed by Microsoft. It combines a command-line shell with a scripting language, enabling users to automate administrative tasks and manage system configurations across various platforms, including Windows, macOS, and Linux.
1. Install PowerShell using a single Homebrew command. When the package is installed, type a pwsh command to change shell to the PowerShell mode.
brew install --cask powershell

pwsh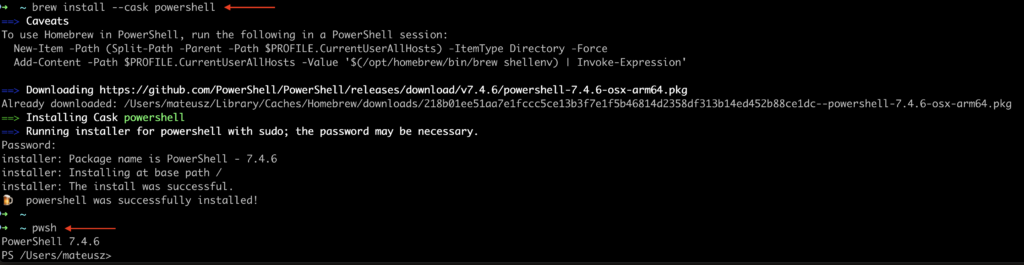
2. Get the the PowerCLI module using command from below. Confirm with capital “A” that you want to use PSGallery.
Install-Module -Name VMware.PowerCLI
3. Confirm that PowerCLI module is available.
Get-Module -Name VMware.PowerCLI -ListAvailable
3. Connect to the ESXi or vCenter
1. Log in to the single ESXi server using a proper account. And you’re in!
If you want to connect to the vCenter Server, use IP or FQDN of that server instead of ESXi.
Connect-VIServer -Server [ESXi_server_or_vCenter_server]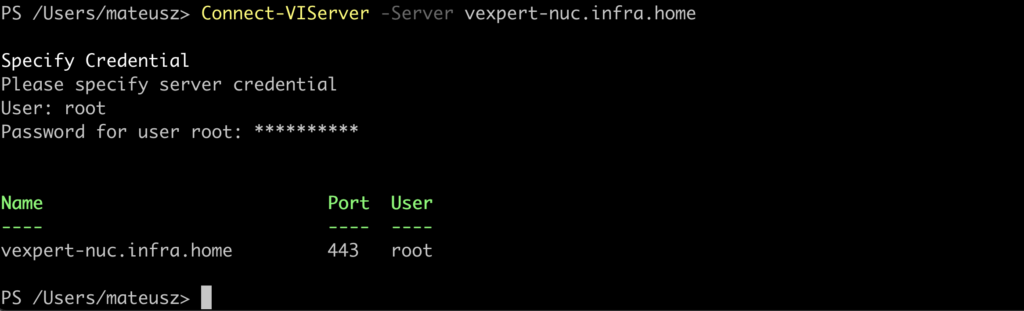
2. Let’s list all available VMs running on this host.
Get-VM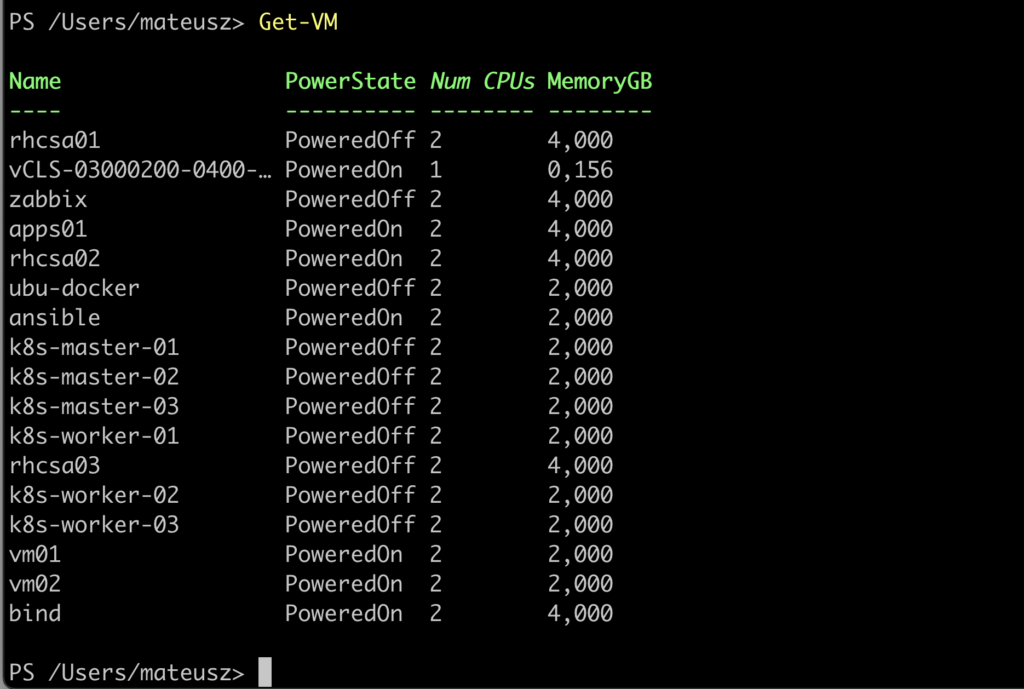
Summary
VMware PowerCLI is an essential tool for IT professionals managing VMware environments. By leveraging PowerCLI, administrators can significantly reduce manual effort and enhance productivity in their VMware management tasks.


One Comment
Thank you for this guide. It makes getting and setting data much much easier than ssh’ing into hosts/appliances directly or even using gui.