VMware NSX Advanced Load Balancer (formerly known as Avi Networks) is a self-service Multi-Cloud Application Services Platform. It provides software Multi-Cloud load balancers, web application firewall (WAF), rich analytics across on-premises data centers and container Ingress for applications across data centers and clouds. It’s also a requirement for enabling Workload Management for VMware vSphere with Tanzu (option with distributed switches).
In this post, I want to show you, how to upgrade VMware NSX Advanced Load Balancer from v22.1.2 to v22.1.3
1. Download upgrade & patch files
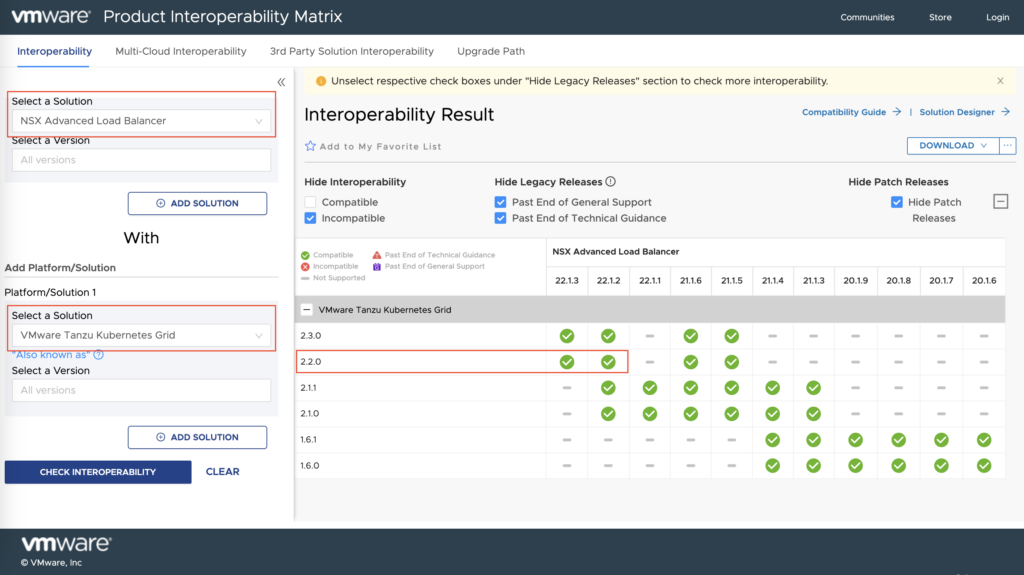
At first, look at VMware Interoperability Matrix and choose 1st and 2nd “Solution” to check interoperability between two products – https://interopmatrix.vmware.com/Interoperability
I have a vCenter 8.0.1c and Avi ALB in version 22.1.2.
vCenter 8.0.1c is running TKG 2.2.0. To be compatible with Avi ALB, I need minimum version 22.1.2 (already installed). In this tutorial, I want to upgrade Avi to v22.1.3
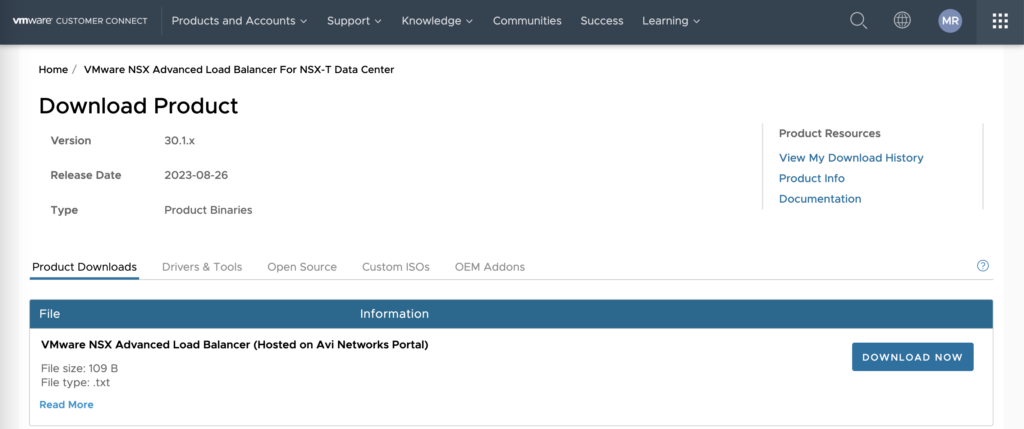
1. Go to the VMware Customer Connect site and download NSX Advanced Load Balancer https://customerconnect.vmware.com/downloads/details?downloadGroup=NSX-ALB-10-NDC&productId=1092&rPId=55618
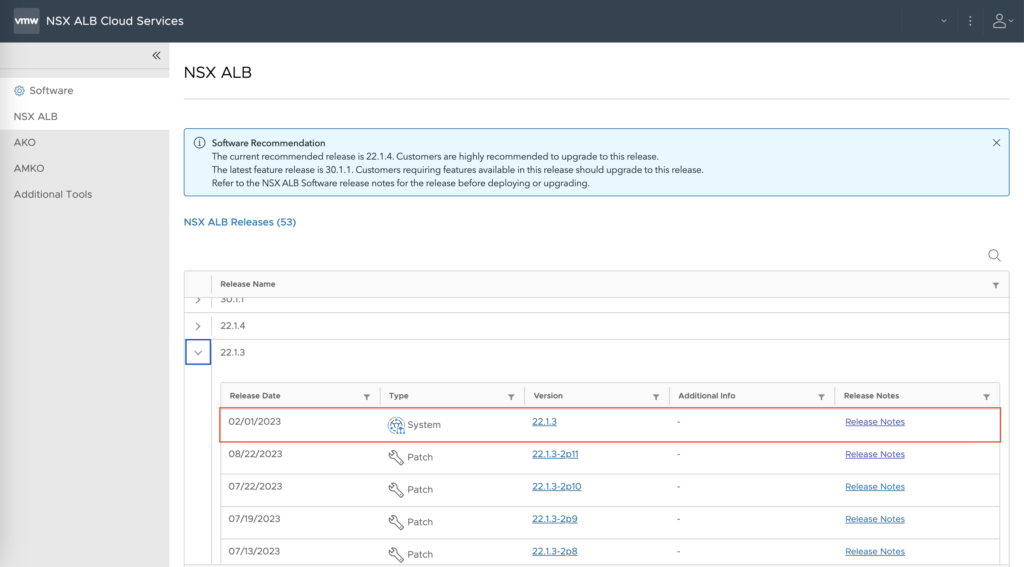
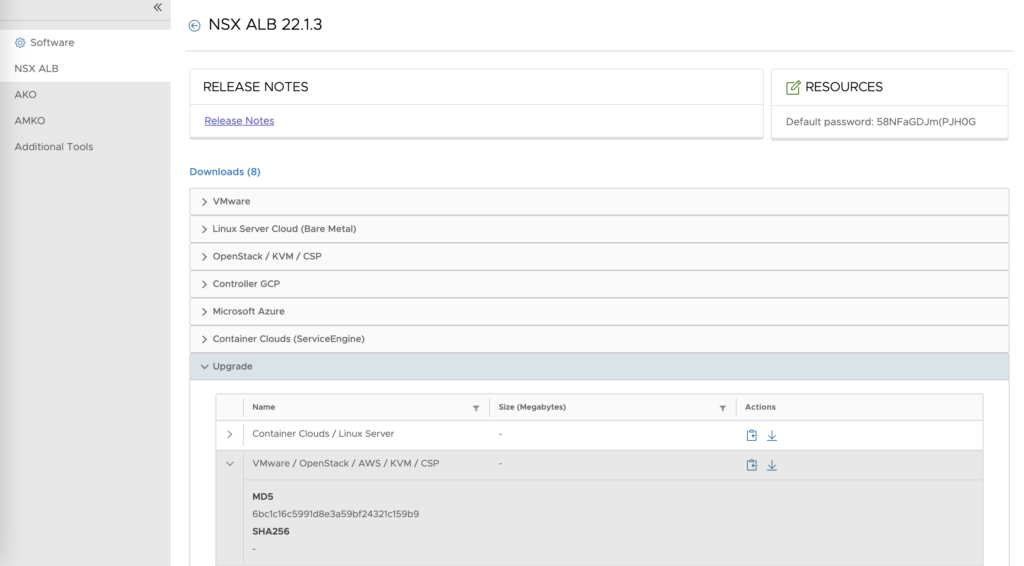
2. In the next window, find desired version and expand details. Choose System file 22.1.3 under the “Version” column.
3. Expand Upgrade and than VMware/OpenStack/AWS/KVM/CSP section. Download System upgrade file.
4. Back to the previous screen and choose Patch file 22.1.3-2p11 (or another latest) under the “Version” column.
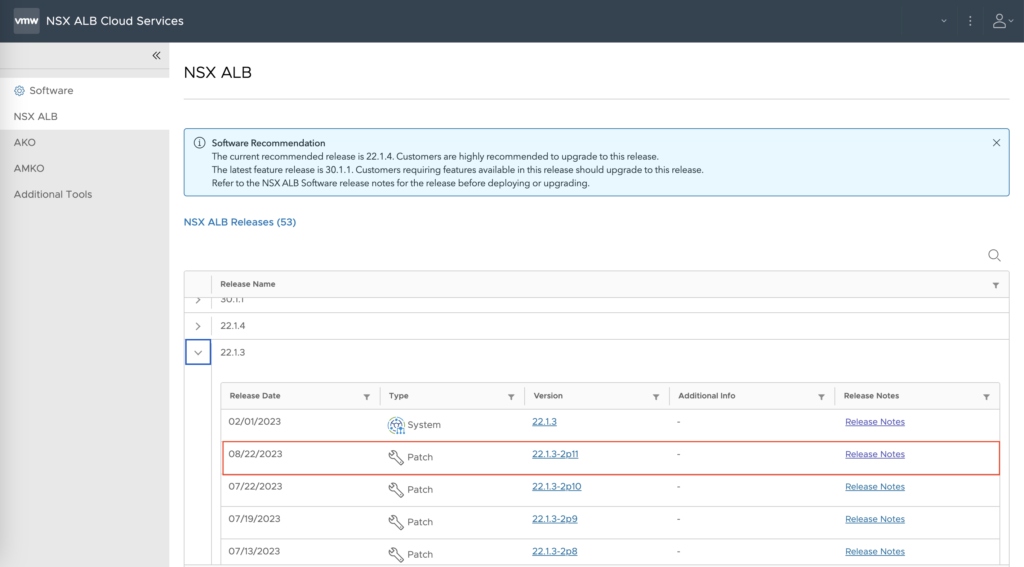
5. Expand system and download Patch file.

2. Preparation and uploading files
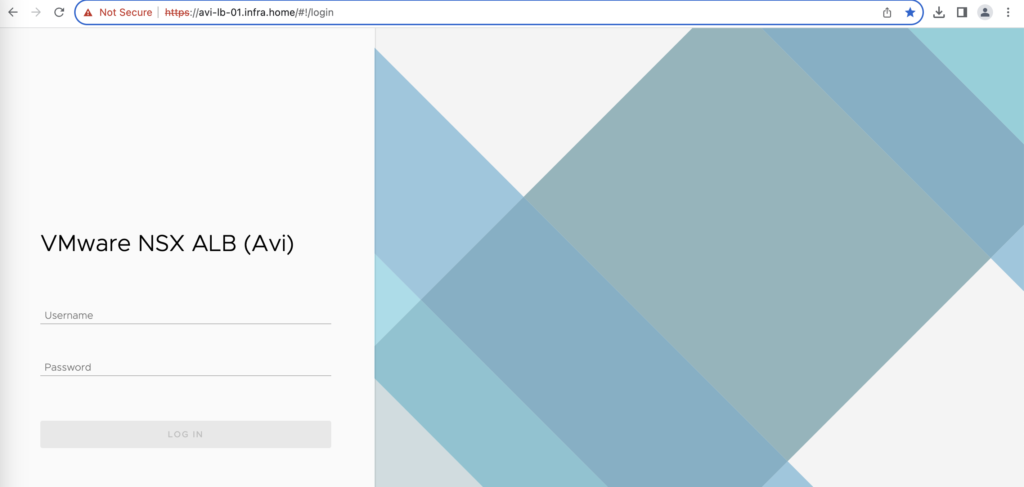
1. Log in to the Avi management and confirm the running version.
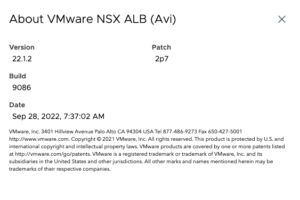
2. Check backup configuration. It should be enabled by default to backup Avi locally 1x day.

3. Go to the Administration->Controller->Software tab. Upload 2 files from your computer. After a while, 2 new files should be visible in this place:
– System file – 22.1.3-9096
– Patch file – 22.1.3-2p11-9010

3. Let’s upgrade Avi!
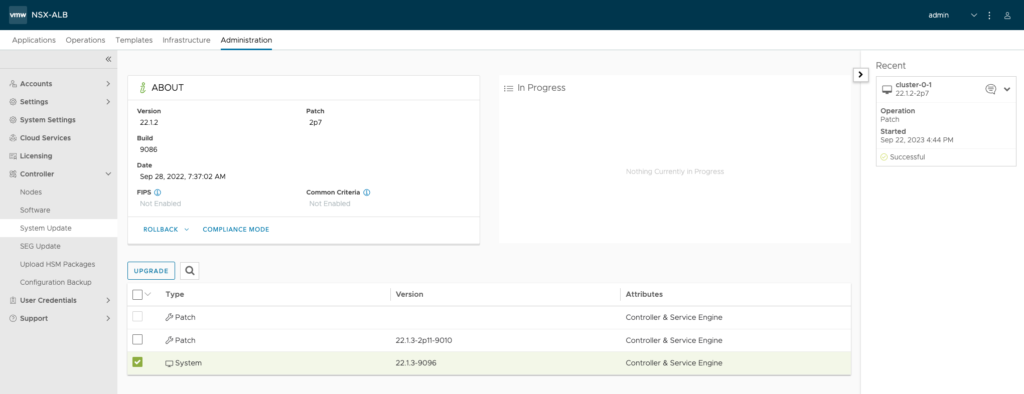
1. Go to the Administration->Controller->System Update tab. Tick System and Upgrade button to start upgrade system process.
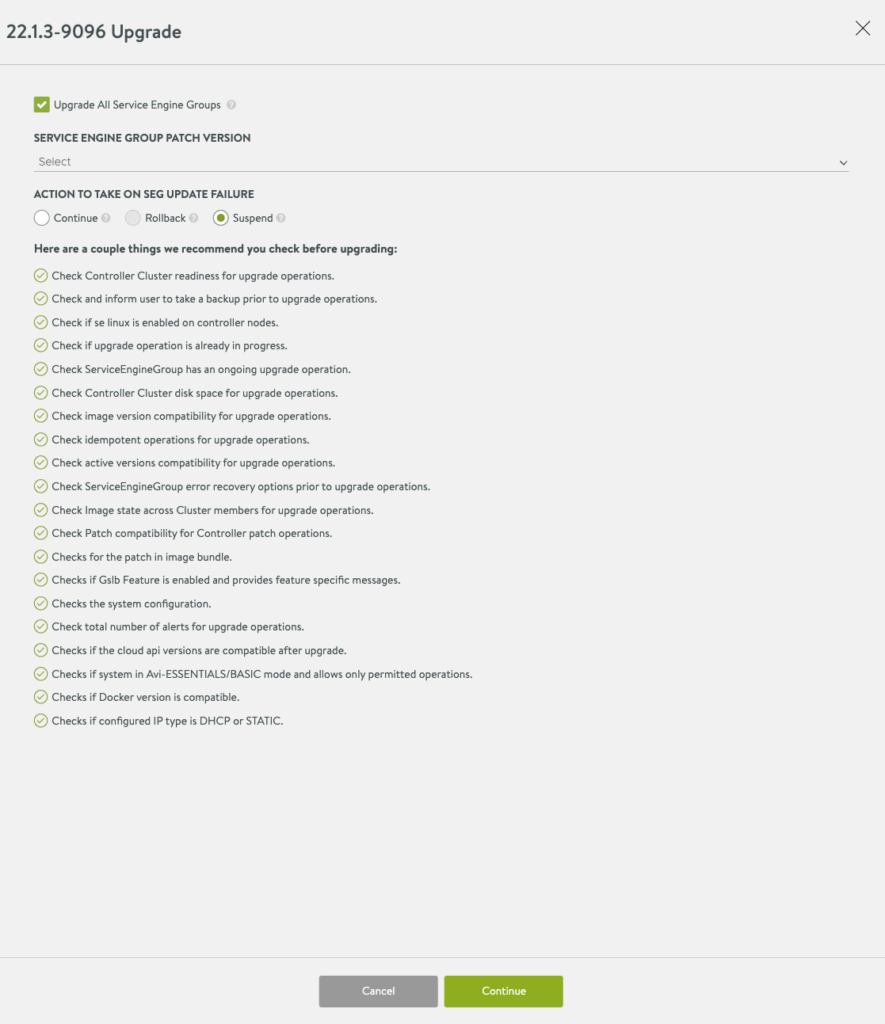
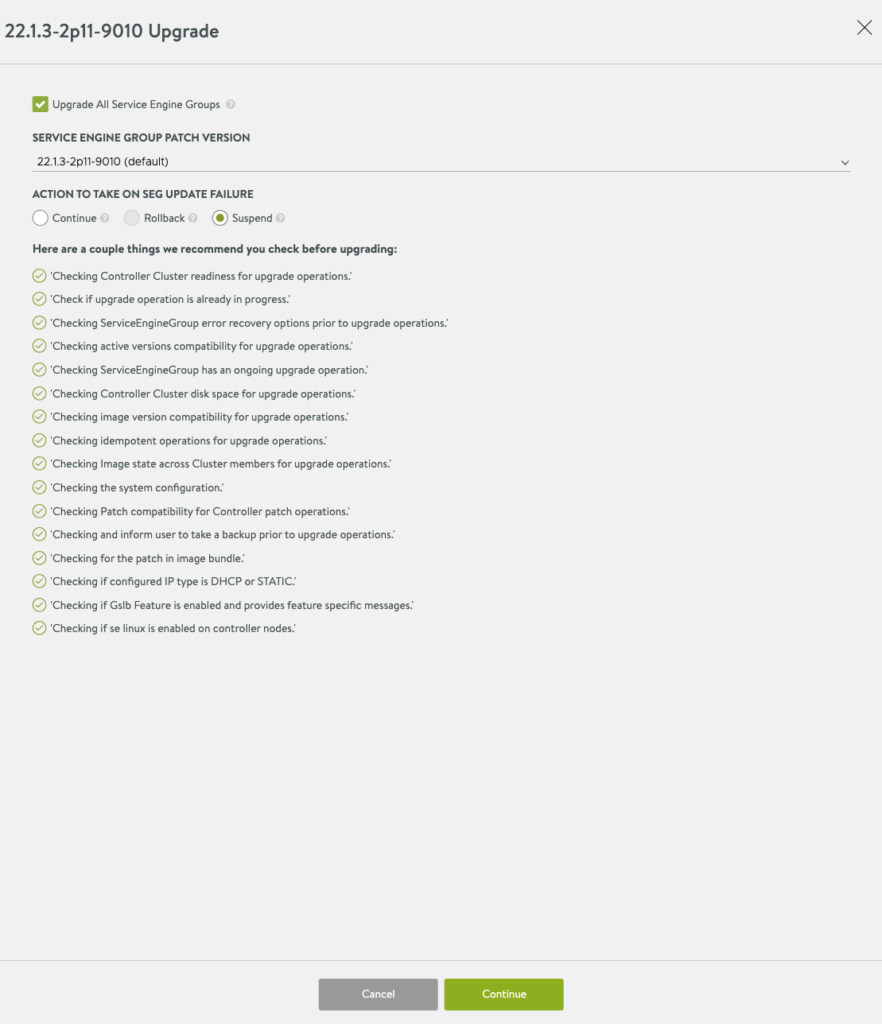
2. The first upgrade windows inform about a few things.
– You can check or uncheck option to Upgrade All Service Engine Groups.
– Which action will be take on Service Engine Groups – by default is Suspend
– A couple of things that need to be check before upgrading.
If everything is OK, click continue.
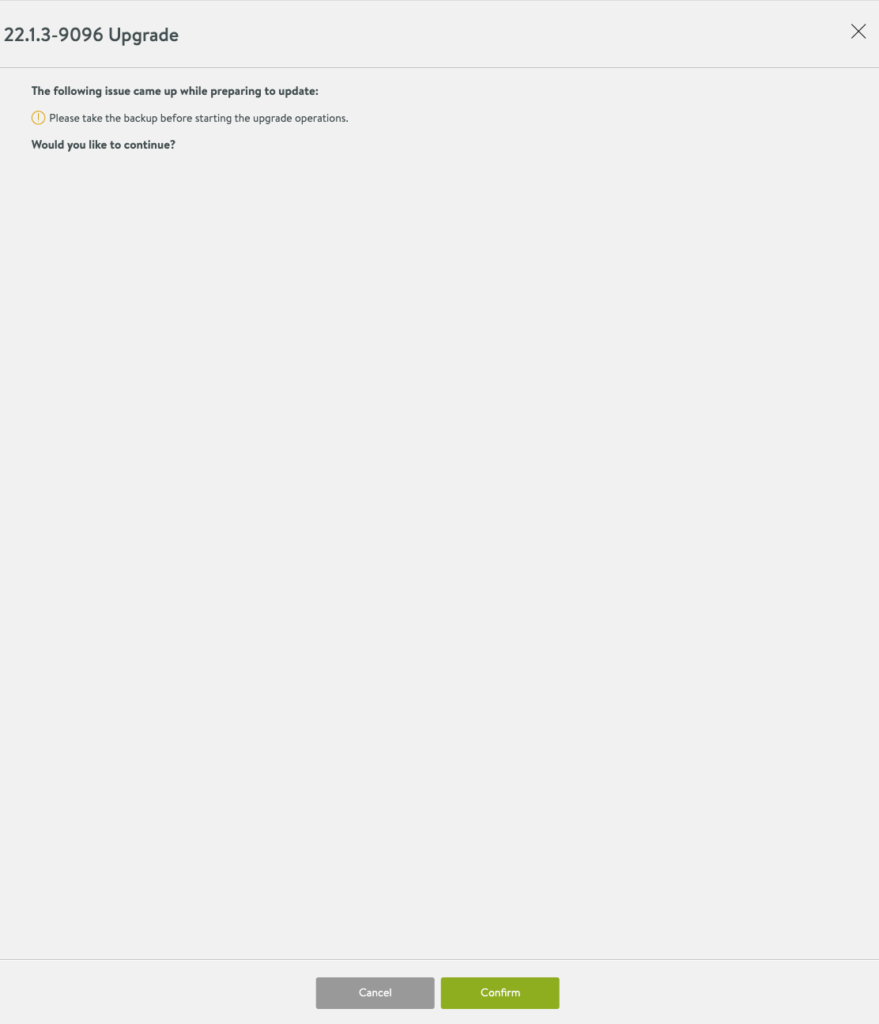
3. Second window informs you about taking a backup before upgrading. If it seems right for you, go ahead and click Confirm button.
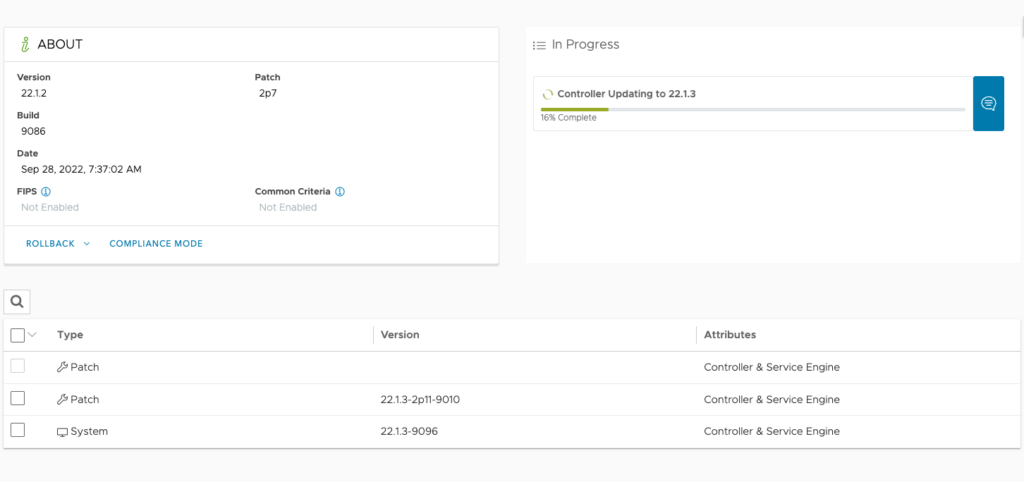
4. Upgrade started. It will take some time and connection to the Avi management will be interrupted.
In the 1st phase, Avi node (or nodes) is upgraded.
In the 2nd phase, Service Engines are upgraded.
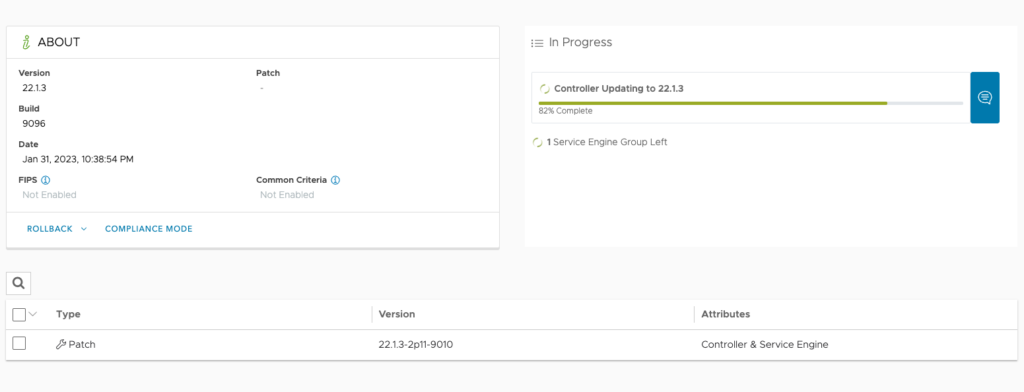
5. Upgrade completed successfully! To complete the whole process, let’s patch system.

6. Tick Patch and Upgrade button to start patching system process.
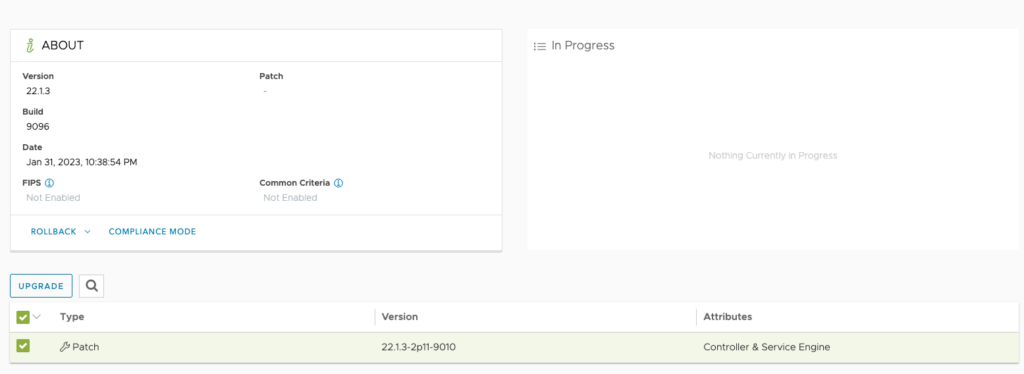
7. Patching looks very similar as System upgrade. Look at the next 2 windows and start the process.
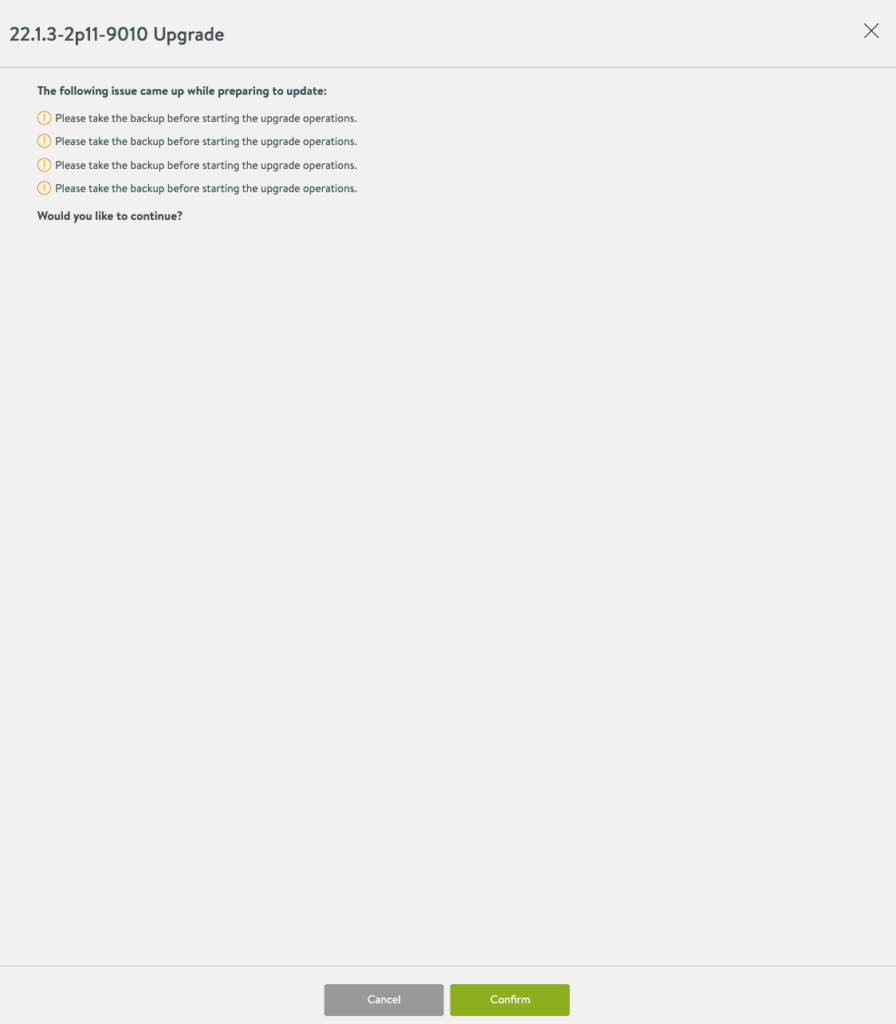
8. Patching completed! We have successfully upgrade & patch Avi from 22.1.2-2p7 to 22.1.3-2p11

4. What happens in the background? What about running services?
In this case I have a enabled vSphere with Tanzu + Avi ALB. Simple Yelb app is running on TKG cluster. Interface of this app is exposed as a Kubernetes service with “LoadBalancer” type and IP 10.0.42.15.
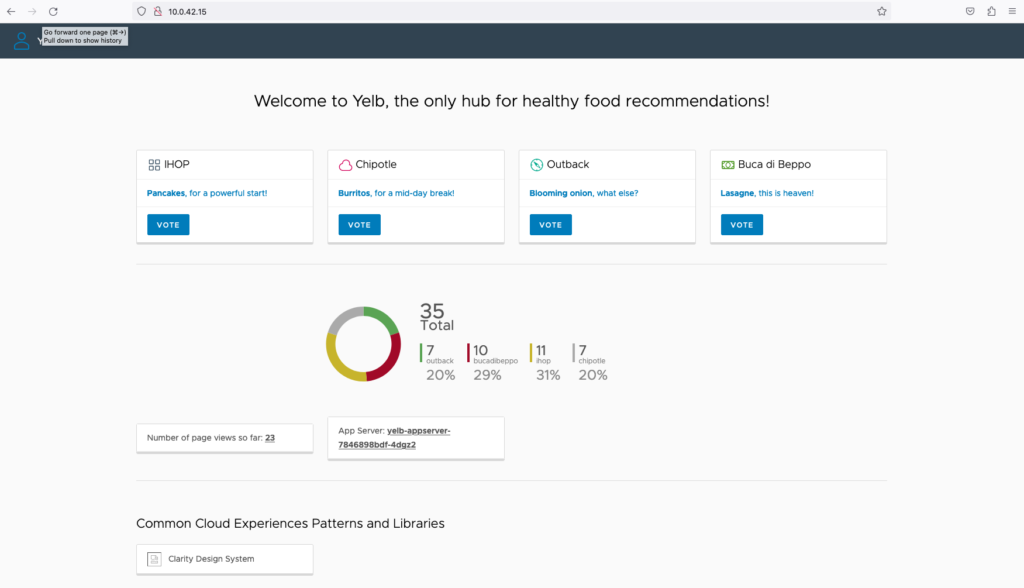

Below, is the Yelb app service visible as a Virtual Service in the Avi and is using port 80.

Service Engine Group which consists of two 2 Service Engines VMs running in HA. It allows to expose services outside the K8S (TKG) cluster.
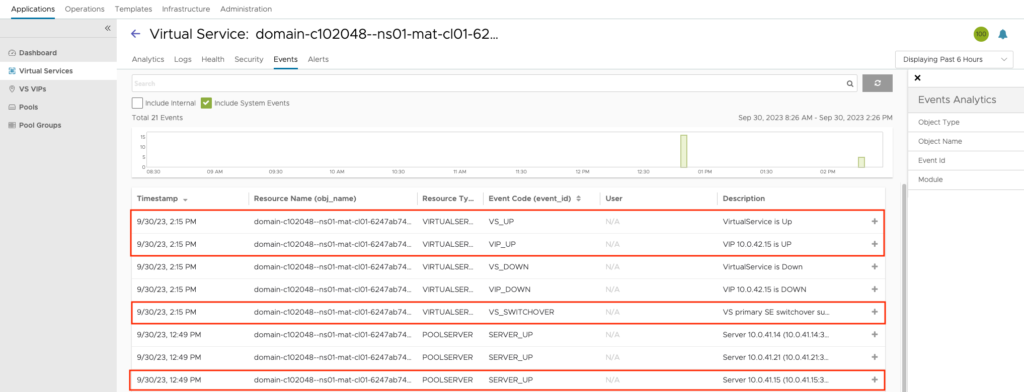
Each Service Engine runs some Virtual Services. When Service Engine Group is upgrades it’s done one be one. This means, that services running on the first Service Engine are migrated to the second VM – VS_SWITCHOVER. Than, SE upgrades. And when it’s done, services from the second SE will move to the first one. And process repeats itself.
