
At the last VMware Explore 2022 in Barcona, vExperts have a great opportunity to receive gifts. It is a small, fanless and powerfull device – Maxtang NUC server! Many thanks for Corey Romero (twitter: @vCommunityGuy ) and Cohesity for supporting and organazing this servers.
You can use as a homelab device and install on it Linux, Windows, automation deployments, Docker, Kubernetes or VMware ESXi.
In this post, I will show how to install ESXi 8 on it. The procedure is simple. But, not all steps are obvious like on the standard and supported servers. Let’s start! 🙂
1. Requriements:
To setup everything you need to get few additional components. Because, NUC is only backbone whithout RAM and SSD.
- Maxtang NUC NX6412 – gift for vExperts – VMware Explore Barcelona 2022
- 32 GB RAM DDR4 SO-DIMM (16 GB should be enough too)
- Teamgroup 256 GB MS30 M.2 SSD SATA III (or bigger)
- Cable Matters USB 3.0 to Gigabit Ethernet Adapter
- Pendrive
- ESXi 8 offline image – https://customerconnect.vmware.com/en/downloads/details?downloadGroup=ESXI800&productId=1345&rPId=97706
- VMware Fling USB Network Native Driver for ESXi – https://flings.vmware.com/usb-network-native-driver-for-esxi#summary
- VCSA 8 or PowerShell+PowerCLI to create customized ISO image with ESXi 8
Maxtang NUC NX6412 Specs & Overview:
source: Maxtang website


2. Prepare custom ESXi 8 image:
If you have prepared ESXI 8 custom image, skip this step.
If not, look at my last post: Custom ESXi 8 ISO with Image Builder. How to add USB Network Native Driver to the image?
3. Installation
PRO TIP before we start 🙂
Connect USB Adapter to the NUC and attach Ethernet cable. If you don’t do that, the first screen when installation wizard begins will look like this:

- Power on NUC, press F11 to choose booting device and wait.
2. Press Enter to continue.

3. Press F11 to Accept EULA and continue.

4. Select internal SSD storage.

5. Choose a keyboard layout.

6. Provide a root password and press Enter.
info: Whatever password you set here now, it will not be saved. Keep going with the next steps.

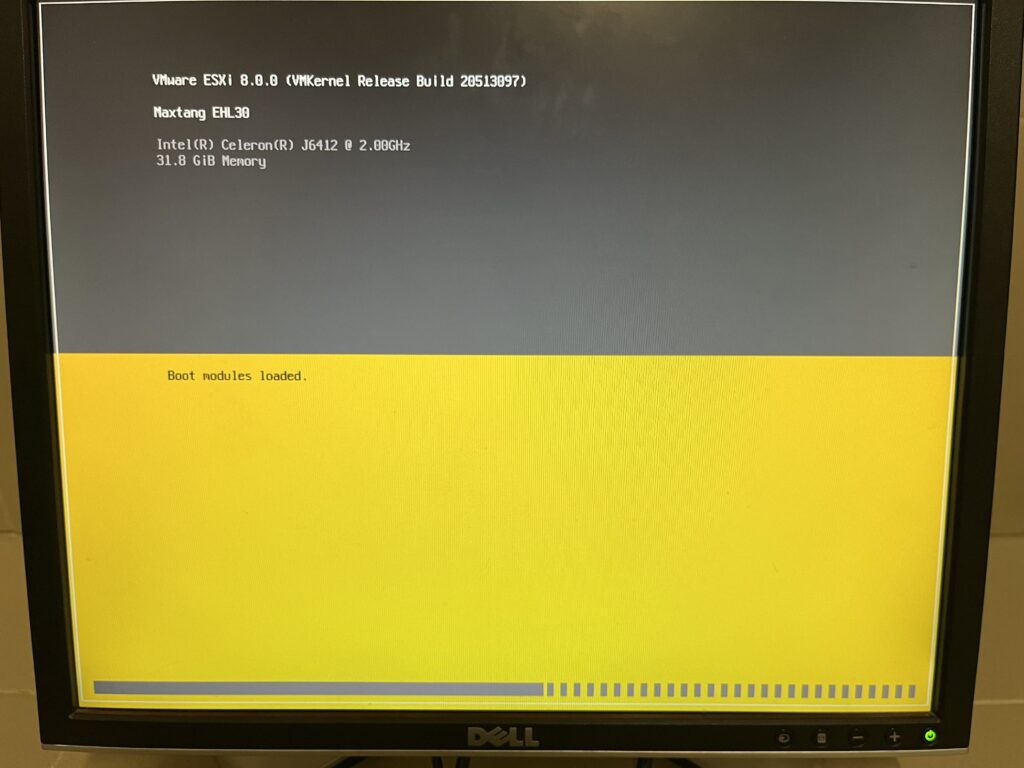
7. Confirm installation and repartitioning your disk. Press F11 and installation begins.


8. At 81% you probably see this error (or similar). Don’t worry, it’s normal in that case.
Maxtang NUC is not equipped with a compatibile network adapter. ESXi by default try to configure vmnic. Here is attached USB to Ethernet adapter and thare is vusbX insteed of vmnicX.
Press enter few times. Than ESC and F11 to reboot server.


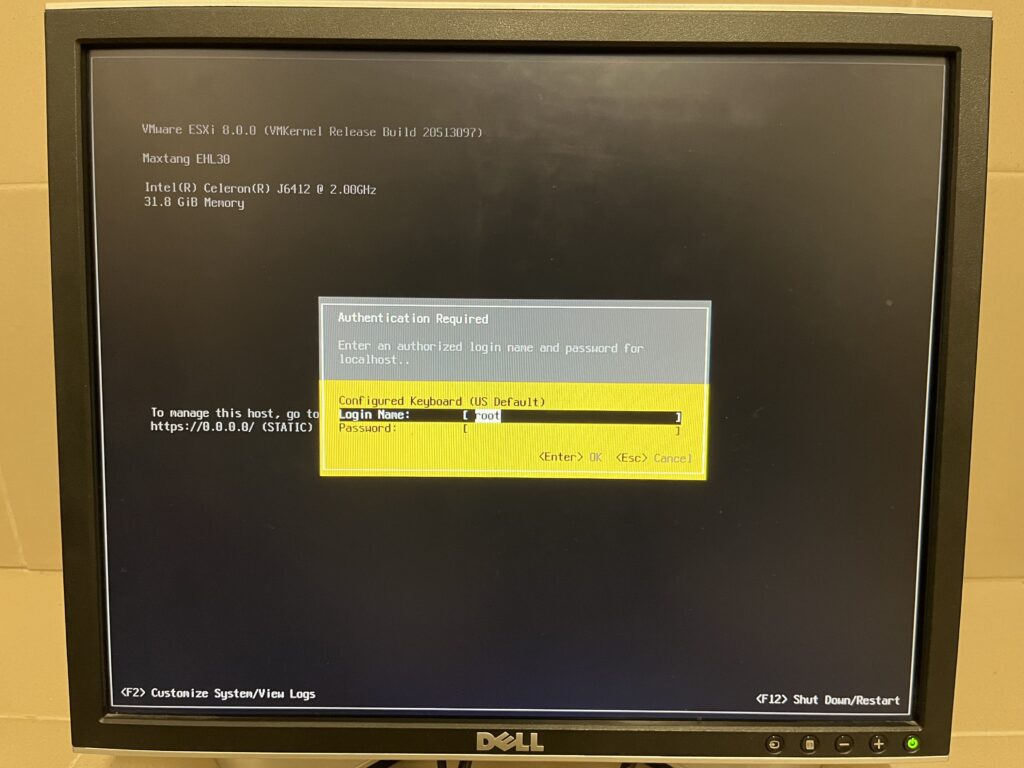
9. NUC is booting. After a minute, we’re on the DCUI main screen.

4. Post ESXi configuration
Installation of the ESXi was completed despite errors. Now, we need to configure networking.
- Press F2 and log in as a root without password.
2. Choose Network Restore Options

3. Choose Restore Network Settings and confirm with F11


4. Next, go to the previous screen and choose Configure Management Network. I have DHCP enabled and IP address was attached.

5. Choose Network Adapters, press space on the visible vusb0 to mark it. By default is unmarked. Press Enter.

6. Next, choose IPv4 Configuration and mark Set static IPv4 address and network configuiration. Provide IP Address, Subnet Mask and Default Gateway.
Additionally you can disable IPv6, set root password and change hostname.

5. Creating persisting USB bindings
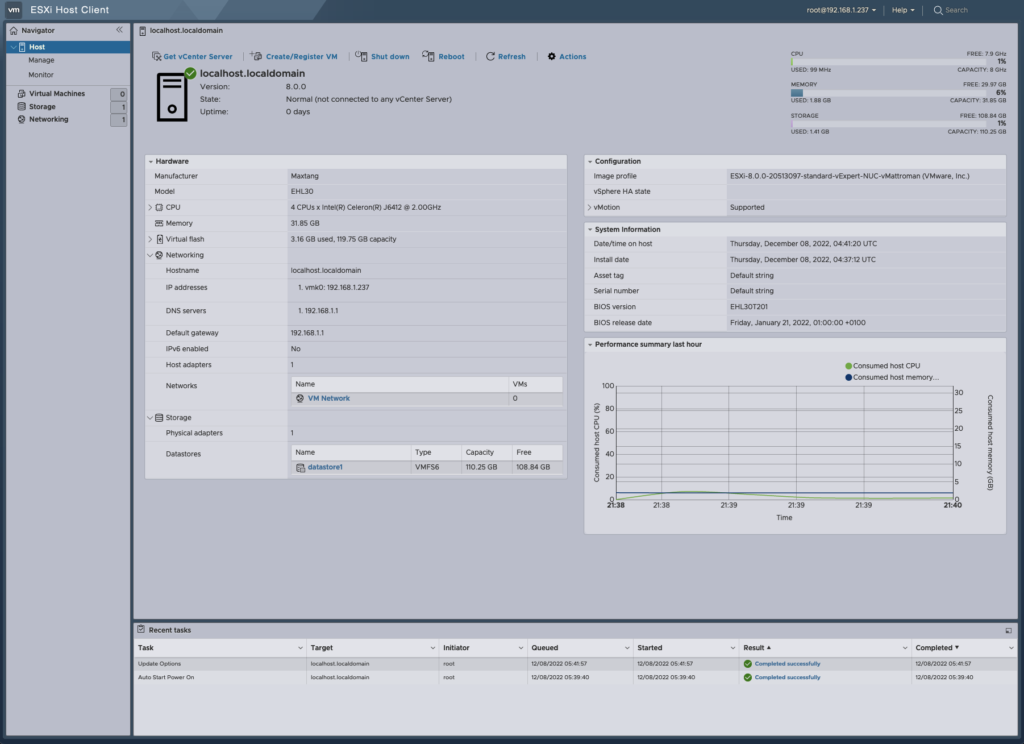
Now, let’s access to the vExpert NUC!

Persisting USB NIC Bindings
source: https://flings.vmware.com/usb-network-native-driver-for-esxi#instructions
This change pretend from manually mark as active vusb0 (from DCUI) every time, when host reboots.
Login via SSH to the ESXi host and edit existing file /etc/rc.local.d/local.sh with the lines below. After that, reboot host.
vusb0_status=$(esxcli network nic get -n vusb0 | grep 'Link Status' | awk '{print $NF}')
count=0
while [[ $count -lt 20 && "${vusb0_status}" != "Up" ]]
do
    sleep 10
    count=$(( $count + 1 ))
    vusb0_status=$(esxcli network nic get -n vusb0 | grep 'Link Status' | awk '{print $NF}')
done

esxcfg-vswitch -R
That’s it, fresh installation of the ESXi was done! It’s a good starting point and now, we can do more on this small server. Keep looking at my blog, I’ve something more to tell you about configuration and tips, how to avoid a few problems.


2 Comments
Hi,
I have a problem with the installer WMware 8.0.1 not recognizing the TEAMGROUP MP33 M.2 PCIE SSD – TM8FP6001T. Any idea how it can be resolved?
Thank you and have a great day!